
We may earn revenue from the products available on this page and participate in affiliate programs. Learn More ›
Plumber’s tape is known by a variety of names—Teflon tape, thread tape, or PTFE tape—but regardless of what you call it, this type of plumbing tape is essential for ensuring clean, leak-free connections when working with threaded pipe and fittings. Plumber’s tape is made of polytetrafluoroethylene (PTFE, aka Teflon), which helps it create a watertight seal between threaded connections.
When plumber’s tape is wrapped around the male threads of a pipe or fitting, this layer of Teflon fills the gaps between the threads and prevents water from seeping through. However, if plumber’s tape is not applied correctly, it may fray or bunch up when you screw in the threads, ruining the seal in the process. Use this guide to learn how to use plumber’s tape the right way.
What Is Plumber’s Tape Used For?
Before picking up a roll of plumber’s tape, it’s worth finding out exactly how to use Teflon tape in plumbing. While plumber’s tape does help prevent leaks, it isn’t an emergency plumbing tape for leaks that already exist. Instead, Teflon tape is an “incredibly effective tool for creating a tight seal around threaded pipe joints,” says Dustin Smith, Founder and Master Plumber at Smith’s Plumbing Services in Memphis, Tennessee. “Plumber’s tape is a thin, plastic tape coated with PTFE , a material known for its nonstick properties. PTFE helps prevent leaks by creating a barrier between the threads of the pipe and the fitting,” he explains.
Plumber’s tape has many uses for residential plumbing, including:
- Faucet installation: Wrap the tape around the male threads on supply lines when connecting them to the faucet body.
- Garden hose connections: Seal the threads between garden hose connections to prevent wasteful water leaks.
- Irrigation system connections: Seal threaded joints in sprinkler systems and other irrigation system components.
- Pipe repair: Replace old plumber’s tape with new plumber’s tape to fix a slow leak between threaded connections.
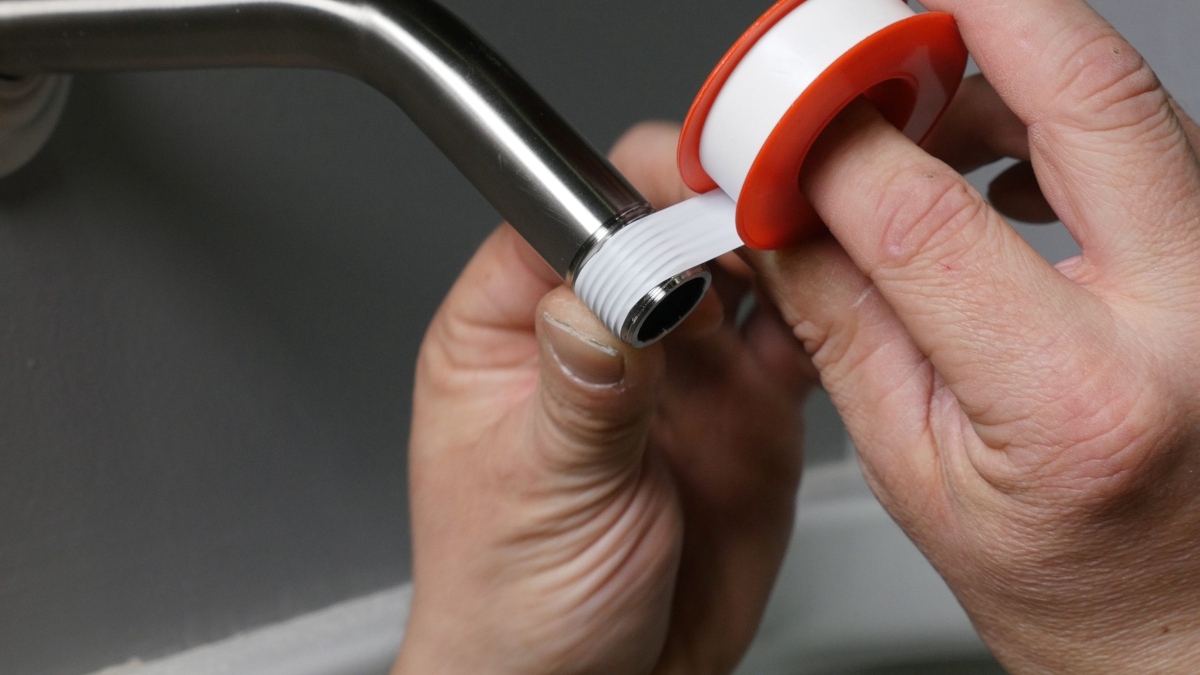
- Shower head installation: When replacing a leaky shower head, seal the threads on the shower arm before attaching a new shower head.
- Toilet installation: Seal the threads on the water supply line to prevent leaks springing from the toilet tank’s base.
- Valve installation: Tape threaded pipe before installing a threaded valve to avoid water seepage.
Before You Begin
There are a few things that are important to be aware of before learning how to apply plumber’s tape. First and foremost, pipe threads are sharp. If you aren’t careful about how much pressure you apply, you may end up cutting your thumb or finger. Also, you should typically wrap the plumber’s tape about two to three times around the threads. Exceeding this amount can prevent the threads from closing properly, leading to leaks or even damaged connections. Additionally, you should never burn or heat up plumber’s tape, as the resulting gas can be hazardous in enclosed spaces.
Smith notes that “plumber’s tape is typically sold in rolls of various widths. The most common widths are 1/2 inch, 3/4 inch, and 1 inch.” Generally, you would use ½-inch tape for ¼-inch to ½-inch pipe, ¾-inch tape for ¾-inch pipe, and 1-inch tape for pipes that are 1 inch or greater in width. Teflon tape also comes in several different colors based on the specific purpose of each type of tape.
- White Tape: Commonly used by DIYers and plumbers for copper or brass water line connections.
- Pink Tape: High-density tape used by plumbers and pipefitters for water line connections.
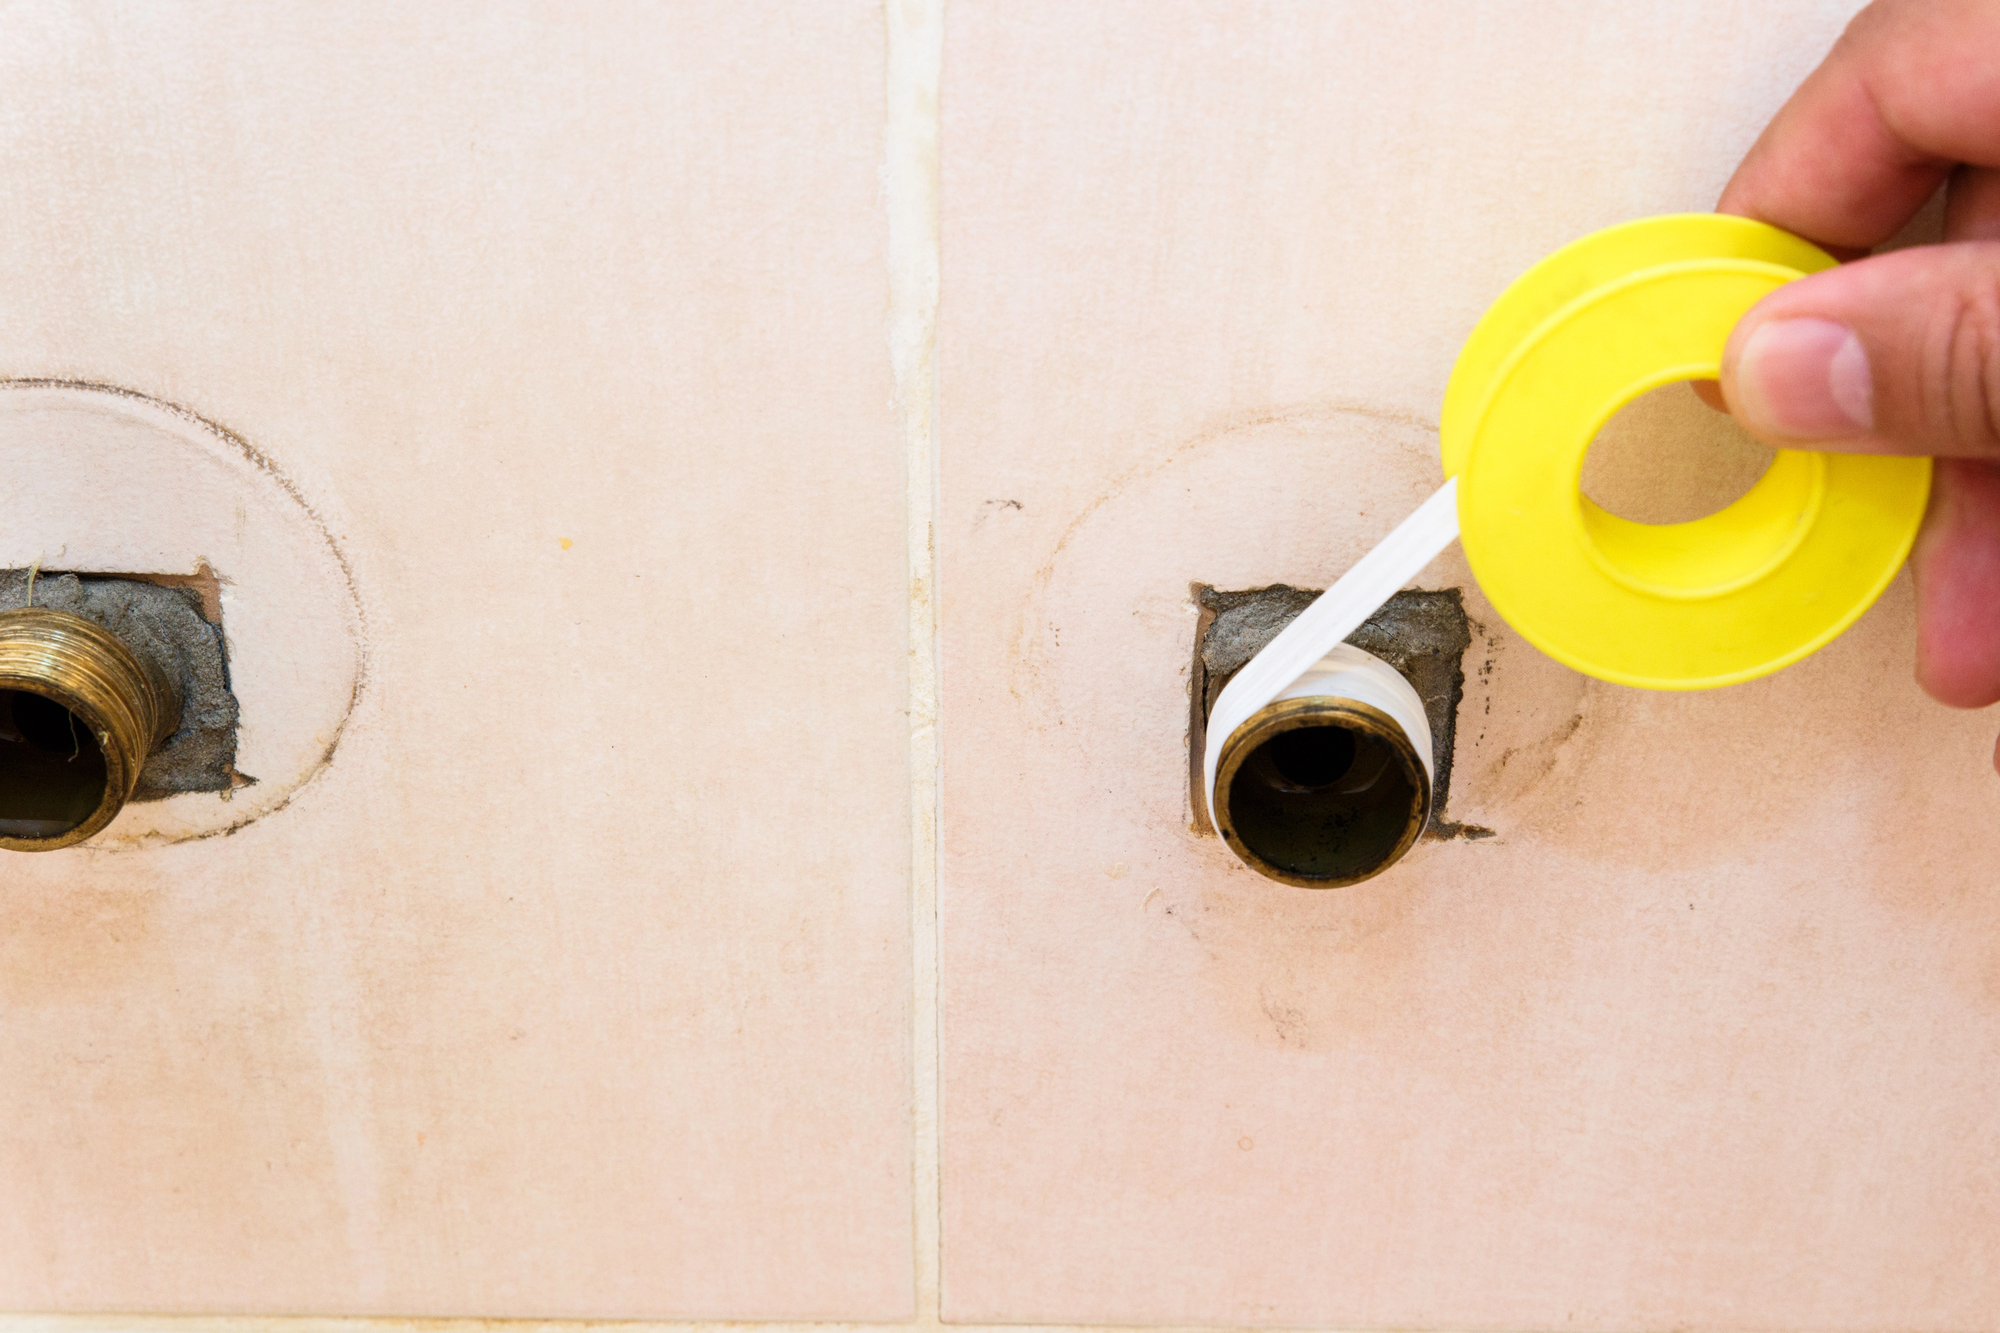
- Yellow Tape: Used to seal the threads between gas line pipes and fittings for propane, butane, and natural gas.
- Green Tape: The grease-free and non-combustible design is intended for use on oxygen lines.
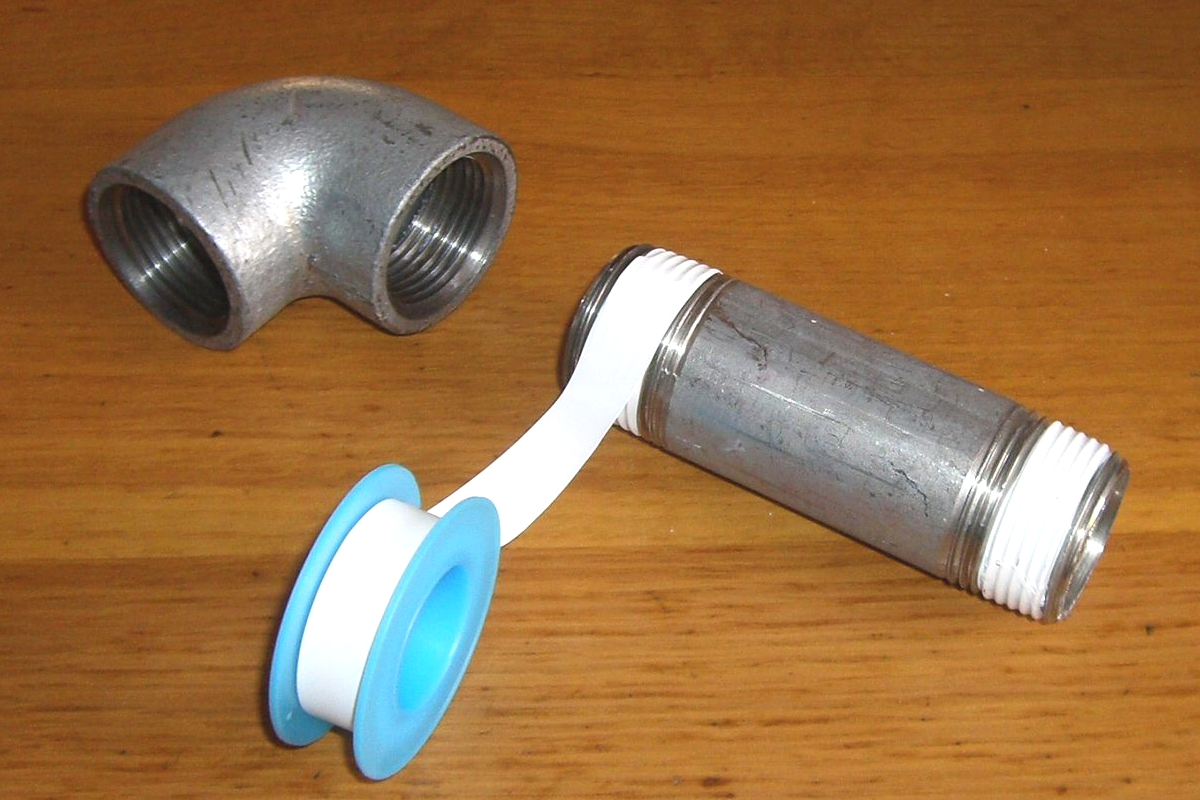
- Gray Tape: Thicker than the other tape types, gray tape is designed for stainless steel fittings.
STEP 1: Clean the threads of the pipe and fittings.
First, ensure the threads of the pipe and fittings are completely clean and free of debris. Even a little bit of dirt can prevent the tape from forming a watertight seal. If the threads appear dirty, spray them with an all-purpose cleaner, then use a soft cloth to clean them.
While plumber’s tape is waterproof, if water gets trapped in the threads it can prevent the tape from creating a complete seal, so be sure to clean both the male and female threads and allow the threads to dry before applying the tape or attempting to connect the fittings.
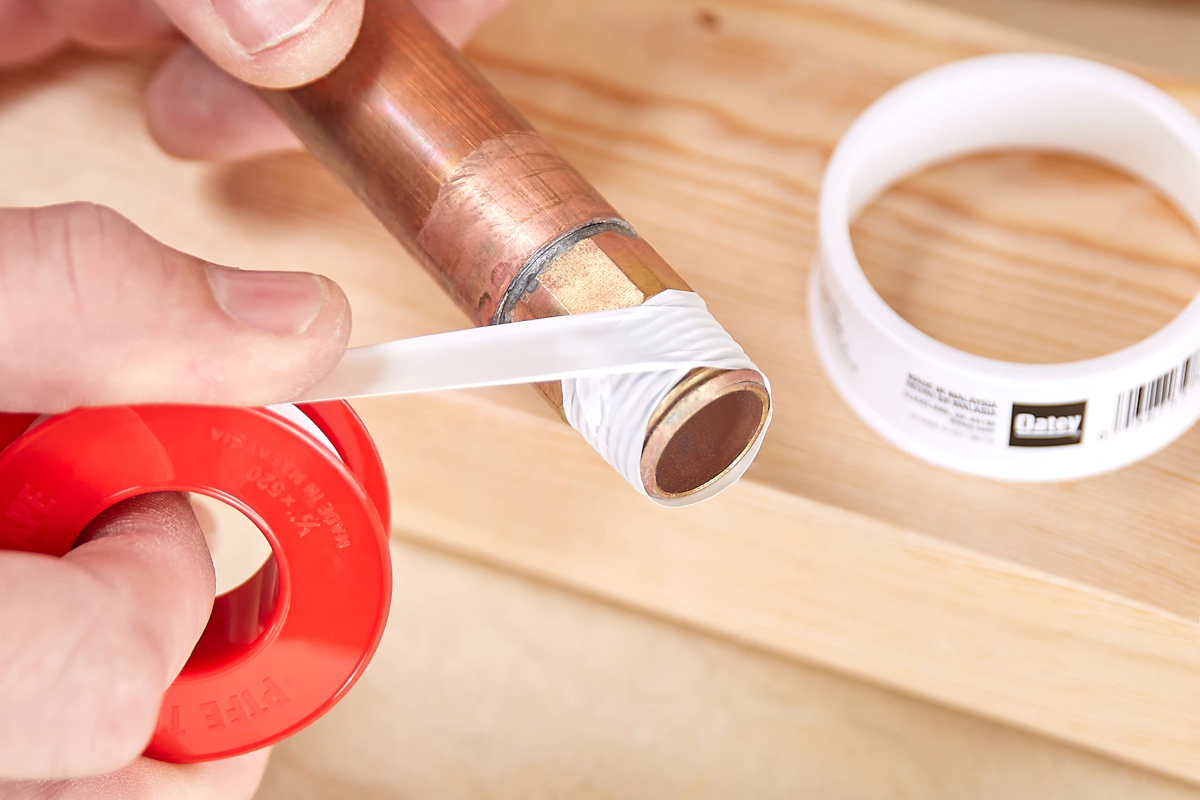
STEP 2: Line up the tape with the second thread on the male pipe.
Locate the start of the male pipe’s thread, as the tape will be applied in line with the second thread from the end of the pipe—the first thread should be left uncovered. This starting position helps prevent excess tape from spilling over the end of the pipe and blocking the flow of the water. Overwrapping a pipe can prevent its threads from forming a tight seal and may put pressure on the fitting from the outside, potentially leading to leaks and damage.
Grab the tape with your dominant hand and hold the male pipe in your other hand, line up the tape’s edge with the second thread. As you wrap the pipe, use your thumb to smooth down the tape so it lays completely flat against the threads.
STEP 3: Apply the tape in the direction of the threads.
Continue wrapping the tape around the pipe, following the direction of the threads for a perfect seal once you screw on the valve or fitting. Each new wrap should overlap the previous wrap by about half the width of the tape.
For most residential plumbing, aim for about two to three wraps of plumber’s tape, ensuring that you are wrapping the tape in the direction the threads spiral. While most pipe threads run clockwise, it’s always a good idea to double-check the direction before you begin wrapping the tape.
- Small ¼-inch to ⅜-inch pipes only need about one to two wraps.
- Medium ½-inch to ¾-inch pipes should have about two to three wraps.
- Large 1-inch to 1 ¼-inch pipes need about three to four wraps.
STEP 4: Press down the tape and tug to break.
Once you have wrapped the tape around the threads, use your thumb to press down the tape, smoothing it out against the threads. Ideally, the tape should press tightly between the threads, allowing you to see their shape clearly. If there are any bubbles, bunched up edges, or debris that may have been missed during the cleaning process, then you will need to remove the tape, clean the threads, and reapply.
For DIY plumbers who want a little extra leak security, consider applying a pipe thread sealant to the plumber’s tape. After the tape is secure, you can screw in the threaded fitting. Hand tighten the fittings as far as it will go, then use a wrench or a set of pliers to tighten the connection.
Final Thoughts
Plumber’s tape has a wide range of uses in residential plumbing, making it a necessary part of any plumbing tool box. It’s both affordable and effective, keeping threaded connections remain leak-free when used right. If you find that the tape frays or bunches up while installing the threaded fitting, simply unwrap the tape, reclean the pipe and threads fittings, and try again. The tape should tighten with the fitting, rather than being forced to unravel.
