We may earn revenue from the products available on this page and participate in affiliate programs. Learn More ›
Whether you want a self-watering moss pole, a bendable moss pole, or some alternative, you can usually purchase the type you want online—but if you’d prefer to DIY a moss pole, that’s an acceptable and crafty alternative, too! You’ll first need to decide whether you want to build a pole covered with moss or one filled with moss (the former is sometimes referred to as a moss stick for plants, rather than a pole).
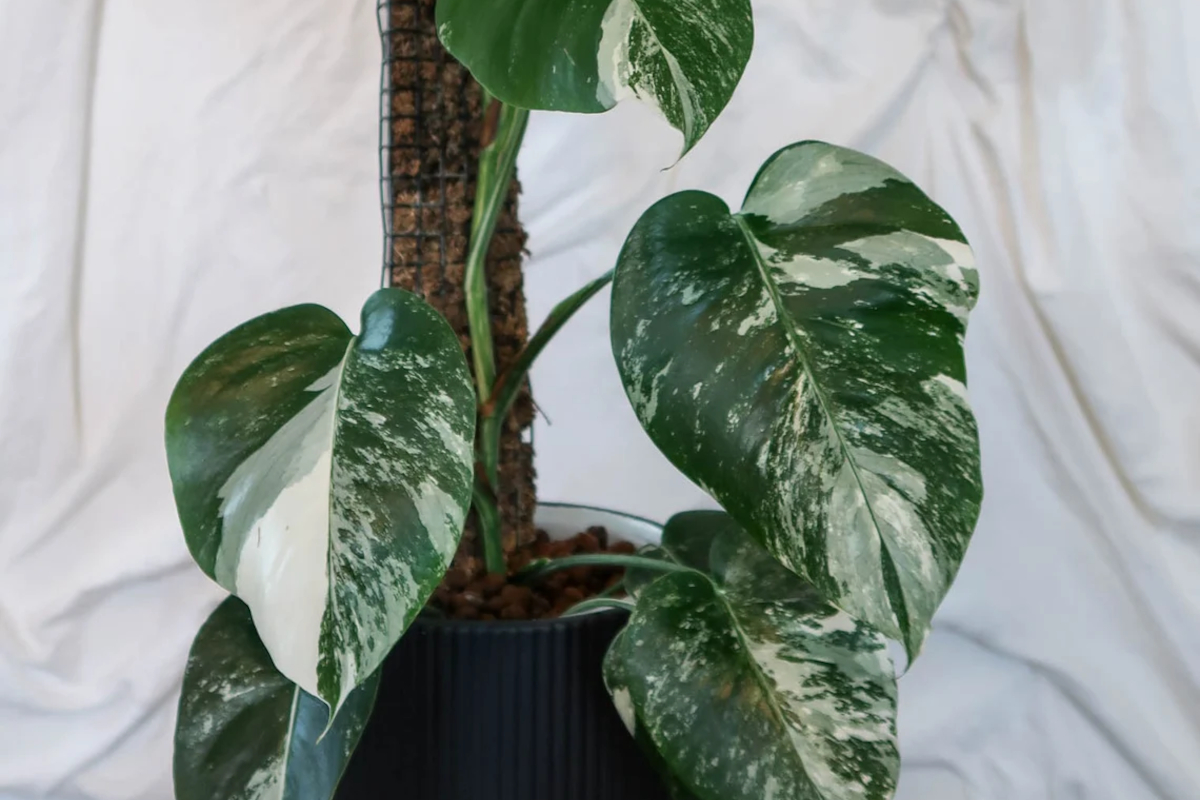
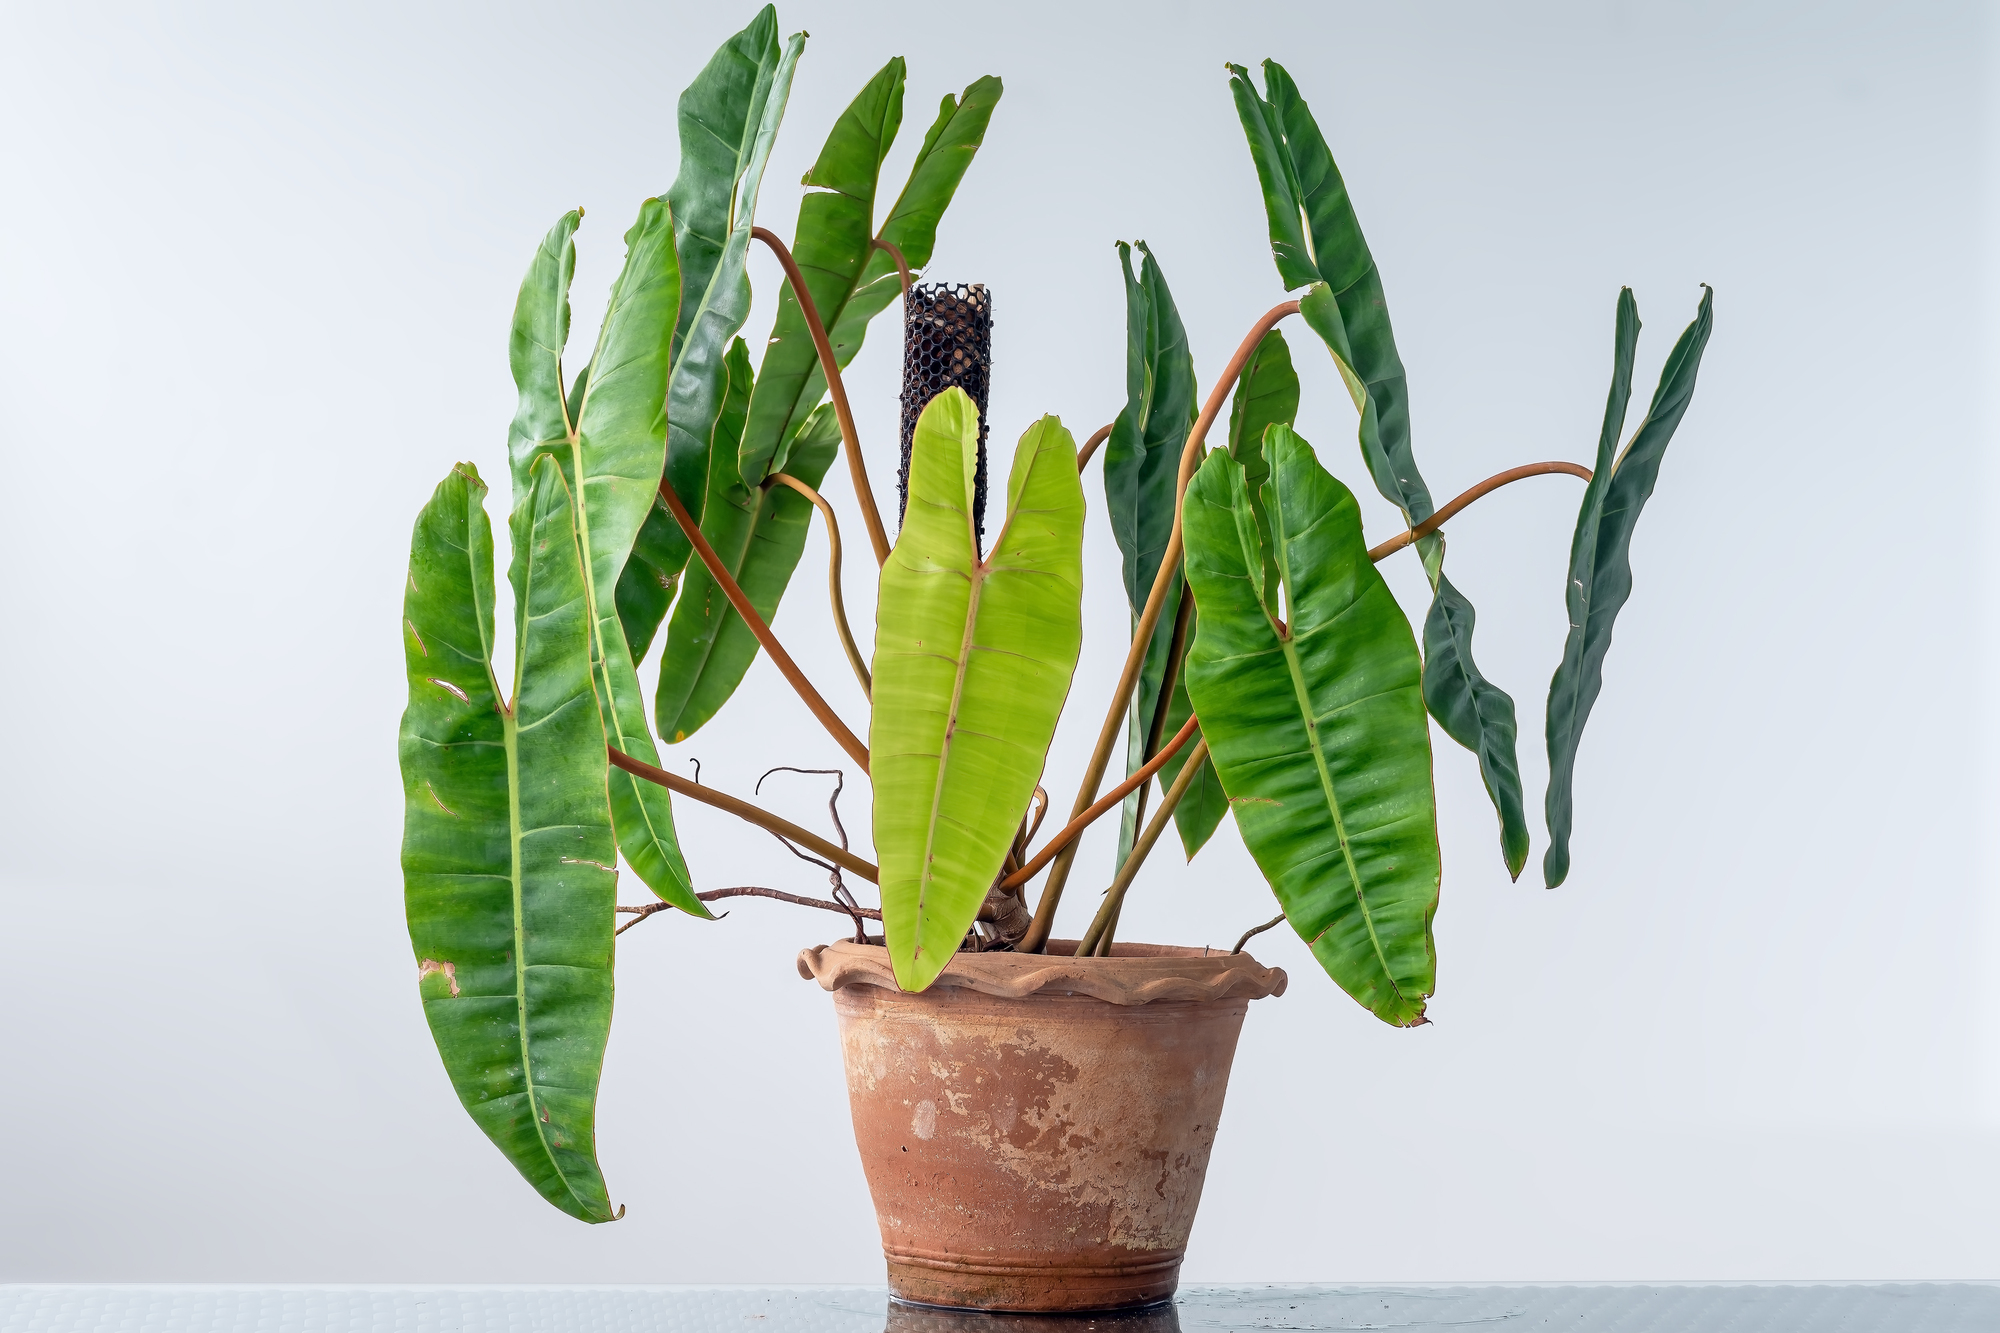
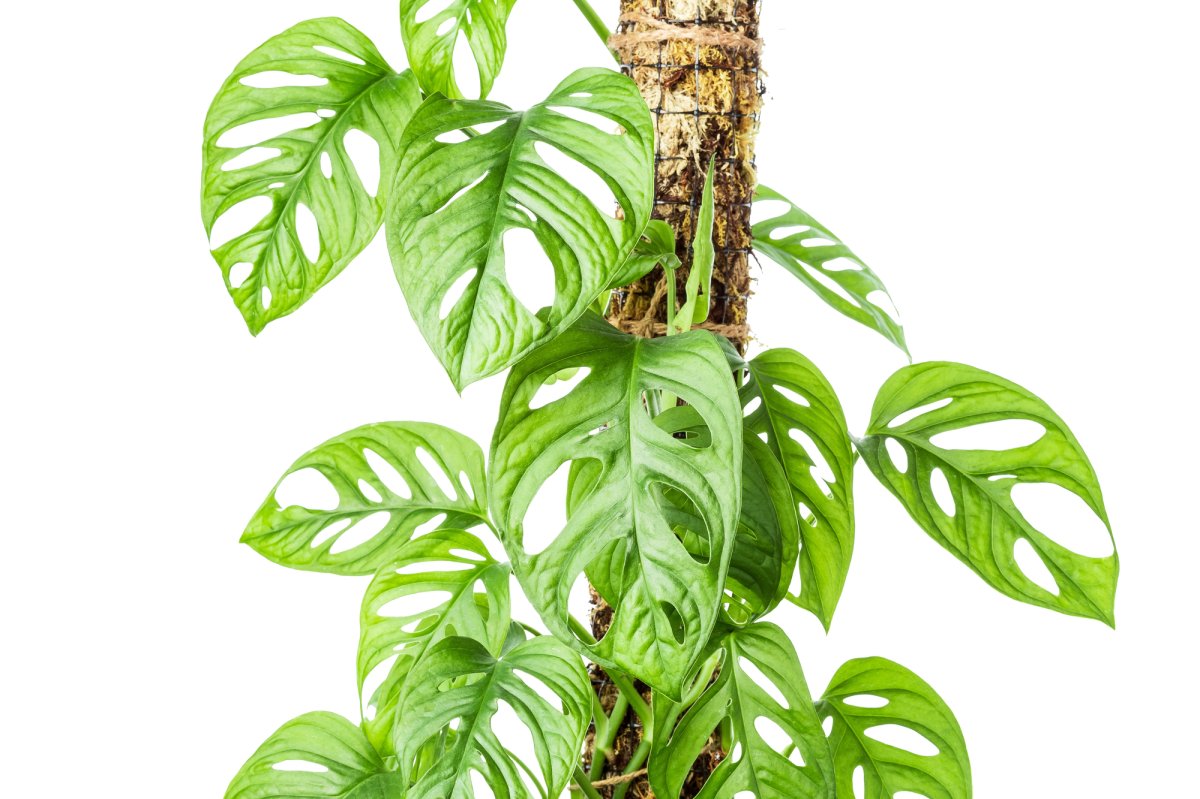
A moss pole is a common accessory for rainforest plants like monstera or philodendron that naturally climb trees in their native habitats. These supports provide the houseplants with a permeable surface to which they can attach aerial roots.
Tools & Materials
Bobvila.com may earn a commission from purchases made through these links.
- Sphagnum peat moss
- Sheet moss (optional)
- Hardware cloth
- 1-inch PVC pipe (optional)
- Plastic-coated wire twist ties
Before You Begin

Keep in mind that a covered plastic moss pole is constructed by wrapping moss around a PVC pipe or similar long object. In contrast, a filled moss pole is made by packing moss inside a mesh cylinder formed from hardware cloth, chicken wire, or plastic fencing.
Step 1: Soak the moss or coco coir in water.
Sphagnum peat moss is a necessity if you intend to construct your moss pole for plants by filling a meshed cylinder. However, if you prefer to wrap a pipe or stake instead, you can choose between sphagnum moss, sheet moss, or a coco coir liner.
In any case, it’s a good idea to soak your moss or coir in water for 15 minutes and squeeze out excess moisture before you begin. If you plan to make a sphagnum-covered pipe or stake, spread the moss out on an appropriately sized piece of wax paper, which will make it easier to roll onto the PVC.
Step 2: Measure to determine the size of moss pole you need.
To make a moss pole, measure the depth of the pot you intend to use, add the height of your houseplant, and estimate how much additional space the plant will need to continue growing vertically up the moss pole. Additionally, consider how wide the pole should be to allow the plant’s aerial roots to attach to it without crowding.
If possible, you’ll want to bury the lower third of the moss pole in the potting soil to keep it standing securely upright. You won’t need to cover (or fill) that section with moss.
Step 3: Cut the mesh or PVC to size.
In the New York Times Garden Book Revised, contributing horticulturalist Walter Singer suggests using a piece of hardware cloth 12 inches wide and either 24 or 36 inches tall to make a cylinder about 3 1⁄2 inches in diameter.
When cutting the hardware cloth or chicken wire to those dimensions with wire cutters, wear cut-resistant work gloves to protect your hands. If you choose plastic fencing, you should be able to snip it with heavy-duty scissors instead.
If you’ve opted for a moss-covered pole instead of a filled one, cut your PVC pipe or stake to your desired height with a hacksaw.
Step 4: Form the mesh into an open cylinder.
Steps 4 and 5 are for moss-filled poles only; if you’re making the moss-covered option and have already cut your pipe to length, move onto Step 6.
Form a cylinder with the trimmed hardware cloth or wire, letting one side of your mesh overlap the other by about ½ inch. Fasten it at 6-inch intervals with plastic-coated wire twist ties or rust-resistant copper wire.
Alternatively, if you leave a “fringe” of protruding wires on one side when cutting your hardware cloth or chicken wire, you may be able to bend them over the wire on the other side, crimping them to hold the cylinder in place without any additional wire. This method won’t work with plastic mesh, however.
Step 5: Fill the cylinder with sphagnum moss and pack it in.
Set your cylinder in a pot of soil, either by burying the base all the way down to the bottom of the pot or—as Singer suggests—by crossing two 5-inch sticks to hold the base in place atop the soil. Although wire cylinders generally can stand on their own, a plastic one may need an added stake to help hold it up.
Then, pack your damp sphagnum moss into the cylinder, tamping it down well until the cylinder is filled to the top.
Step 6: Wrap the PVC pipe with moss from the top to the bottom (optional).
If you choose the moss-covered pipe or stake option, tie a piece of fishing line or copper wire to the top of your pipe or stake. Then roll your spread out moss or coir liner around the pipe or stake. Starting at the top, wrap the fishing line or wire diagonally around the moss or coir as you proceed downward. Leave about the bottom third of the stake (or however much you intend to insert into the soil) free of covering and knot your line securely at that point.
Step 7: After setting the moss pole, transplant your houseplant into the pot.
Once you have your homemade moss pole set securely in its spot, transplant your plant into the soil beside it—close enough that its shoots easily can reach the moss. Use garden twine to attach a few of them to the pole. And with that, your filled or covered moss pole is complete!
You can keep the moss damp when watering by misting it frequently. Another way to maintain the moss’s moisture is to pour a little water into the top of the pole when it begins to dry. Just avoid watering it too much or too often, or else your plant’s soil may become soggy and lead to root rot.
Final Thoughts

The instructions above should help you construct your own moss pole, and perhaps help your monstera make more monstrous leaves when it is provided with a support similar to the tree trunks on which it grows in the wild. Sphagnum moss doesn’t always hold together well, so you may need to apply it a handful at a time rather than attempting to roll it onto your pole all at once. However, it retains moisture better than alternatives do, which should make it the best moss for indoor plants—or at least for indoor plant poles.


