We may earn revenue from the products available on this page and participate in affiliate programs. Learn More ›
Adding fresh or composted manure to your flower, herb, or vegetable beds is one of the best ways to improve your soil and grow an organic garden on the cheap. Manure contains nitrogen, potassium, and other micro- and macro-nutrients that plants crave, but it also enhances soil structure, increases water retention, and boosts the activity of beneficial microbes and earthworms. However, if you want to use manure for plant and garden health, timing is everything.
According to the USDA National Organic Program, manure should be applied to food gardens at least 120 days before crops are harvested for food safety reasons. But that means gardeners in many areas won’t have enough time during the growing season for a spring application of manure. On top of that, some types of fresh manure can burn plant leaves when they’re used on growing plants and uncomposted manure can get smelly if it’s applied in warm weather.
The good news is that all of these issues can be avoided by applying fresh or composted manure after harvesting crops in autumn. Plus, fall applications of manure will ensure this amendment has plenty of time to get incorporated into the soil before the spring growing season starts.
Step 1: Source your materials.
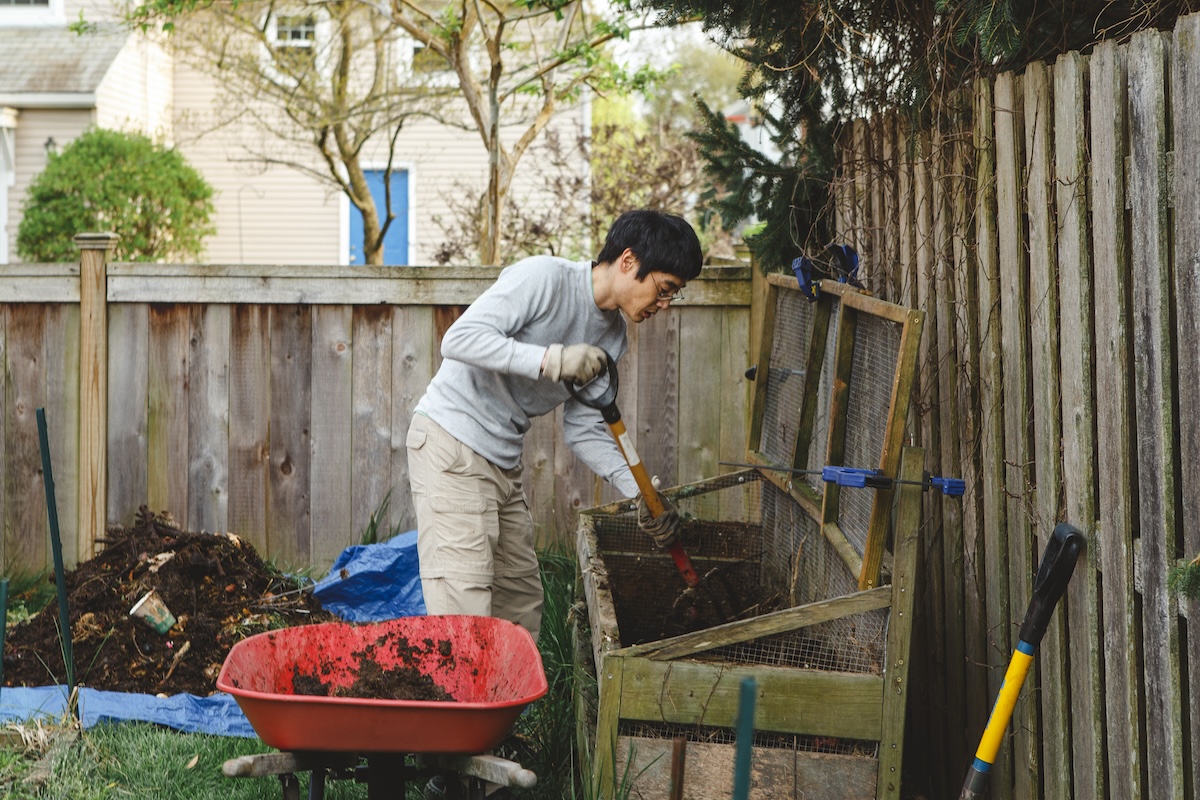
Cow, sheep, goat, horse, chicken, rabbit, alpaca, and llama manure that’s been properly aged can be used in food gardens, but manure from cats, dogs, pigs, and humans is not safe for garden use. You can often find aged manure at your local garden center beside the bagged compost, but farmers and neighbors with chickens or other livestock are often willing to gift buckets of fresh manure for free! Don’t be afraid to ask if farmers have fed their livestock herbicide-treated hay as manure contaminated with herbicides can kill garden plants and spoil your soil.
Step 2: Clean up your beds.
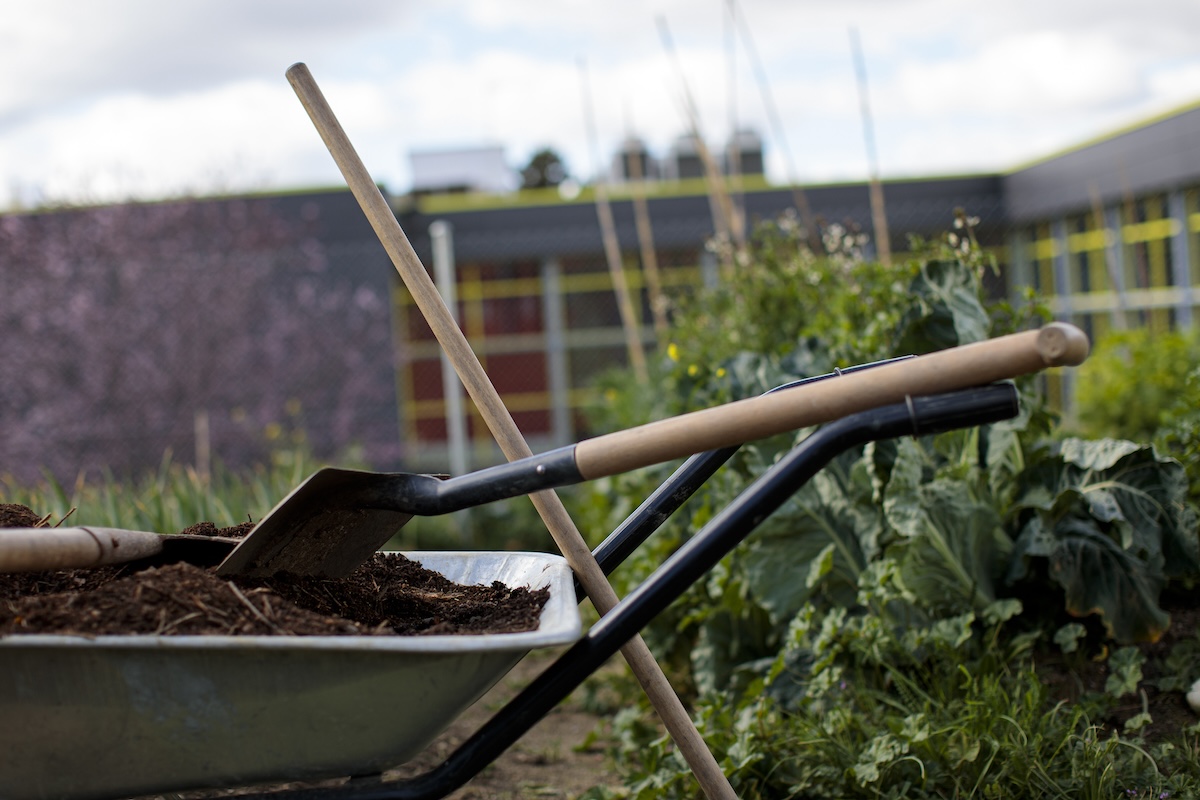
Tidying up your garden before applying manure makes application much easier, and it can help you get a better idea of how much manure you’ll need. So go ahead and don your gardening gloves, pull up old and dead plants, rake up fallen leaves, and level uneven spots with your shovel. You may also want to test your soil to decide if you’d like to apply other slow-release organic fertilizers in addition to the manure.
Step 3: Time your application correctly.
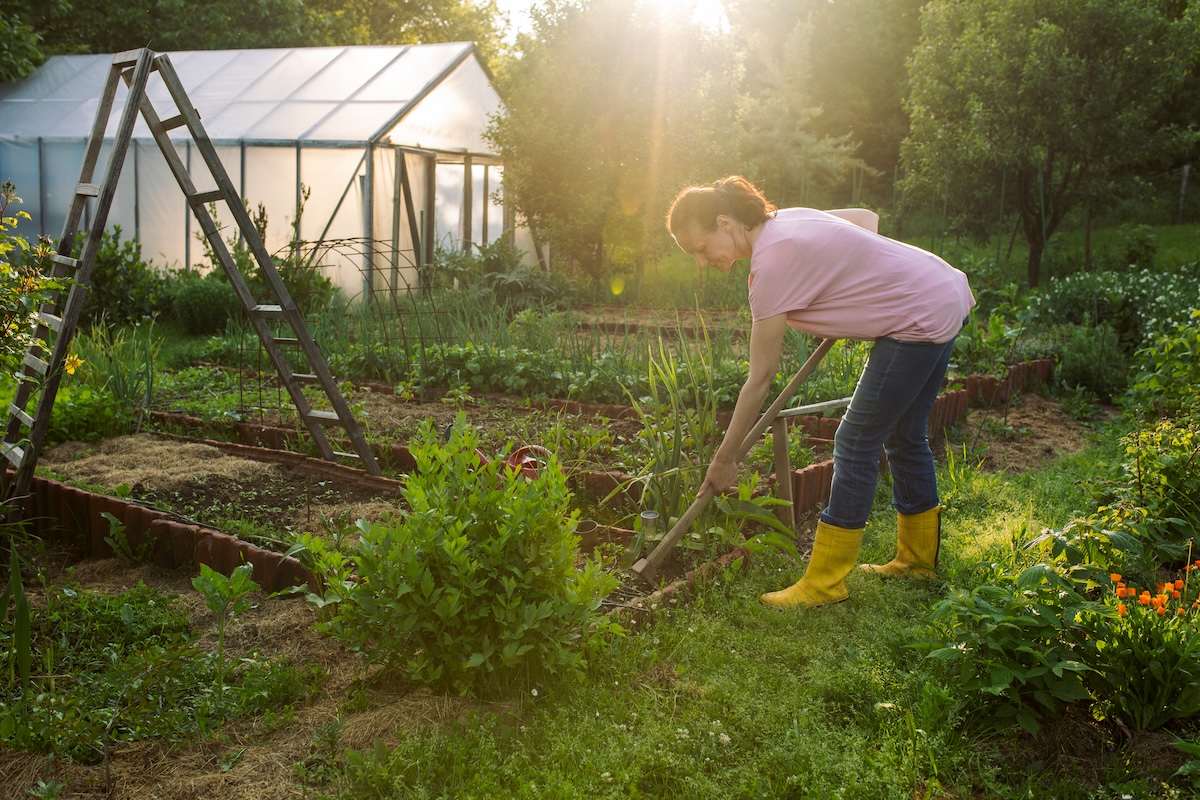
The best time to apply manure is after you’ve harvested your crops at the end of season, but before the ground freezes solid. Applying manure when the soil temperatures are between 35 and 50 degrees Fahrenheit is ideal as this reduces the chances of nutrient leaching and will help you avoid frozen soil, too. However, if you’re still planting cool season crops like brassicas, you may want to avoid using manure or at least keep manure applications far from your veggies.
Step 4: Determine how much manure to use.
How much manure you’ll need will depend on the type of manure you’re using, the quality of your soil, and the size of your garden. In general, you’ll want to spread about 1 to 2 inches of manure across your garden beds, which translates to about 40 pounds of manure for every 100 square feet of gardening space. Manure that’s mixed with animal bedding is more “diluted,” so you’ll need to apply a bit more of it.
Step 5: Apply the manure.
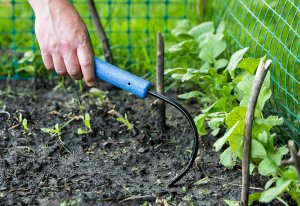
Spread the manure by hand or with a shovel or broadcast spreader, and then use a shovel or gardening fork to mix the manure into the top 6 to 12 inches of your soil. This will reduce nutrient loss and help the manure become better incorporated into your soil. Pelleted manure, like rabbit manure, is the easiest to apply by hand, while a shovel is handy for spreading cow and horse manure.
Tip: Chicken and rabbit manure are generally weed-free, but cow and horse manure often contain weed seeds. These manures should be hot composted before use to avoid weedy issues.
Step 6: Add mulch and other amendments.
Adding a thin layer of natural mulch over manure isn’t required, but it can protect your soil from the elements and keep weed seeds from sprouting. Depending on the results of your soil test, you may also want to mix other slow-release fertilizers or even some compost into your soil at this time. Remember, manure has lots of nutrients, but it isn’t a complete fertilizer on its own.
Step 7: Wait.
After applying manure to your garden, it’s time to sit back and wait for spring. During the winter, composted and fresh manure will start to release nutrients into the soil, while the salt and pH levels of fresh manure will mellow out so they won’t burn plants in spring. When spring arrives, all you’ll need to do is brush back your mulch and start planting!