
We may earn revenue from the products available on this page and participate in affiliate programs. Learn More ›
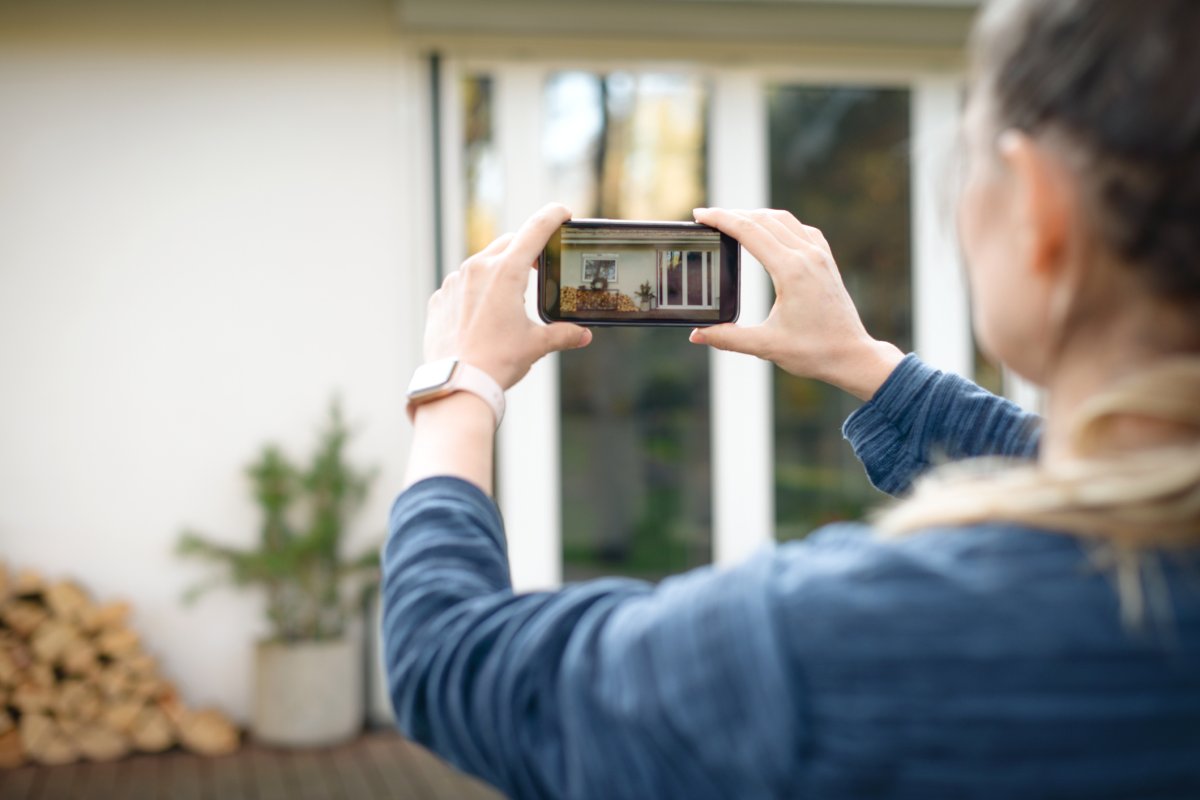
Trying to sell your house is never an easy task, but the pictures included in the listing can make all the difference in the world. As the saying goes, “a picture is worth a thousand words.” Having high-quality real estate photos that exemplify the beauty and personality of your home can help you attract a buyer in no time.
We spoke to several real estate professionals to collect their tips and tricks for taking the best images to highlight your home when placing it on the market.
Invest in a high-quality camera.
Investing in a decent camera is the first step toward taking effective DIY real estate listing photos, says Keith Sant, founder and CEO of Kind House Buyers in Tacoma, Washington. “While smartphones may have advanced cameras, they may not always produce high-quality images,” he says. He recommends purchasing a DSLR camera or even renting or borrowing one if you don’t want to make a big investment. Choosing a camera with a wide-angle lens without distortion is also critical for capturing the best photos possible for both real estate and renovation photos, as it helps make rooms appear larger and more spacious.
Clean and declutter the space.
Before snapping any photos for listing sites, take the time to clean up and remove unsightly items that might draw attention away from a room’s appearance. “Messy and cluttered spaces can be distracting and take away from the features of your property,” notes Sant. “Clear out any personal items such as photographs or excessive decorations that could make it difficult for potential buyers to envision themselves living in the space.”

Use natural lighting.
Lighting can make or break sales, says Devin Ramos, founder and CEO of Simplifi Real Estate in Clarksville, Tennessee. According to his team’s statistics, well-lit rooms get 60 percent more buyer inquiries than similar poorly lit rooms. “Properties we listed with proper lighting methods sold on average 18 days quicker than similar properties,” says Ramos. His golden rule: photograph between “golden hours” (within 1 to 2 hours of sunrise or shortly before sunset) when natural light provides warm, welcoming tones. For interior photography, open all window treatments and turn on all lights in the room to achieve depth and warmth in the photos.
Stage the rooms properly.
Staging a room can make it more visually appealing and help potential buyers imagine themselves living in the space, says Sant. “Arrange furniture in an inviting way, add some decorative items such as pillows or plants, and remove any unnecessary clutter.”
Try not to over-stage the home, either. It can look too orchestrated if you bring in props or décor that aren’t part of everyday life, says Ryan Fitzgerald, real estate expert and founder of Raleigh Realty in Raleigh, North Carolina. “A neatly arranged bowl of fruit on the counter is fine, but don’t cram every corner with fresh flowers or mismatched accessories. Buyers can sense when something feels fake, and it distracts from the actual layout of the house.”
Take composition into account.
By taking multiple photographs from different angles and heights, you can attract interested buyers with the visual details of your listing. Composing shots with consideration should be priority number one, says Jonathan Ayala, licensed real estate agent and founder of Hudson Condos in Hoboken, New Jersey. “Wide, clean shots would show the flow of the space, while tight angles should be avoided,” he says.
Ideally, photograph each room from a corner to capture as much of the space as possible, and always take photos from different angles. In addition, Ramos recommends following the three-height technique to capture the best perspective. This involves taking pictures from three different heights, including the doorknob (provides genuine room view), chest (shows the most details of the room), and overhead shooting down (shows room configuration). This approach increased Ramos’ showing-to-offer rate by 27 percent on his listings.
“Properties we listed with proper lighting methods sold on average 18 days quicker than similar properties.”
Devin Ramos, founder and CEO of Simplifi Real Estate
Make the best of architectural elements.
Ryan Whitcher, CEO of Harmony Home Buyers in Charlotte, North Carolina, recommends utilizing special elements of the home, such as doorways or archways, to guide the eye and highlight some areas. “This will generate interest in the pictures and enhance their attractiveness,” he explains. In one of the houses he listed, for example, he featured photos of a well-designed archway to help highlight the dining room’s spaciousness.
Showcase the personality of the space.
Fitzgerald believes that buyers want to fully experience the space and understand how it feels, so it’s important to provide them with images that they can connect with emotionally. This might mean capturing those moments that make them feel like they already know the house, as if they can see themselves sitting on the porch swing or reading by the sunny window. “You don’t need every shot to be absolutely flawless; you just need them to spark interest, convey warmth, and invite people to see more,” he says. Ultimately, you want real estate photos that prompt buyers to picture themselves actually living there.
Enhance images during the editing process.
Your work isn’t complete until after the photo shoot and through the editing stage. Lightly edit images to enhance brightness, contrast, color balance, clarity, and sharpness. Just make sure they still look realistic and true to the space. “You can use any sort of enhancement in Photoshop or phone edit apps to brighten or contrast your images, but be careful not to overdo it since buyers want to see the true space,” says Ayala.
