We may earn revenue from the products available on this page and participate in affiliate programs. Learn More ›
Upcycle to Get the Yard You Want
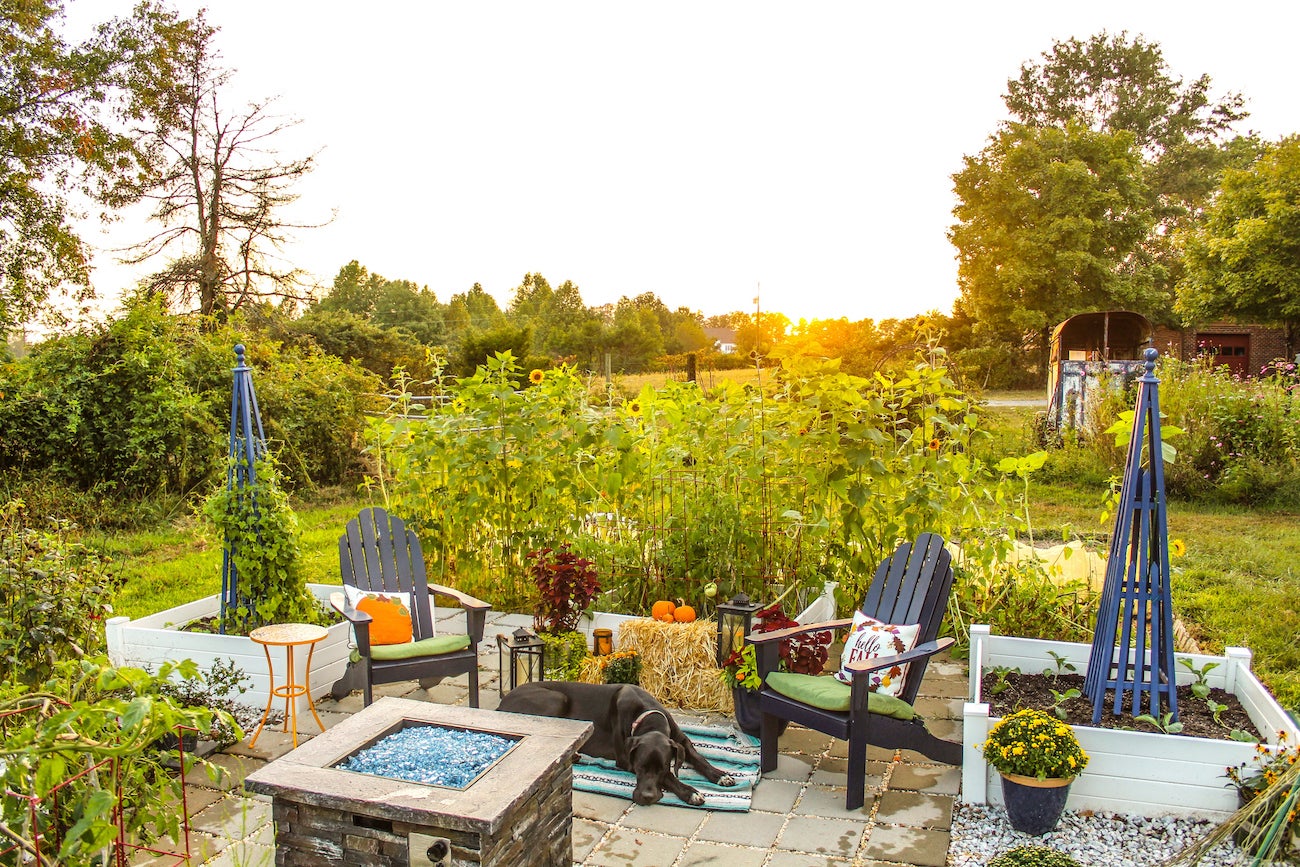
You don’t have to be a master gardener or professional mason to improve the look and functionality of your yard. nor do you have to spend a lot of money on tools or materials. Instead, delve into the depths of your garage or shed and allow yourself to be inspired by the cans of spray paint, extra bricks or pavers, and spare pieces of lumber you find. Following are some of our favorite easy DIY landscaping ideas that you can get done in one day.
Pro tip: If you don’t have spare flower pots, bricks or other stuff lying around, try searching local buy-nothing groups on your social media platform of choice.
Chart a New Path
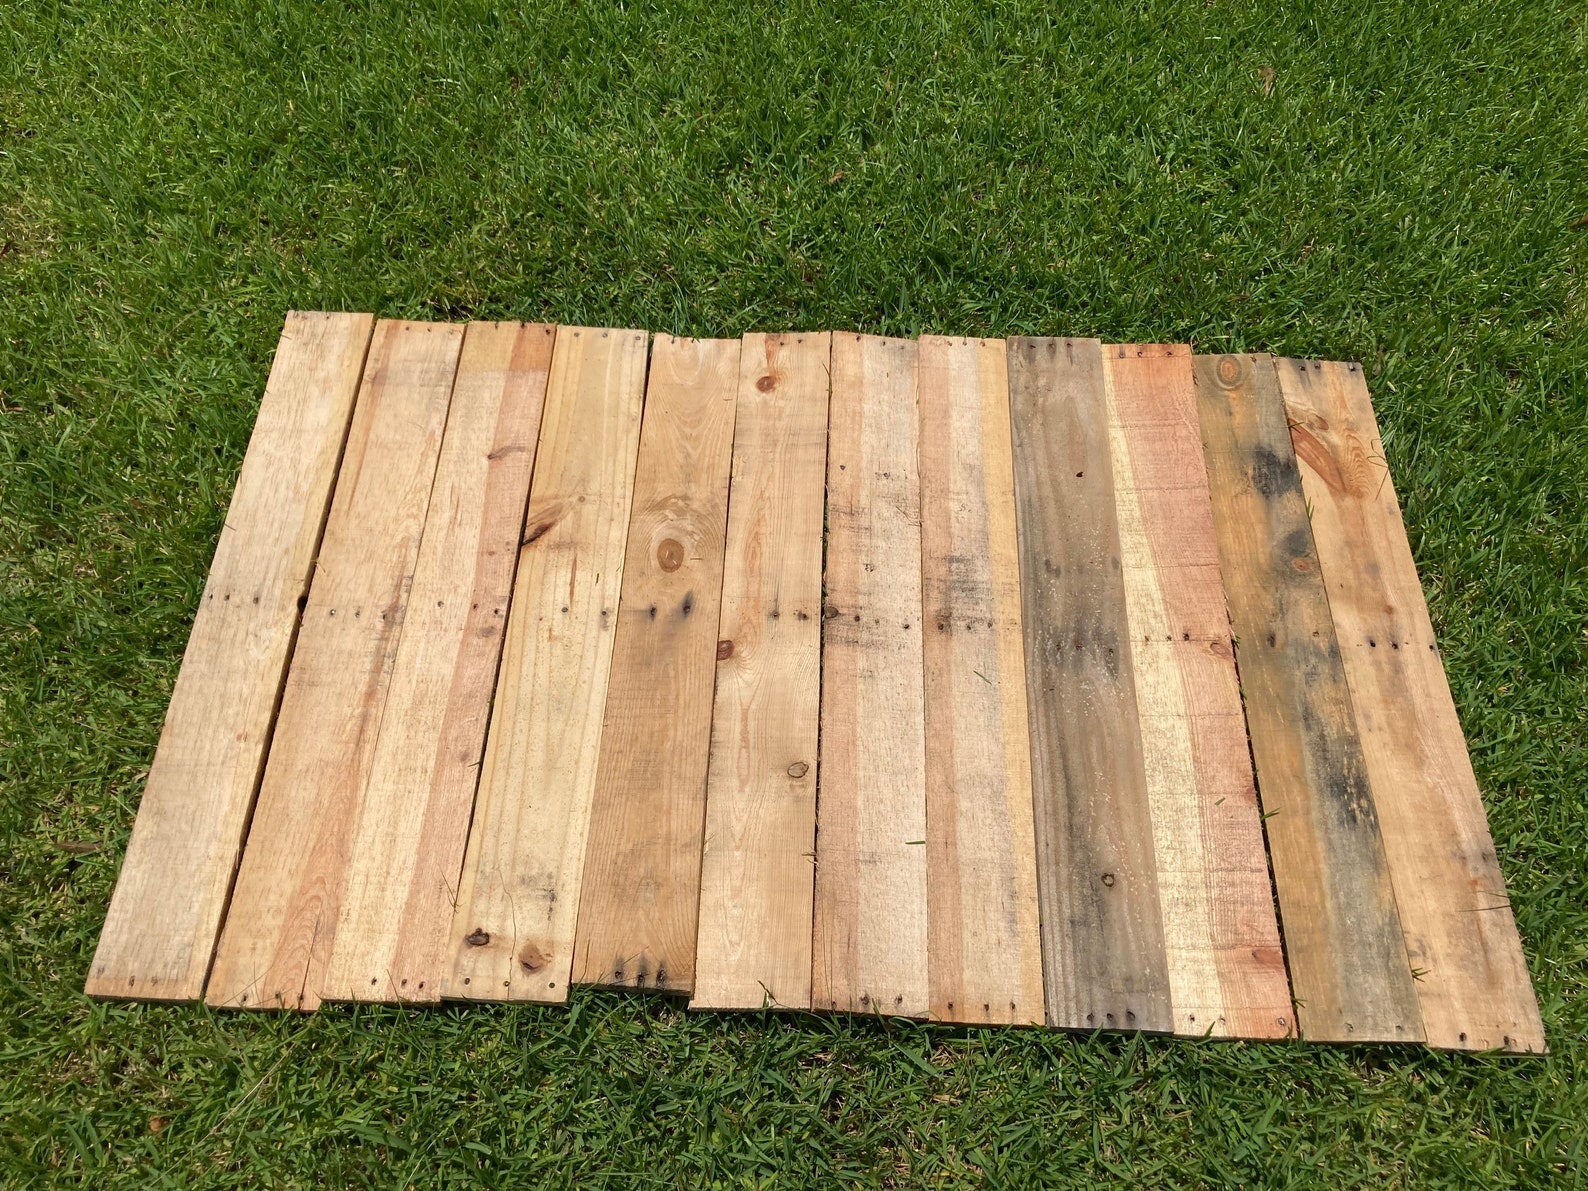
Step aside, stepping stones! For a new and unexpected take on the garden path, try building one out of materials you can get for free. All it takes to create this no-fuss wooden walkway is to dig a shallow trench in the earth, then embed salvaged pallet wood planks into the dirt in a curved arrangement. If an individual board rots, simply pop it out and replace it.
RELATED:
7 Thrifty Designs for a DIY Walkway
Live on the Edge
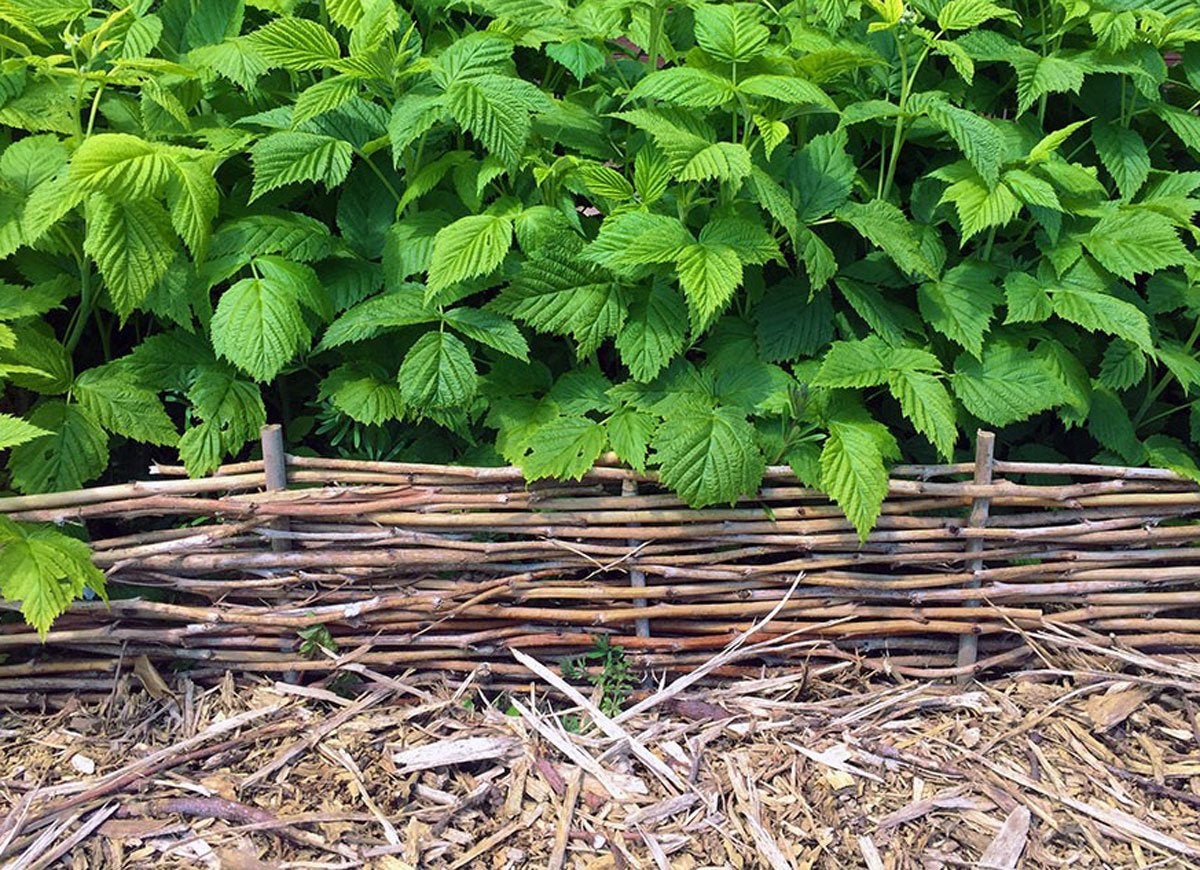
With all the rustic allure of wicker, this woven garden border lends a handmade finish to your humble garden. Recreate this cheap landscaping idea at home by setting bamboo posts in the dirt 12 to 18 inches apart, then interleaving raspberry canes or other long, skinny stems that grow in your area through the posts to achieve a whimsical woven pattern. For a professional look, finish the project by lightly hammering the tops of the bamboo supports until they’re all level.
RELATED:
The 30 Best Gifts for Gardeners That They’ll Actually Use
Divide and Conquer
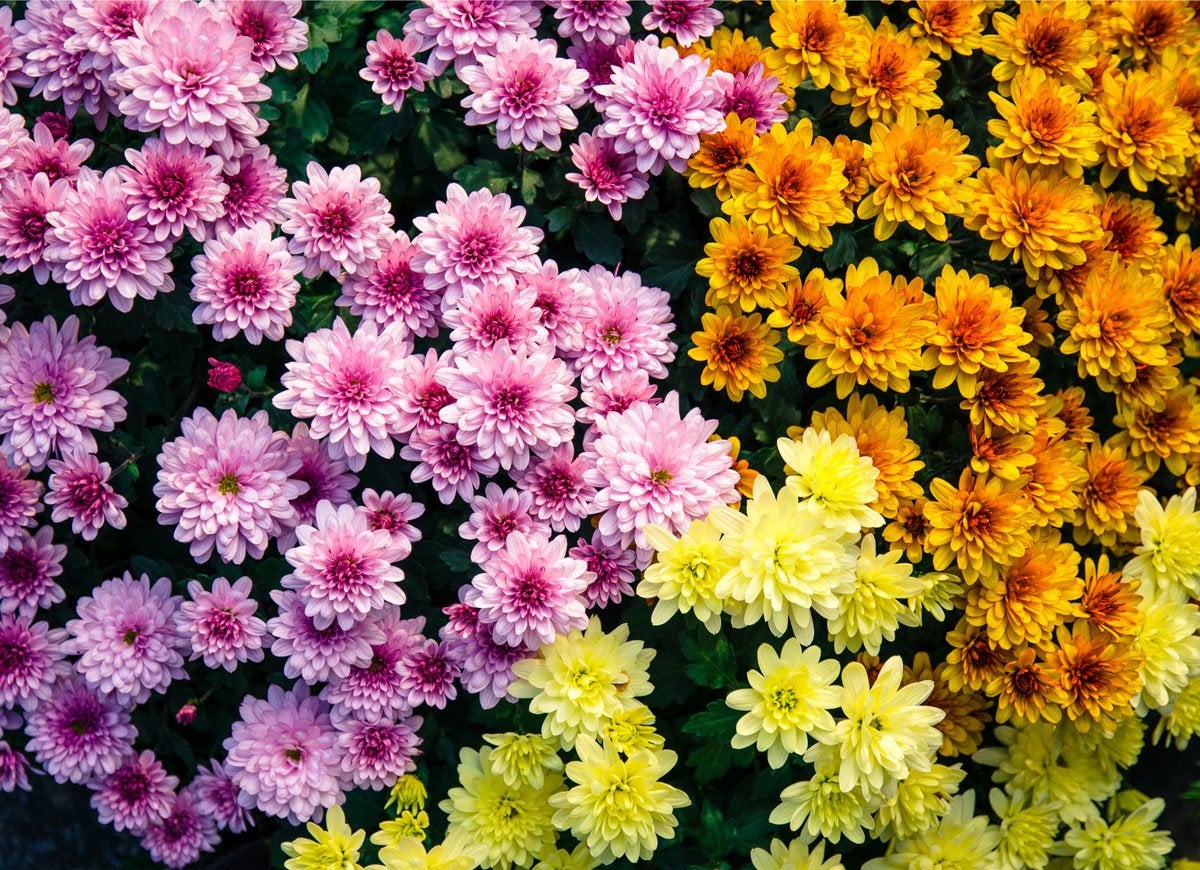
Dividing clump-forming perennials like chrysanthemums and asters is the best way to gain additional plants while preventing the problems that come with tightly clustered plants—namely stunted growth, pest infestation, and fungal disease. The process entails digging up the clump of the perennial, lifting it from the dirt, separating the crowns where the stem and root meet, then replanting the plant divisions in the dirt. Tackle this project in early spring, before the plant flowers, to maintain a healthy garden.
Related:
Bad Neighbors: 11 Plant Pairs Never to Grow Side by Side
Much Ado About Mulch
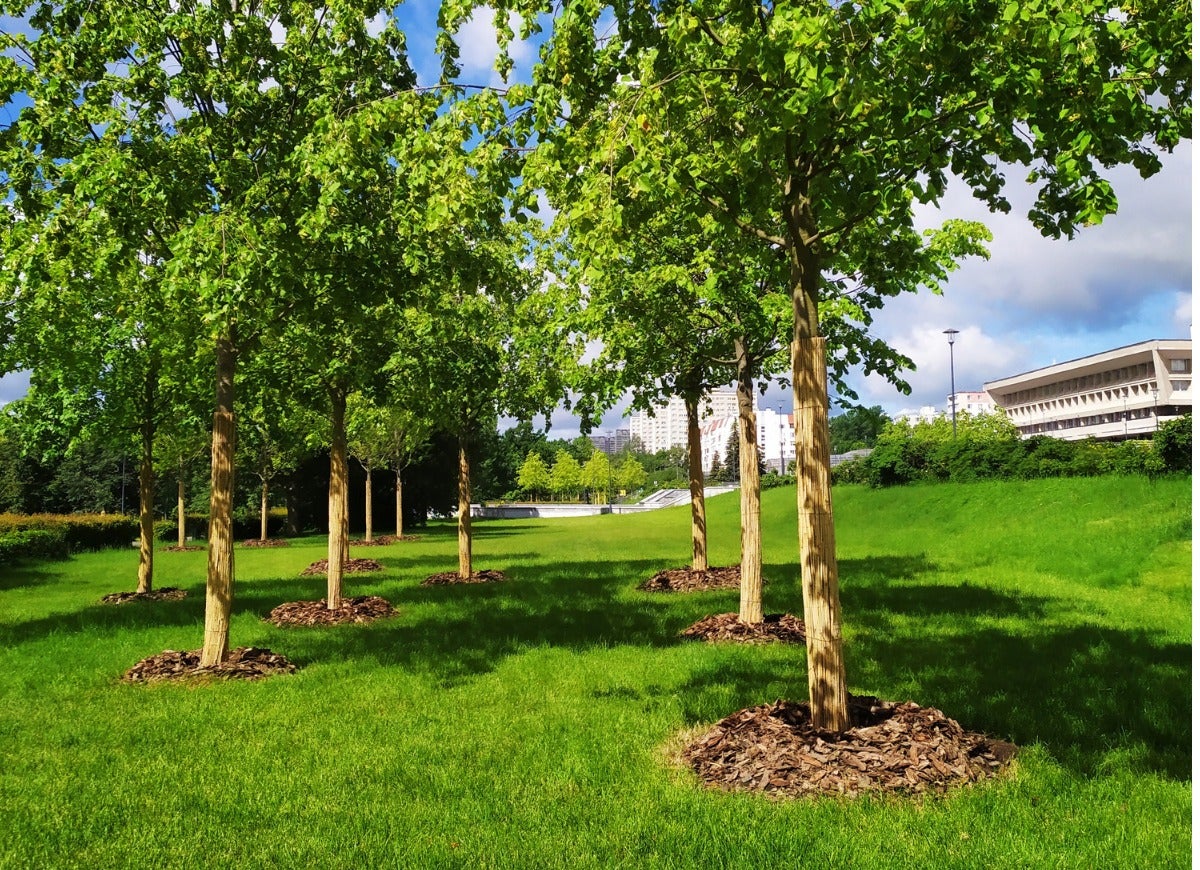
There are lots of reasons why it’s a good idea to add a ring of mulch around a young tree. Mulch insulates the soil from extreme heat and cold, retains moisture, prevents weeds from growing around the tree, and keeps roots from poking through the surface where they could pose tripping and mowing hazards. What’s more, you might be able to get mulch for free. Many towns offer free mulch to residents, so you can cross this cheap landscaping idea off your summer to-do list without making a dent in your wallet.
RELATED: How To: Make Mulch from Scratch
Bark Up the Right Tree
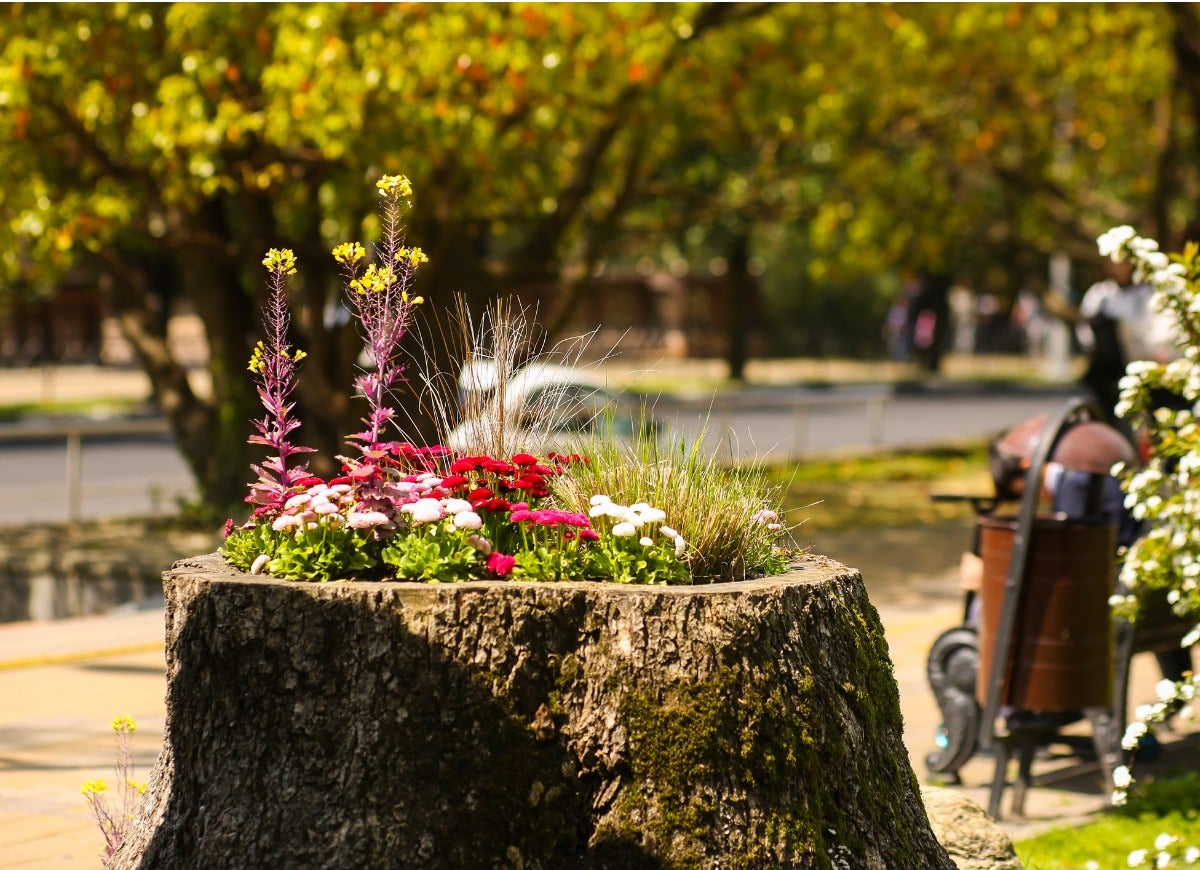
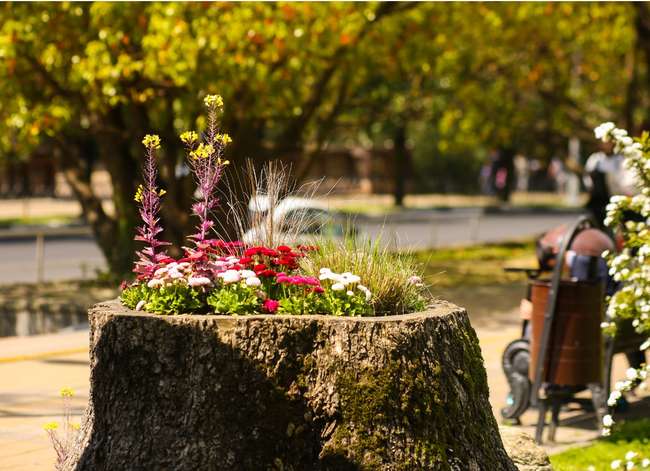
Whether a tree has been chopped down or felled by a storm, you might be left stumped about what to do with the remains of that ill-fated tree. Know that expensive or time-consuming stump removal isn’t the only solution to the problem. Taking inspiration from this unconventional garden, you can repurpose a neglected tree stump into a one-of-a-kind planter. As long as rot hasn’t set in, you can hollow out the center of the tree stump with a jigsaw and a chisel, fill the hollow core with soil, then drop in your favorite blooms to create an all-natural flair for the yard.
Spill the Style Secret
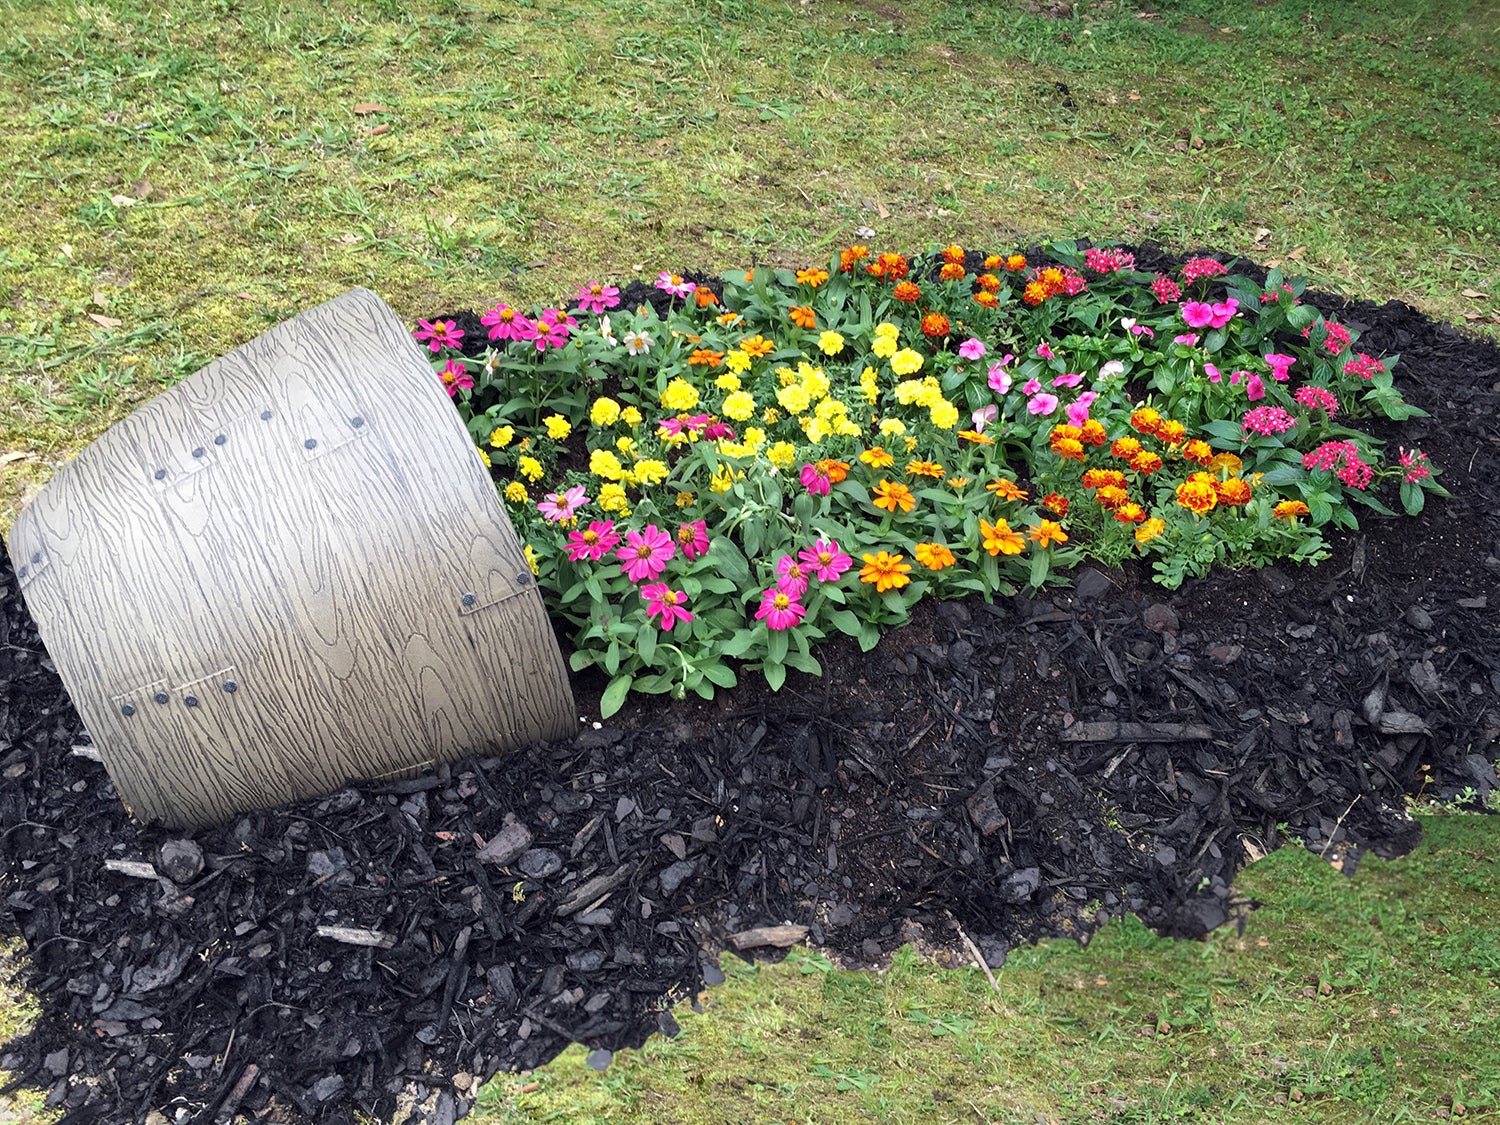
There’s no need to clean up after this spilled trash can in the garden—it’s by design! You can recreate the beautiful “oops” moment at home by laying a weathered, metal bucket or flowerpot on its side, then anchoring it by adding soil or rocks on the inside, and planting a thick clump of flowers right next to the can for a landscaping illusion.
RELATED:
10 Foolproof Flowers Anyone Can Grow
Bloom Where You're Planted

Ten minutes with a trowel can turn even a purely functional element such as a mailbox into an extension of your landscape. The turf at the base of this ordinary metal mailbox was cut away to create a small garden bed, which was then filled with flowers for a colorful boost in curb appeal.
RELATED: 14 Insanely Easy Curb Appeal Projects You Can Do in a Day
Put Down Roots

While it can take years for a sapling to mature into an established tree, you can plant a tree in an afternoon. The key is to wait until the end of the season to buy and plant a tree, when there are deep discounts to be had at nurseries. Just check optimal planting time in your area to give it time to settle in for winter. The small investment on a tree today can pay for itself many times over in the future in the form of reduced energy costs and higher property values.
Make a Splash
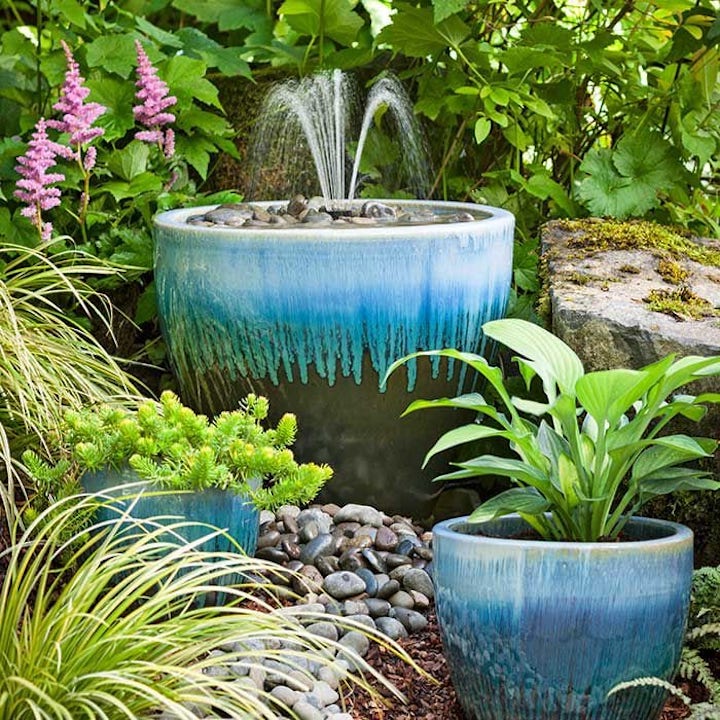
Why splurge on a pricey store-bought garden fountain when you can DIY this beauty for a bargain using gardening gear you might already have? Comprising a stack of two plant pots kept in place with a cinder block, this DIY fountain flows thanks to a vinyl tube attached to a submersible pump inside the lower pot. Large rocks and pea gravel resting inside the pots give the garden accent a tranquil touch.
Put Gardening Woes to Bed
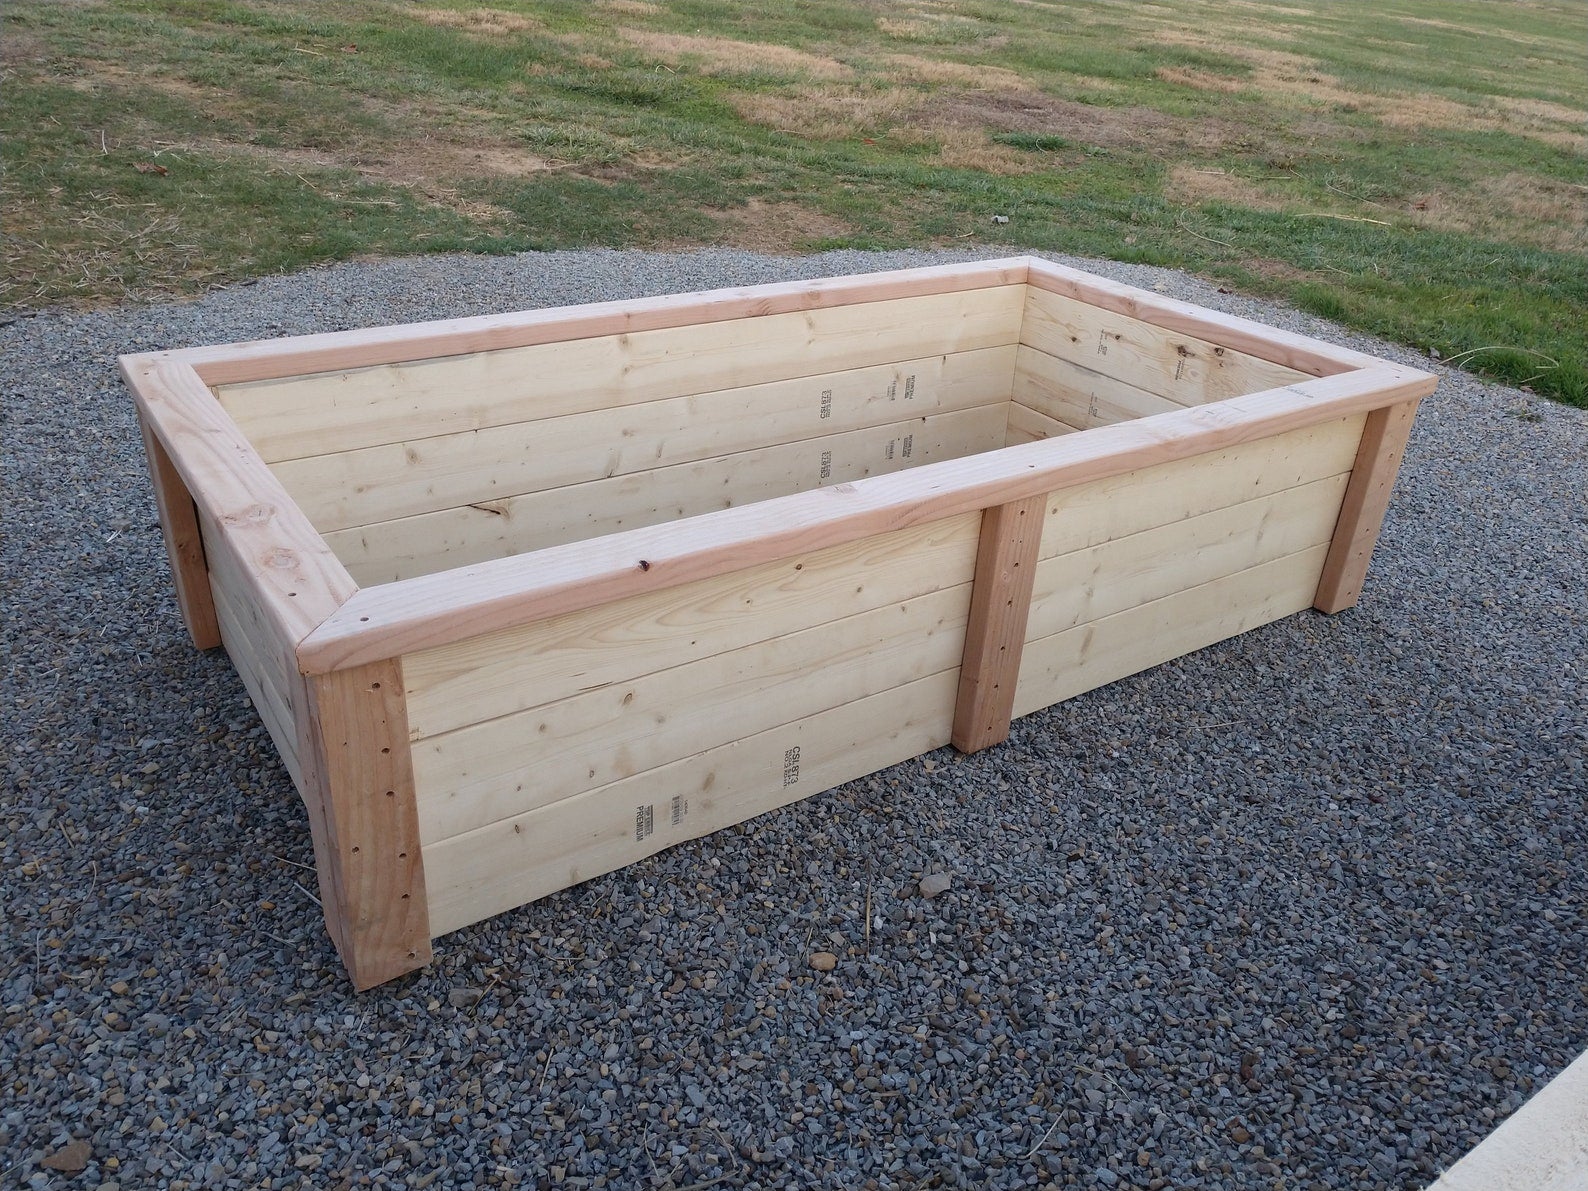
Raised garden beds are the perfect solution for a yard frequently plagued by pests or weeds. This cheap landscaping idea comes together in less than a day with wooden boards and a handful of screws. The deep and wide basin offers plenty of room to grow a thriving edible garden full of your favorite seasonal vegetables. The ledge at the top of the bed adds a little flourish to the raised bed.
Create a Plant Container Focal Point
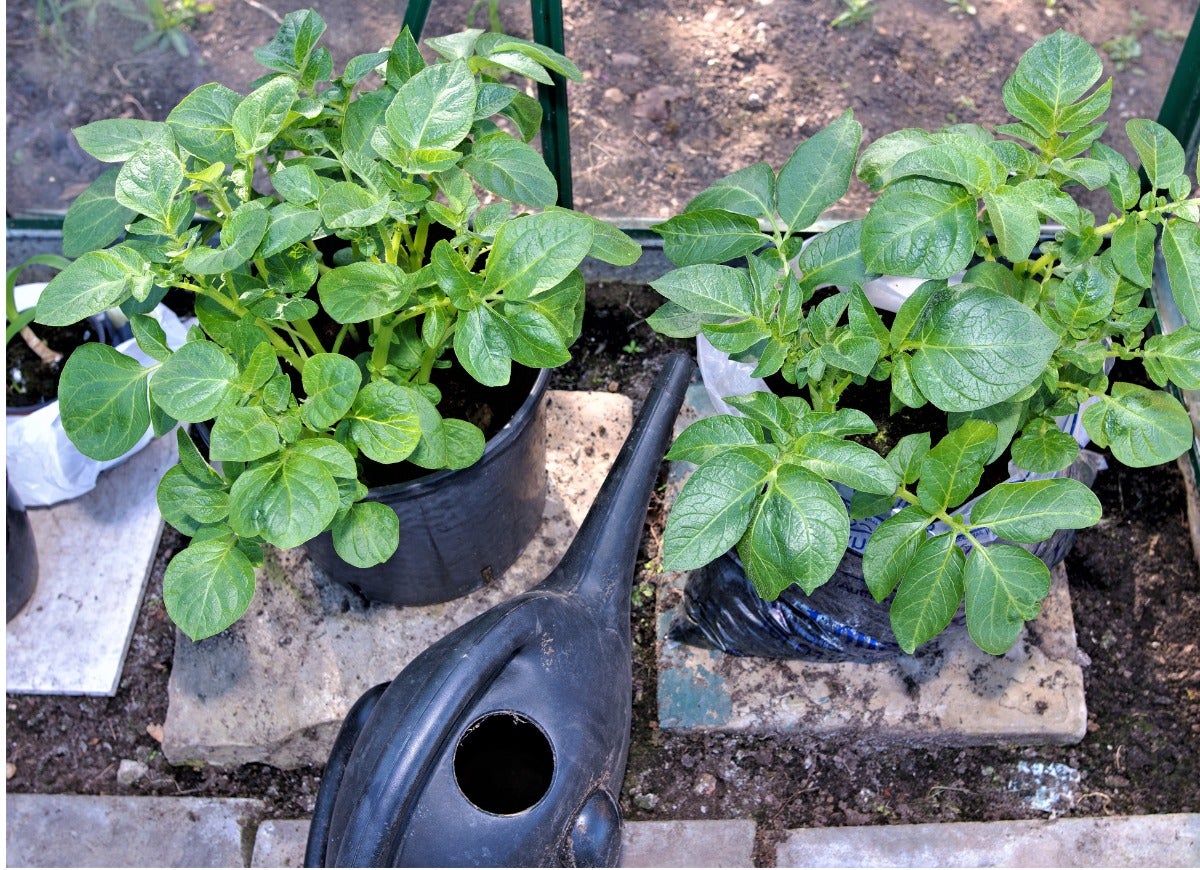
Arrange four 12-inch by 12-inch concrete stepping stones into a square pattern—perhaps on a patch of your lawn that refuses to grow—leaving 1/2 inch to 1 inch between the stones. “Shop” around your yard, shed, and garage, or peruse online listings for plant pots of various shapes and sizes. Fill the containers with potting soil and affordable 4-inch plants from a garden store (or take cuttings from plants you already have). Group the pots together on the pavers to create a dramatic focal point. Work to achieve various heights for greater interest. Turn an old pail upside down and place a pot on it, for example, to add some height.
Get Creative with Gas
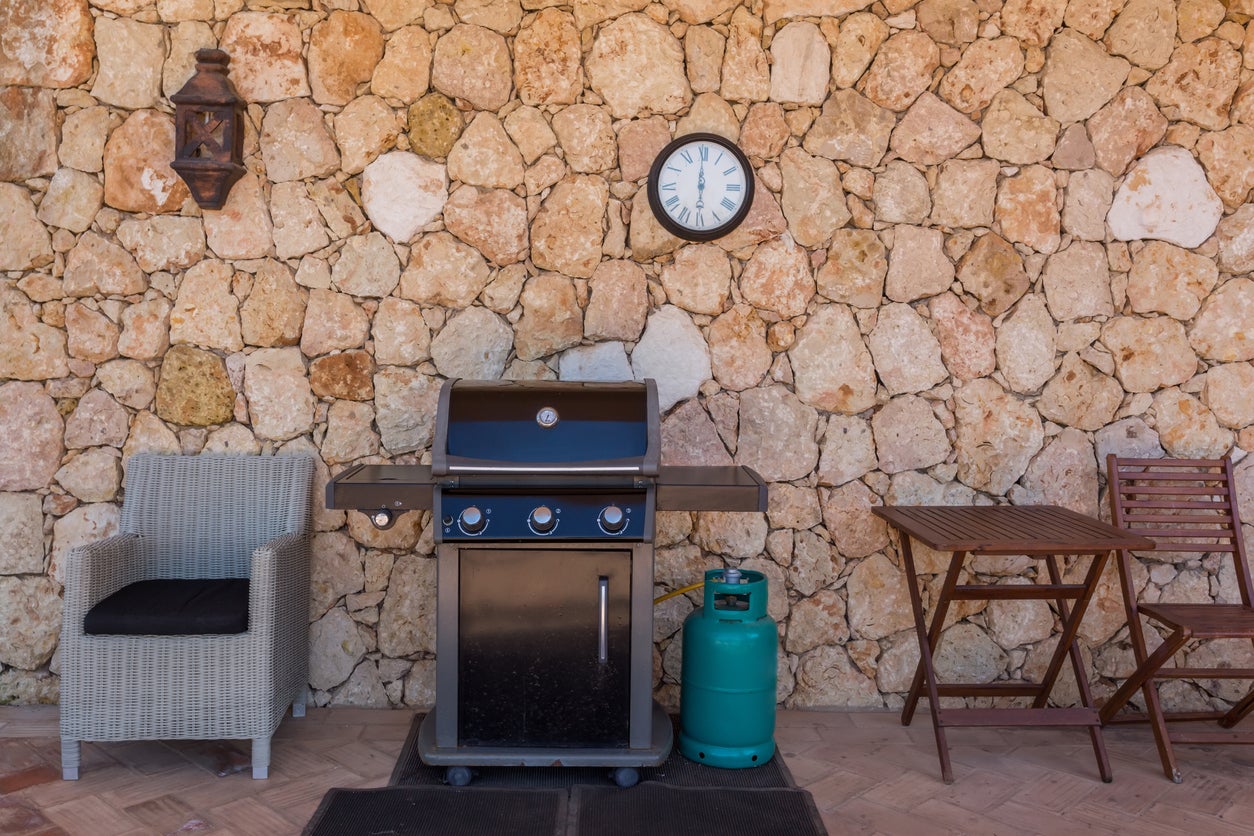
Do you have an ugly, utilitarian propane tank on your property that sticks out like a cat at doggie day care? Paint it. Pick up some spray paint and go to work. You can choose a deep green to blend in with adjacent trees and plants, or let your creativity shine,and adorn the tank with artistic flair.
Little Rocks, Big Pots
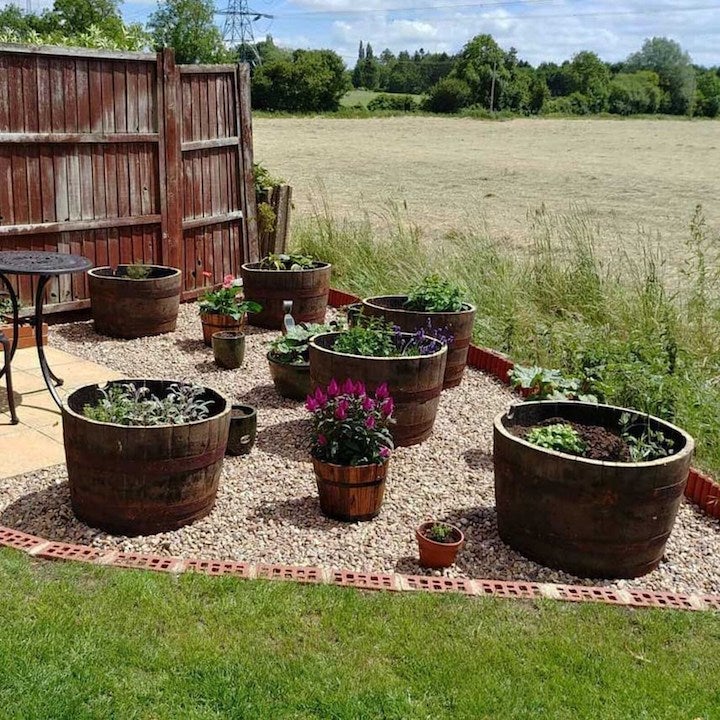
Here’s another cure for dead-grass zones: Border off the area with found material such as large rocks or old bricks, or with inexpensive border material. Fill with a layer of small, decorative rocks like black basalt or pea gravel, or use crushed granite. Make a statement by adding a few large planters—perhaps half whiskey barrels, like these from Etsy seller CelticTimber—in the center.
Pro tip: Lay landscape fabric before you add the gravel to prevent weeds from poking through.
Craft an Arbor from Limbs
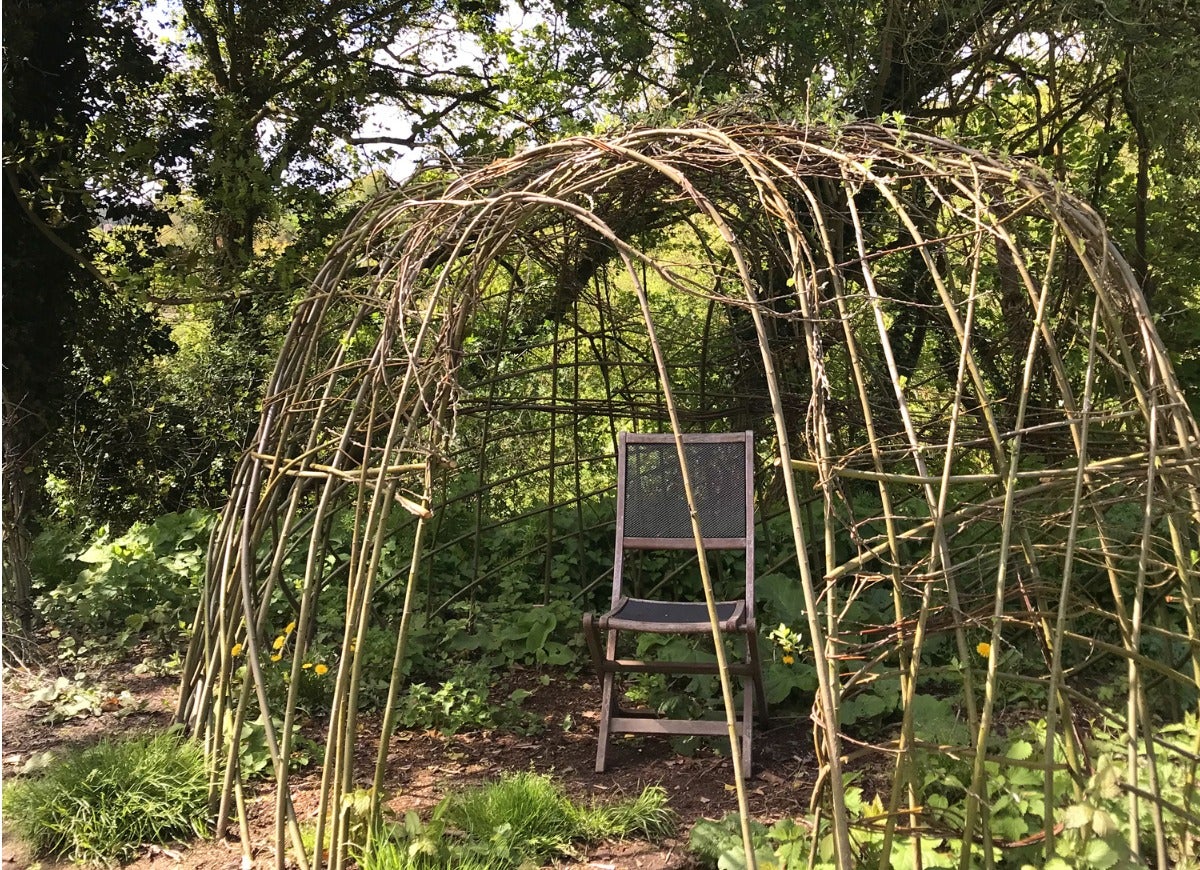
Doing some tree trimming? Save the smaller limbs (those that are less than 1 inch in diameter) to craft a rustic and charming arbor. Two simple upside-down “U”s spaced a couple of feet apart can be connected every foot or so by horizontal braces; tie the pieces together using wire. Or you can do a more squared-off design with upright “posts” and a horizontal “roof.” Plant a climbing vine on each end of the arbor and train the stems to climb up and over your new structure.
RELATED: Why It’s a Really Bad Idea to Hire an Unlicensed Tree Trimmer
Warm up to a Fire Pit
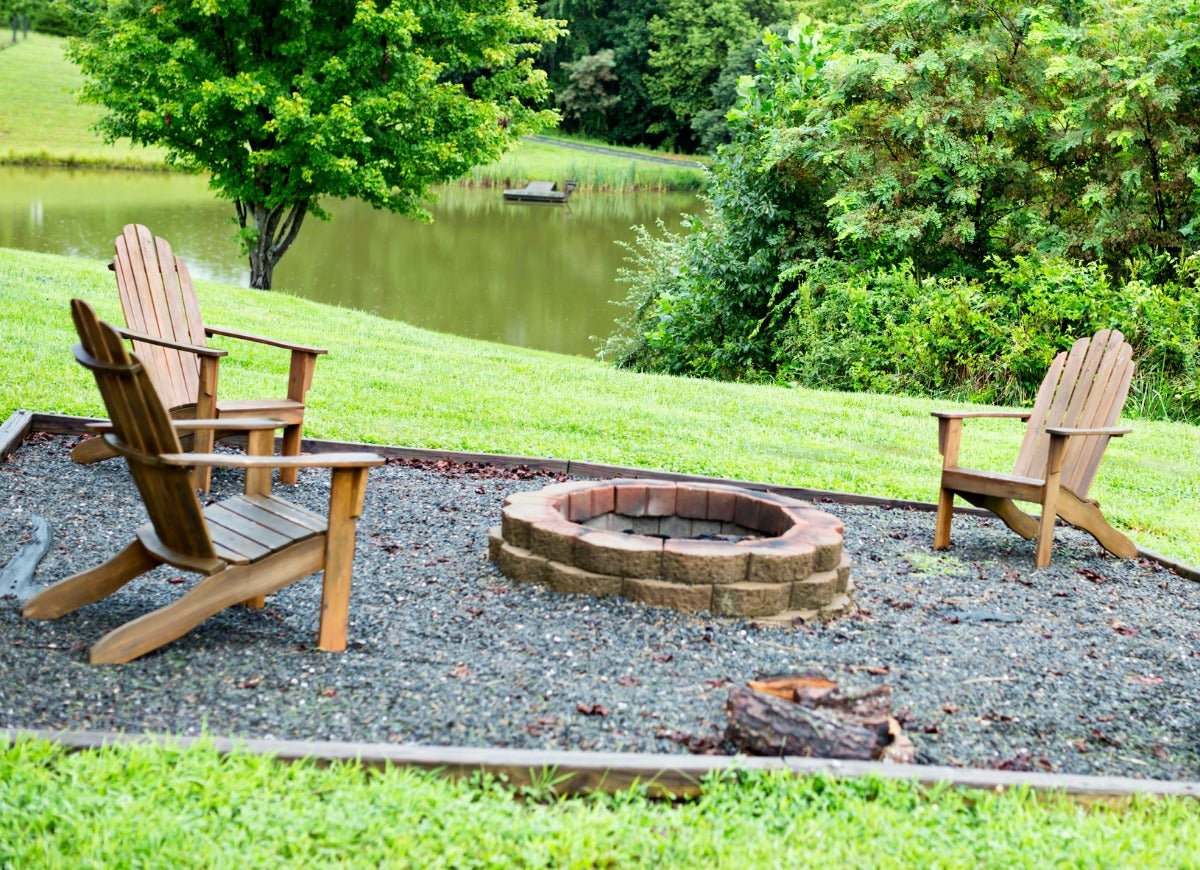
Enjoy warming up by a fire on cool fall evenings? Use large rocks you source from your property, or affordable fire bricks available at home improvement centers, to construct a backyard fire pit. Stack your building materials in a circle, square, or rectangle—whatever fits your vibe! Check out our how-to guide on building a fire pit for step-by-step instructions.
RELATED: After 33 Hours of Testing, Here Are Our 11 Best Fire Pits of 2025

Our Best Advice for Beginner Gardeners
We’ll help you set up your first garden—whether that’s a few pots on your patio, a raised bed, or an in-ground plot out back—and select the right plants for your soil and region.
