We may earn revenue from the products available on this page and participate in affiliate programs. Learn More ›
Clip Bags Closed
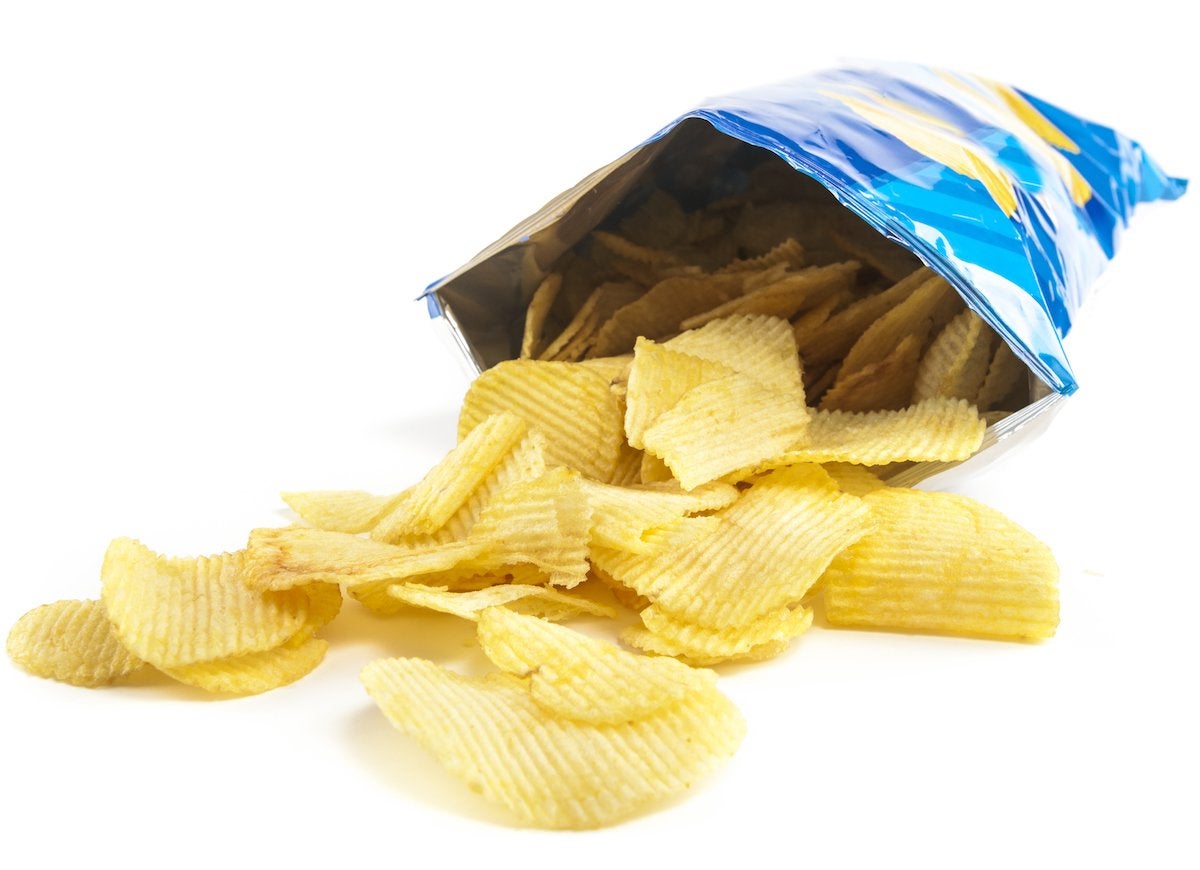
To keep those chips from going stale, use a straw as a bag clip. Slice a straw lengthwise, cut it to match the width of the bag, then just slide it over the bag’s opening. For a more secure closure, fold the bag’s top over a few times, then slide a second “straw clip” into place.
Make Over Your Christmas Lights
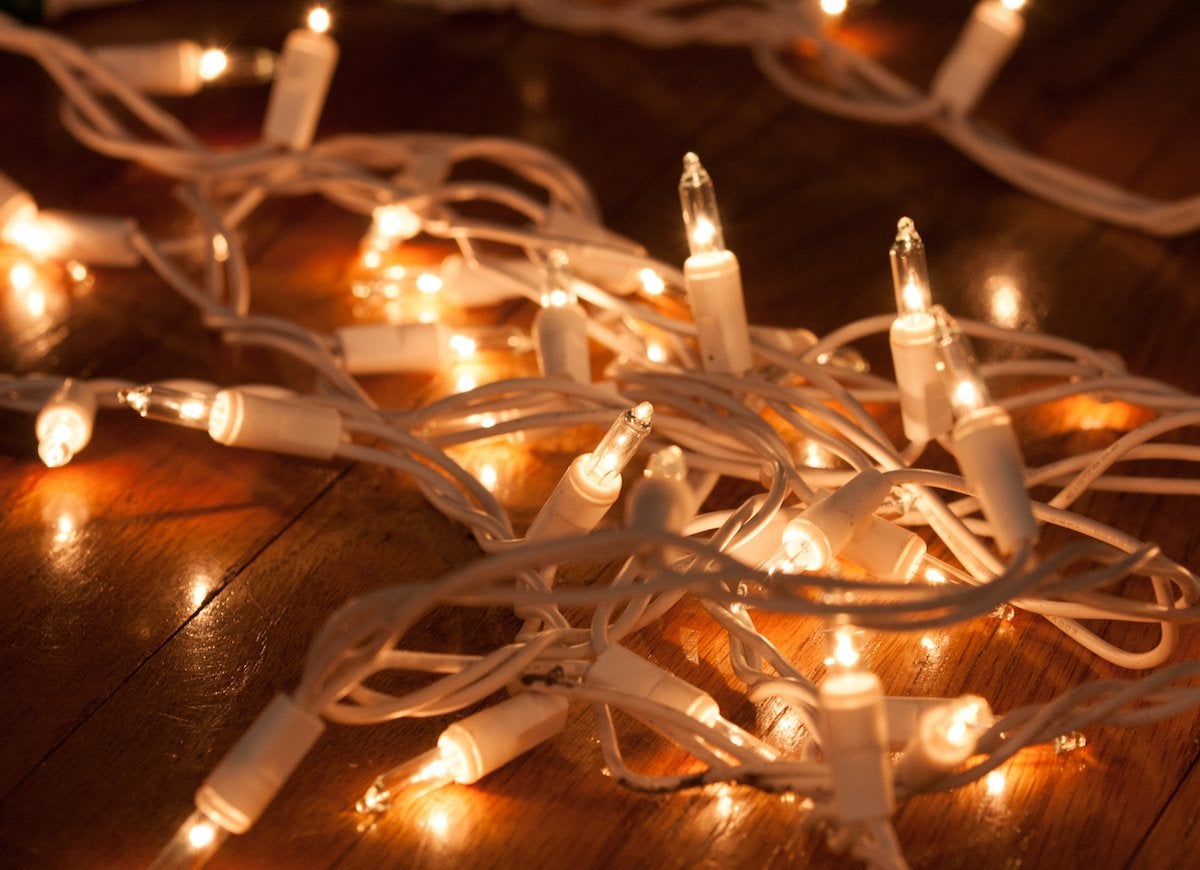
For a colorful change to your twinkling white lights, cut straws into one-inch segments, then slide one over each tiny bulb. Voilà! You now have a garland of bright, multicolored string lights.
Related: 8 New Ideas for DIY Outdoor Lighting
Hull Strawberries
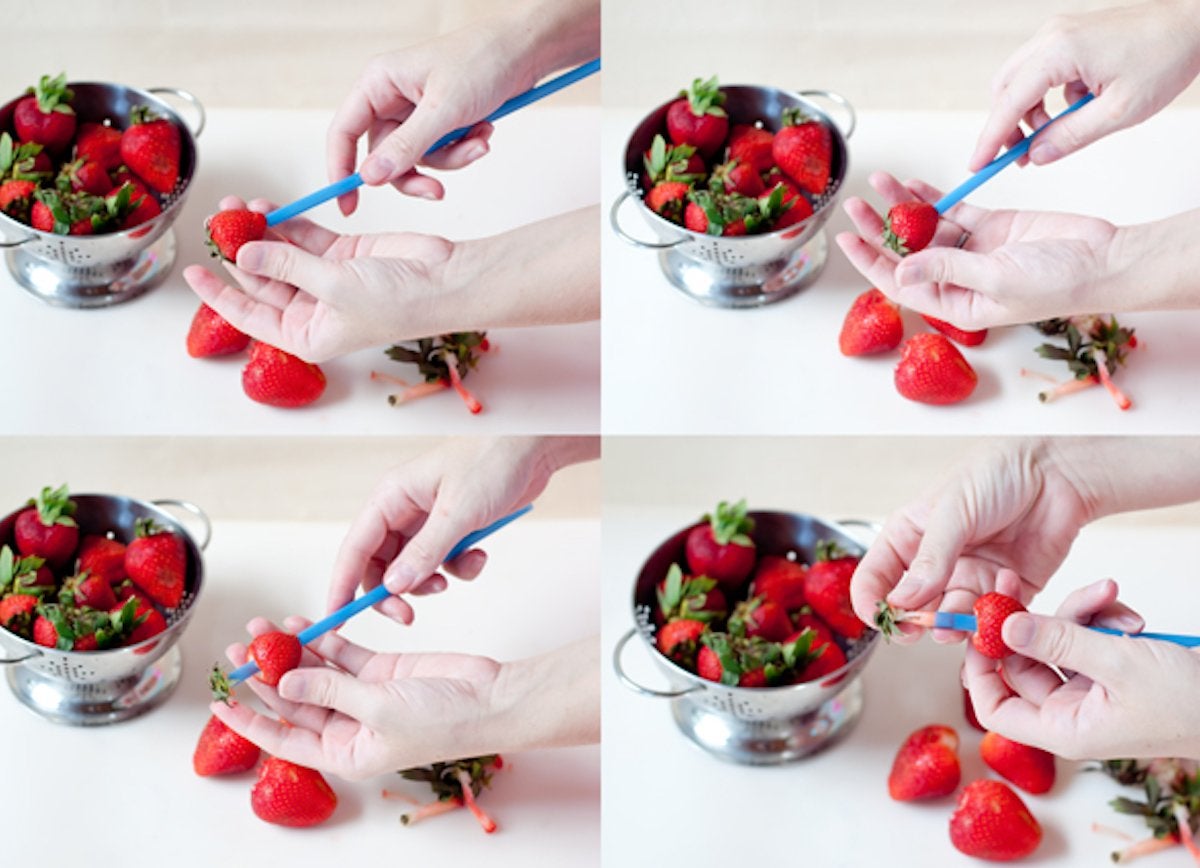
There seems to be a kitchen gadget for everything nowadays, but the next time you need to hull a bunch of strawberries, don’t rush off to buy a new toy. Save yourself some money and cut down on clutter with this smart cooking hack. Grab a straw and insert it into the berry’s pointed bottom. Push it through until it pops out the other side, taking the hull and stem along with it. It’s so simple and easy! When you’re done, just toss the straw away.
Make Your Razor Road-Ready
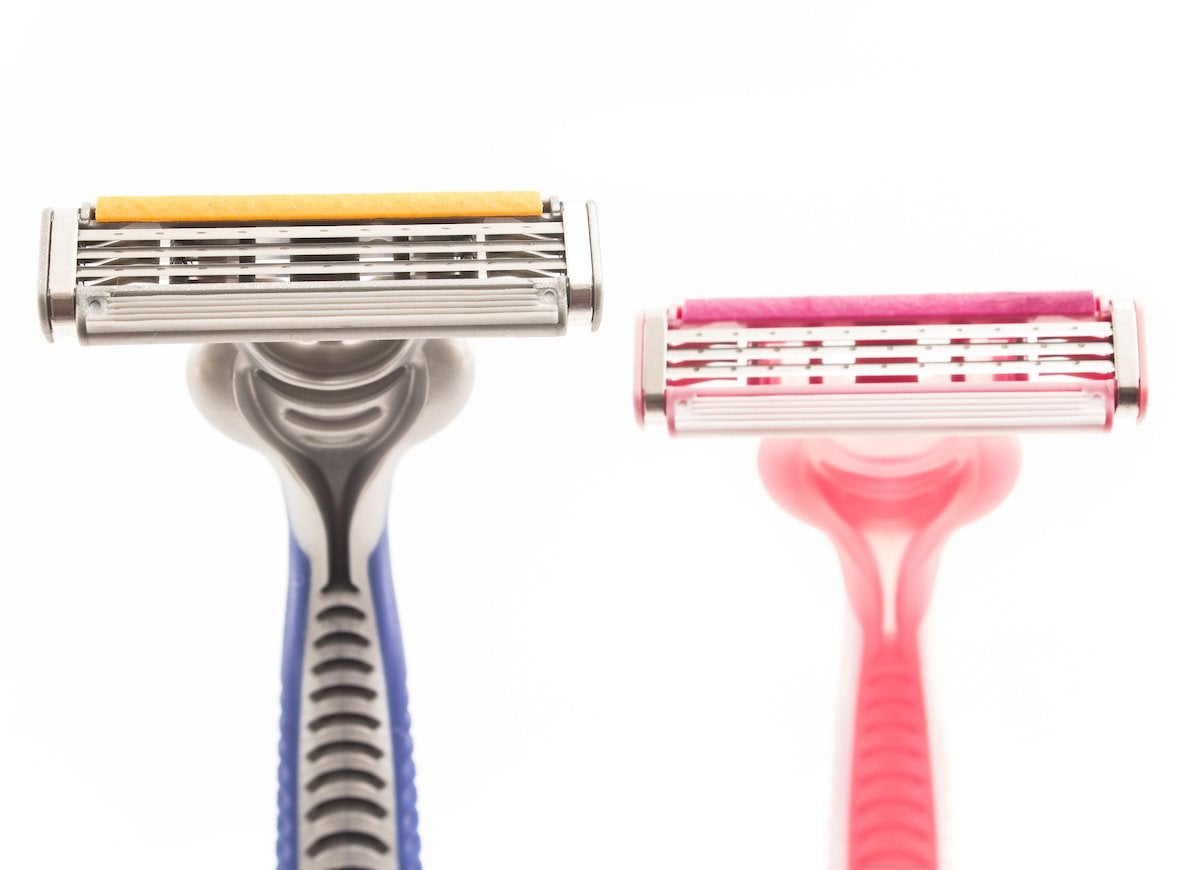
Use a straw to protect your razor blade when traveling. Snip a straw lengthwise and cut it to the length of your razor’s head. Then, simply slide the cover into place and you’re good to go.
Make Colorful Containers
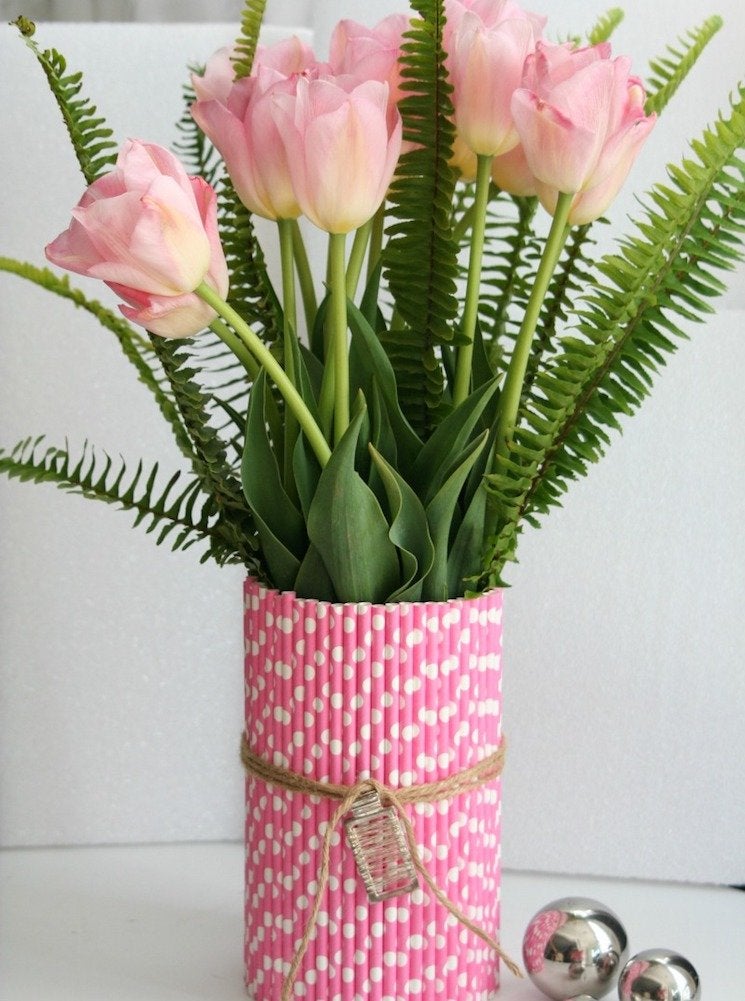
Straws can transform any can into a cheery storage cup or vase. First thoroughly clean the inside and outside of the can. Then, wrap the exterior with several lengths of double-sided tape. Cut straws to the same length as the container’s height, and secure them to the tape in tight formation until they completely cover the outside of the can.
Organize Electrical Cords
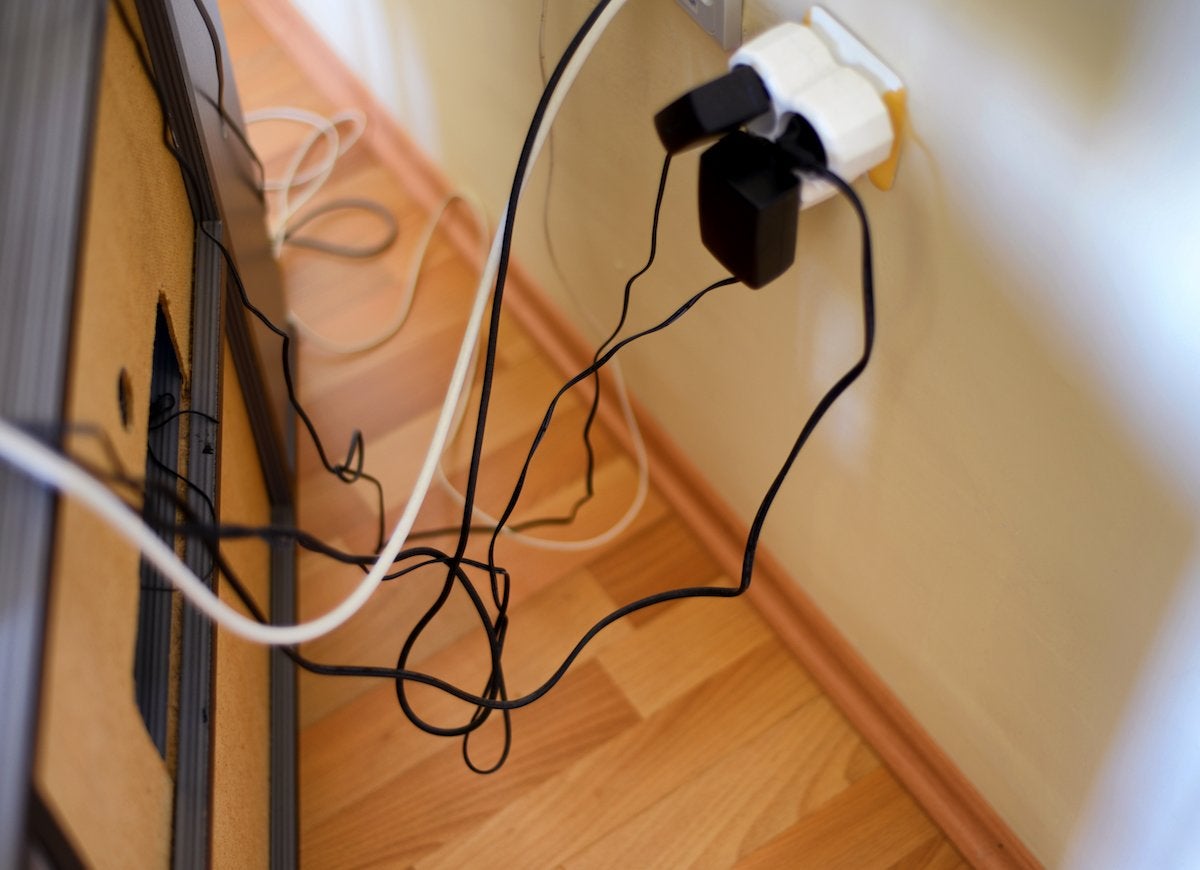
The cords behind the TV and computer always seem to be in a jumble, making it impossible to tell which wire plugs into what. Organize the chaos by using straws as labels. Simply slice the straws lengthwise, cut them in half, then slide one section onto each cord in a visible spot. Label each one with a permanent marker and you’ll never again wonder which cord is which.
Prop Up Drooping Daisies
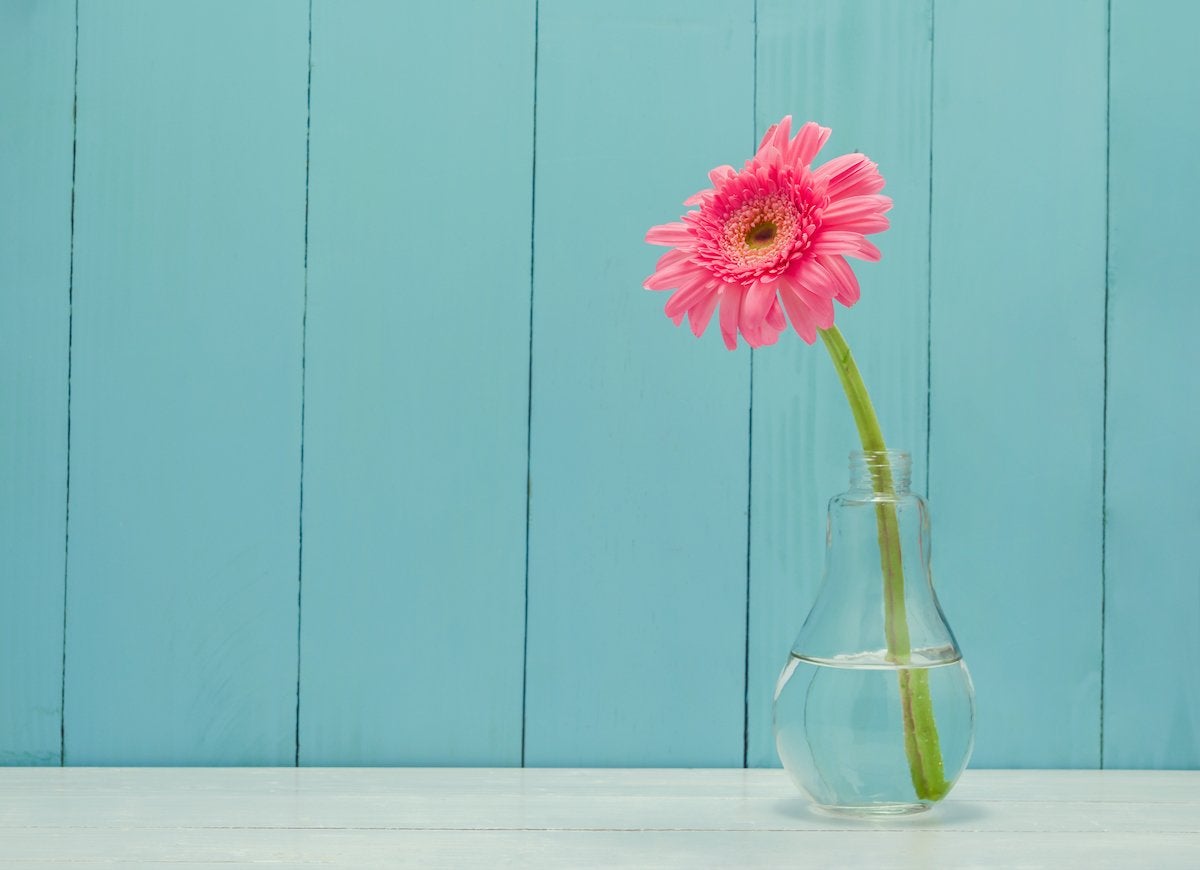
When gerbera daisies or other single-stem blossoms start to slump, give them a little support with the help of a straw. Just slide the stem into the straw, leaving enough stem protruding at the bottom to suck up water. Soon enough, the flowers will again be standing tall.
Keep Necklaces Untangled
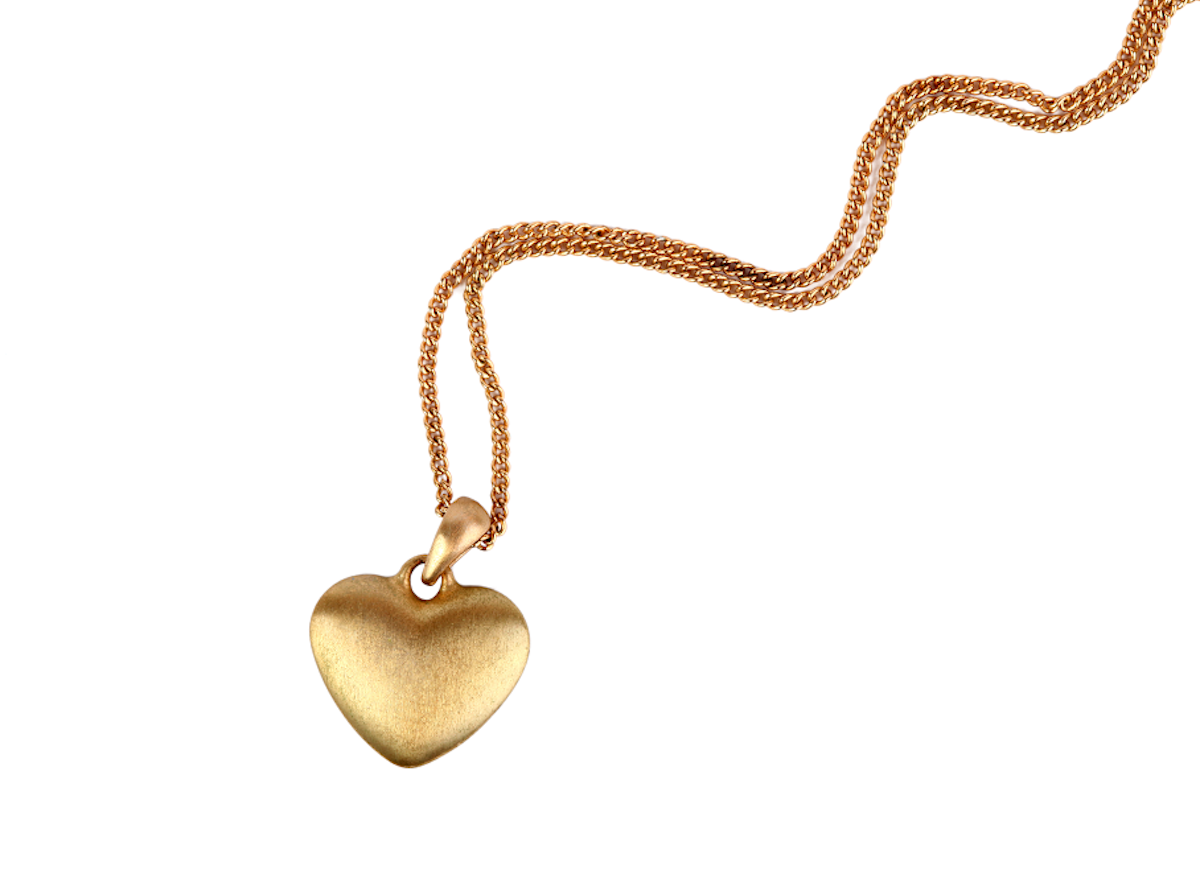
Whether you are traveling or just have an overflowing jewelry box, necklaces are bound to get tangled. To prevent this irksome occurrence, thread your necklaces through a straw, then close the clasp. Line the straws up for a neat presentation and no snarls!
Unclog the Ketchup
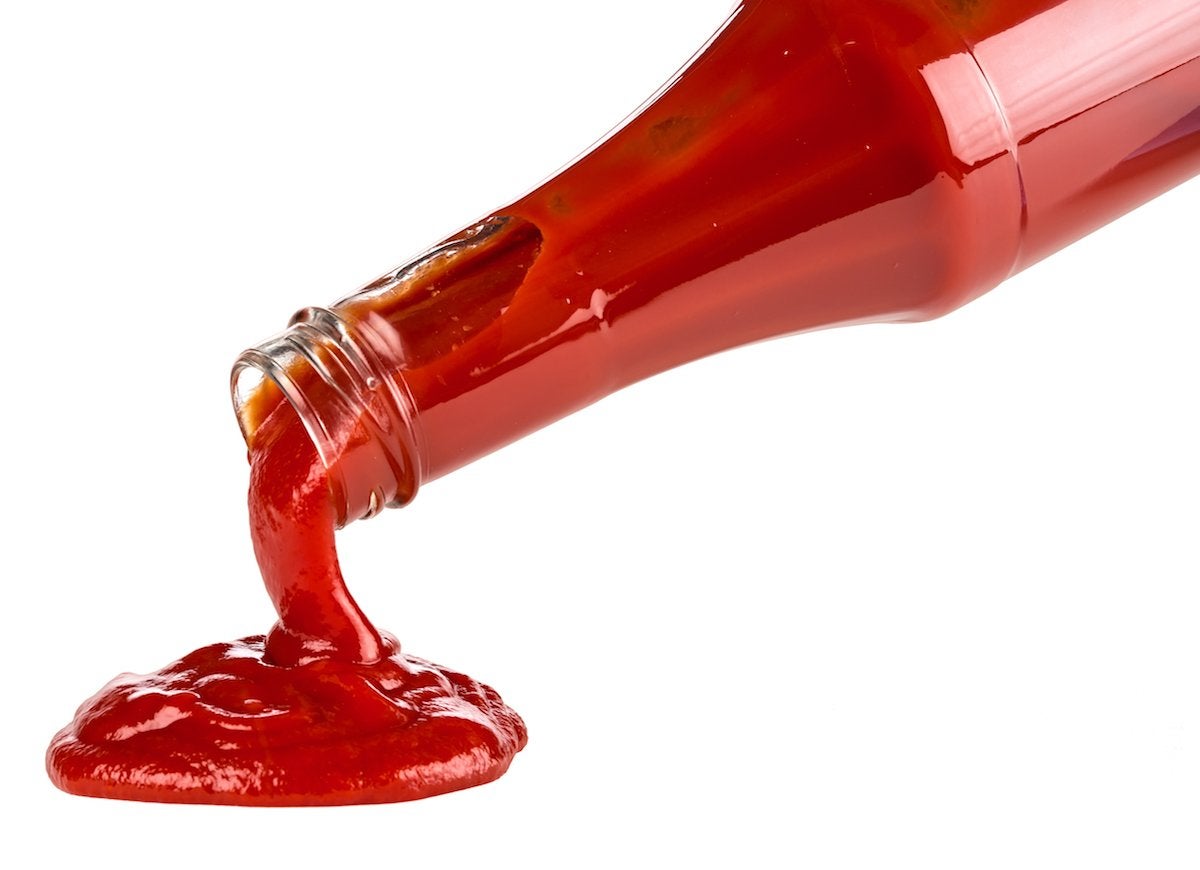
It happens all the time: You keep banging on the bottom of the ketchup bottle with no luck, then suddenly out comes a flood of the stuff. Next time you find yourself shaking the bottle to no avail, use a straw to gently create air pockets deep inside the bottle that will help thick liquids flow smoothly again.
Make Garden Markers
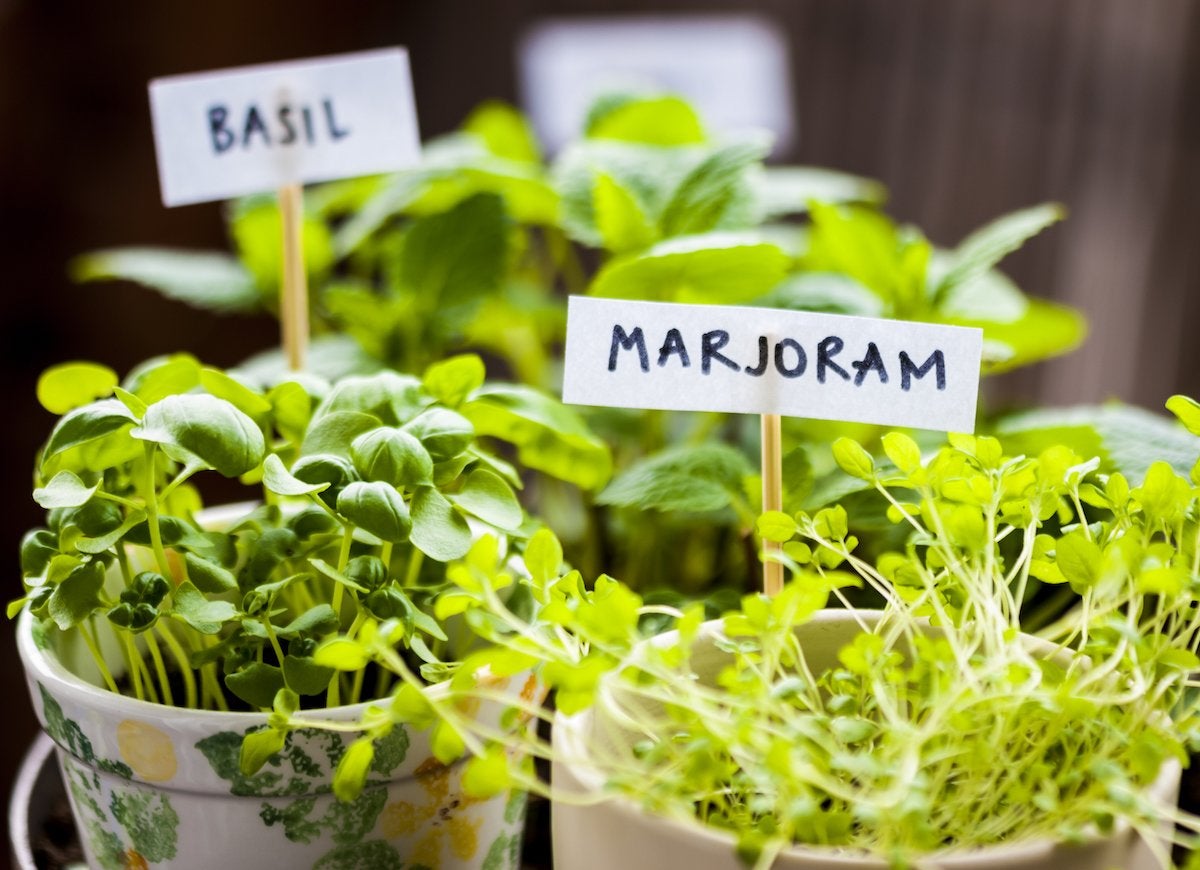
Plastic straws are an excellent waterproof option for labeling rows of seeds or seedlings. Wrap a length of duct tape or washi tape around one end of a straw to create a flag, write the name of the plant on the label, and then sink the bottom of the straw into the soil. This quick and affordable solution will help you remember what you’re growing in your garden.
Related: The 30 Best Gifts for Gardeners That They’ll Actually Use

Everything You Need for a Lush and Healthy Lawn
Keeping your grass green and your plants thriving doesn’t just take a green thumb—it starts with the right tools and supplies.
