
We may earn revenue from the products available on this page and participate in affiliate programs. Learn More ›
When my family moved into our second home 8 years ago, we were delighted to see a beautiful wood stove situated right in the middle of the living space. Our previous home’s heat source was a natural gas furnace with forced hot air. Needless to say, we had no knowledge of how to use a wood stove and the importance of proper firewood storage.
Our first winter was a learning experience. We practiced how to start a fire, how to use the vents to keep the flames going, and how to make a packed stove last all night long. With a little bit of trial and error, we quickly mastered the art of using a wood stove to heat our home. The real challenge wasn’t the stove itself, but the firewood.
After years of fighting with messy tarps throughout cold, windy winters, we stumbled upon a $20 product that would forever change how we store our firewood outdoors.
Why It’s Important to Store Firewood Correctly
Properly storing firewood is paramount to ensure it is safe to burn. Seasoned firewood is completely dry wood. Non- or even semi-seasoned “green” firewood contains too much moisture to burn efficiently and can lead to a build-up of creosote in the flue and chimney. The build-up of creosote increases your risk of a chimney fire.
Dry, properly seasoned firewood burns more efficiently than wet wood. If you try to burn wet firewood, you’re in for a struggle as it is difficult to light and is likely to burn out. Dry firewood typically lights well and continues to burn for hours, depending on the airflow settings on the stove.
Traditional Storage Methods Are Good But Not Great
The two most common solutions for keeping firewood dry are tarps or outdoor firewood storage units. Each has its pros and cons:
Tarps are inexpensive and easy to use. The downside is that tarps can blow off, become covered with rain or snow, and be difficult to secure, resulting in wet wood.
Firewood storage units are designed to keep firewood off the ground and properly covered; however, they are expensive and, if you store multiple cords of wood, they can be quite an investment.
The Less-Mess Method That Works for My Household

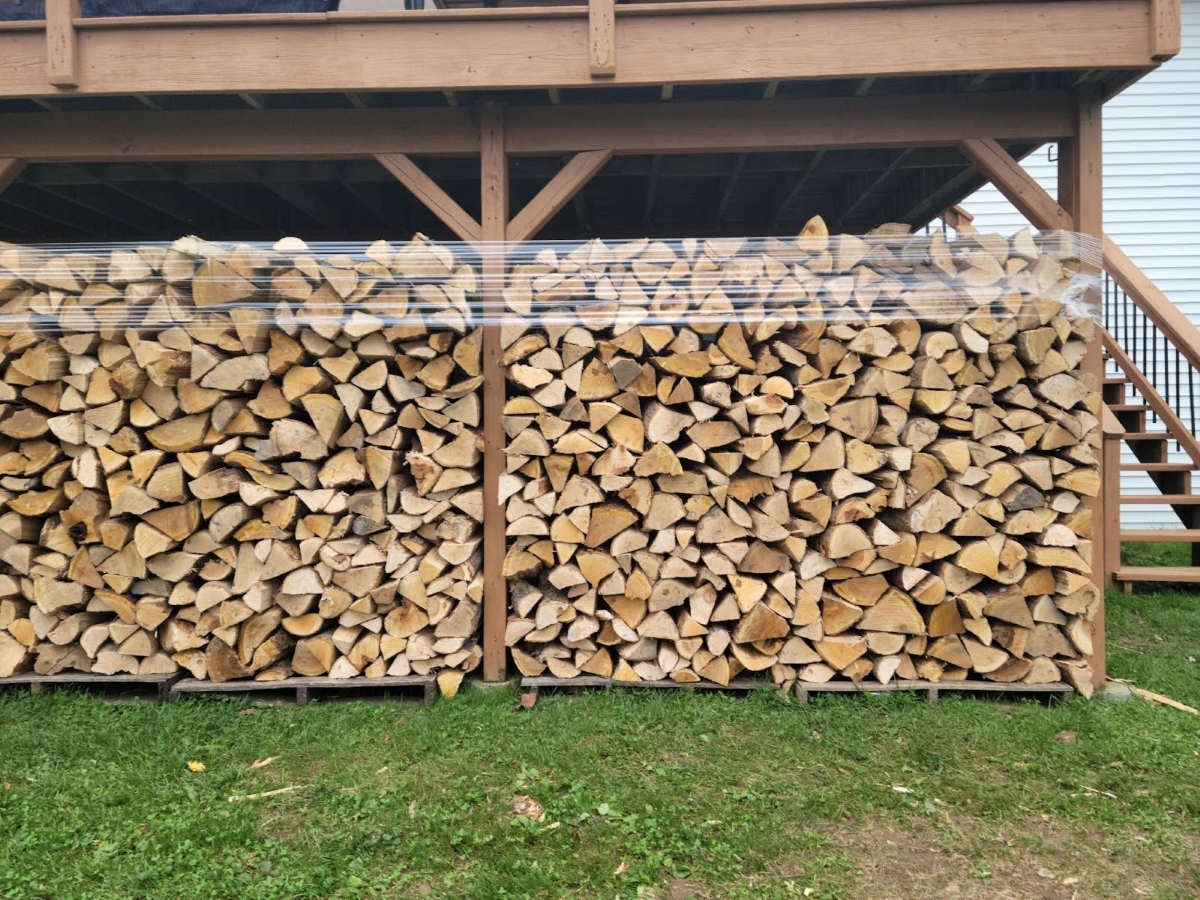
After years of fighting windy, snowy winters in Upstate New York, we had enough of chasing tarps. While a bit unconventional, we started wrapping our firewood in stretch wrap. This inexpensive solution keeps our firewood neatly organized and covered all season. Our firewood is stacked on pallets and stored under a high deck, which provides some coverage from the elements but still allows the wood to get wet.
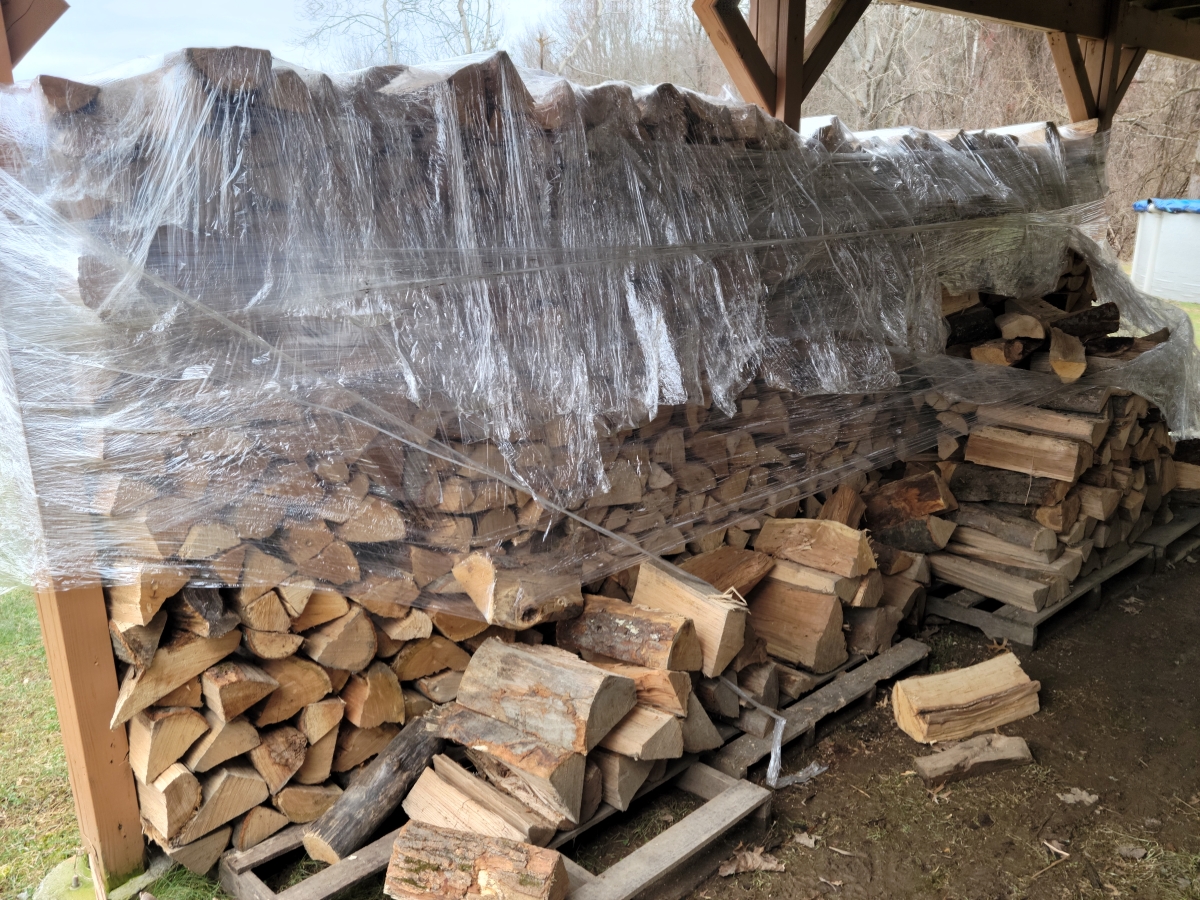
By wrapping each pallet in stretch wrap, we protect the wood from wind and rain while still allowing adequate airflow for drying. We still use tarps for the “open” section of wood and to provide additional coverage as needed. We’ve been using this method for 2 years now and our wood has never been more organized and drier! Even better, we no longer have to fight with multiple bulky, snow-covered tarps.
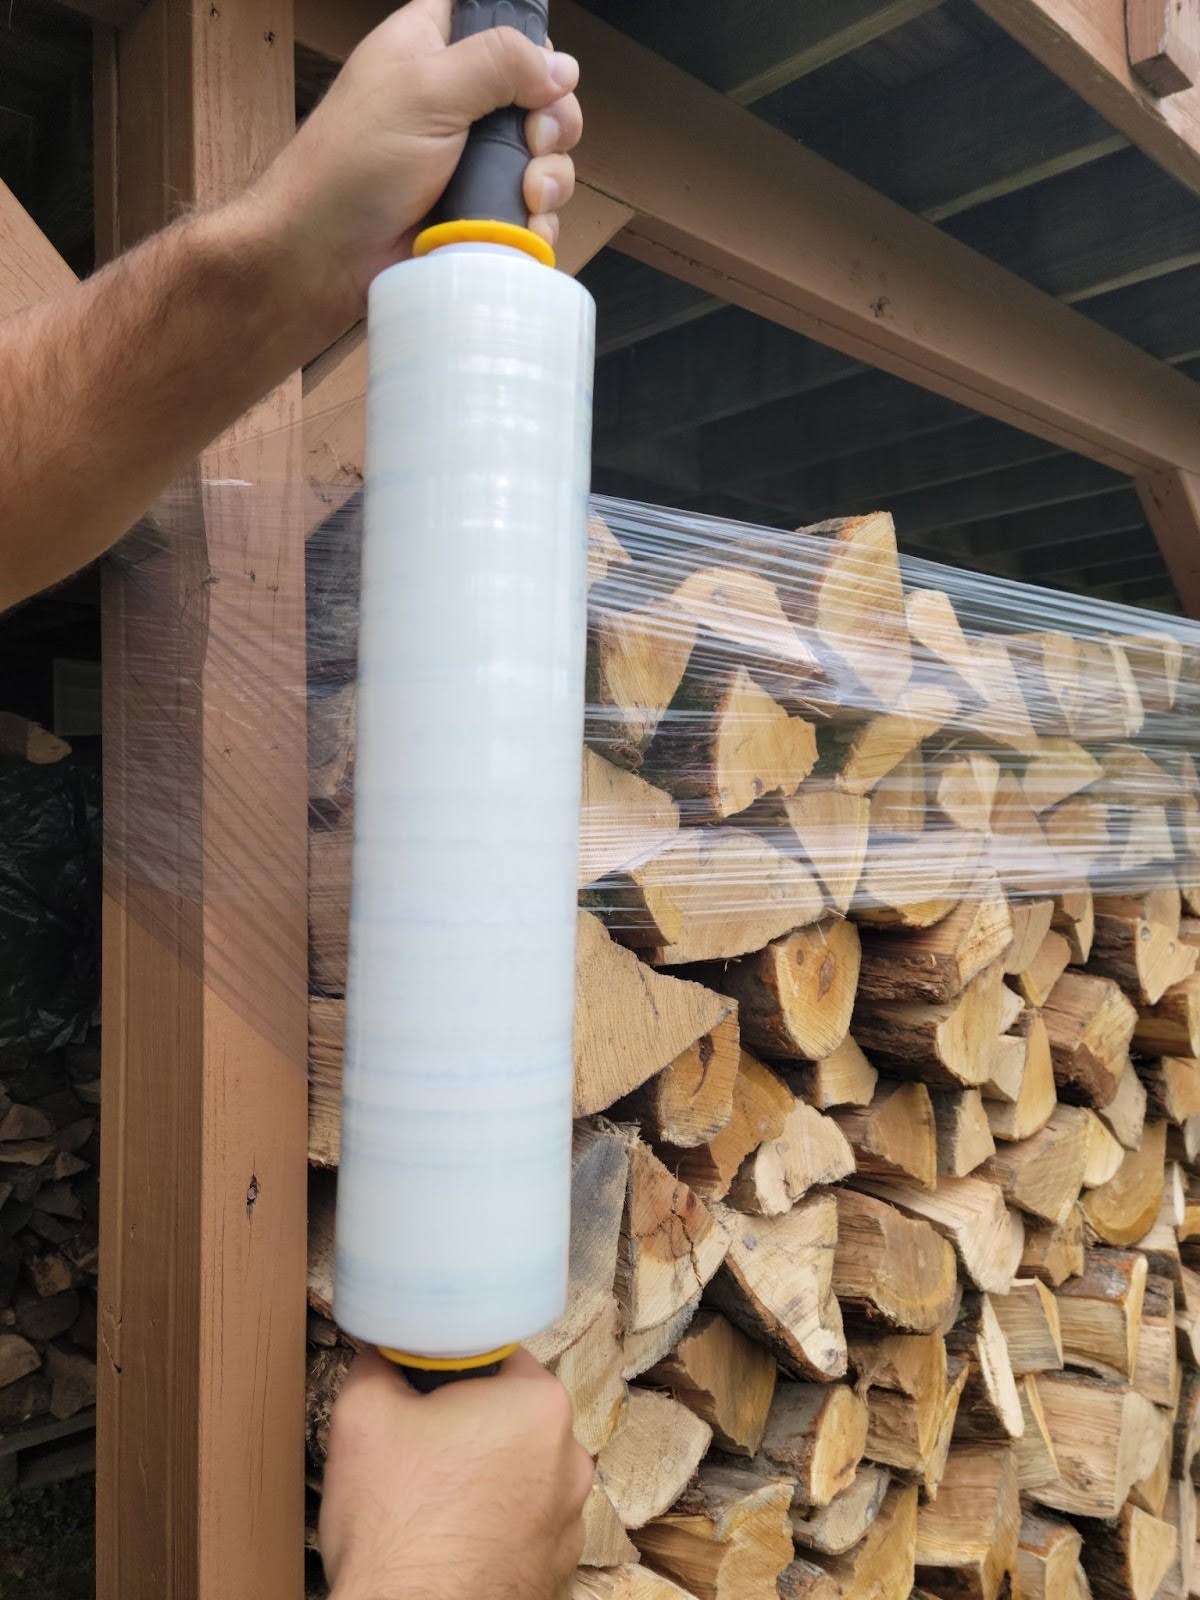
Get a 1,000-foot roll of clear stretch wrap at Amazon for $17.99.
How to Wrap Firewood With Stretch Wrap

We find the best way to stack firewood is on top of pallets so that it sits off the ground. We stack our firewood in 4-by-8-foot piles and alternate the direction of logs for each row. This allows for proper airflow. Once all of the wood is stacked on the pallets, we begin wrapping.
Start by unrolling a small section of plastic and stick it to the upper corner of the last stacked cord. Begin pulling the stretch wrap around the entire stack of wood. We typically wrap each section three times, then move down naturally as we continue wrapping. Once the sides are wrapped, we wrap the top the same way.
Our wood was semi-seasoned this year, so once all of the wood was properly wrapped, we went around each cord and created some holes to allow for some airflow. (This step is optional, if your wood is fully seasoned, it may not be needed.)
We continue this process until all of our wood is properly wrapped. As we start using the wood, whichever pile we opened, we temporarily cover with a tarp.
We find the stretch-wrap method works best for our household. It keeps our wood dry and organized without the need to fight with multiple tarps during snow and wind storms.
