
We may earn revenue from the products available on this page and participate in affiliate programs. Learn More ›
Home Advice You Can Trust
Tips, tricks & ideas for a better home and yard, delivered to your inbox daily.
Better Techniques
Household cleaning is such an exciting thing to do—said no one, ever. It’s essential, though, for keeping a home tidy and healthy, and it can be a lot easier than you might think. By adopting the same techniques used by professional cleaning companies, not only will you finish the chores more quickly, the house will reach a whole new level of clean. It’s all about organization and better cleaning techniques.
Gather the Gear
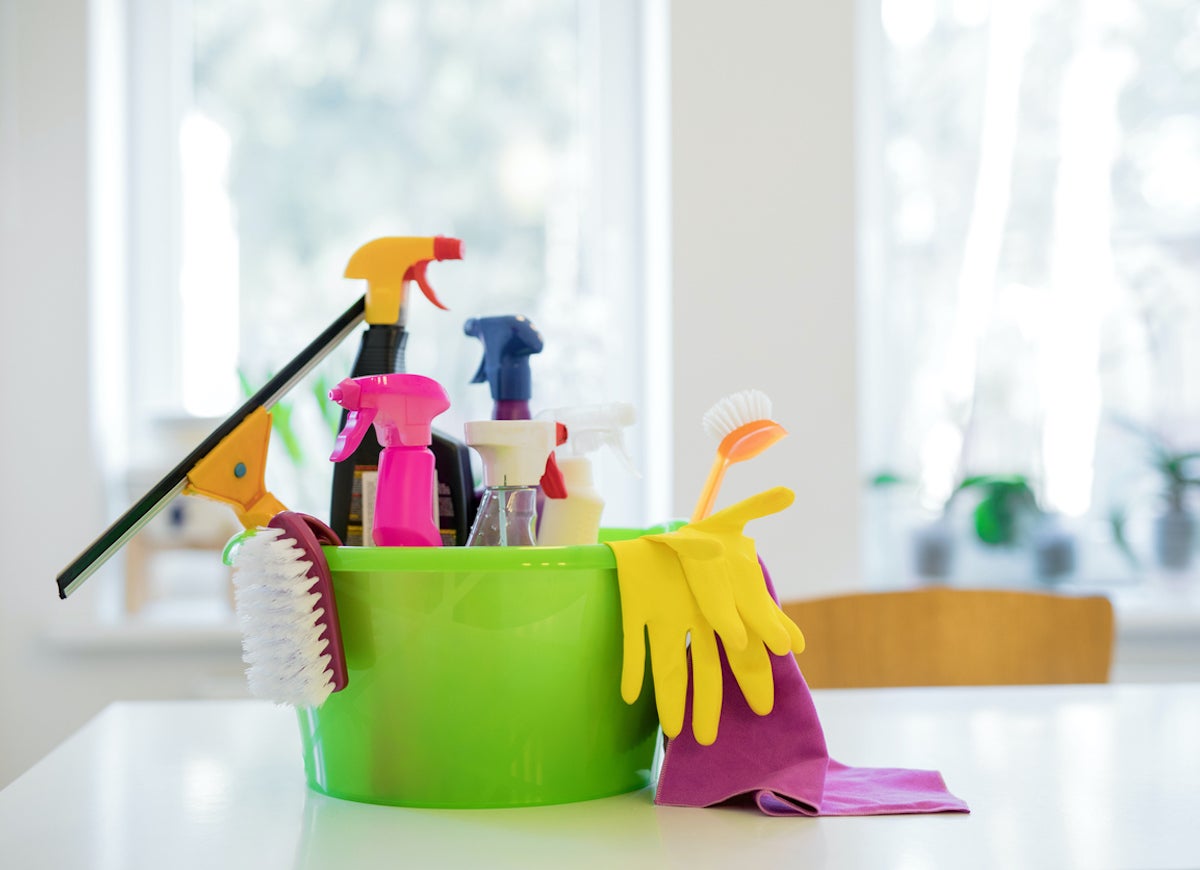
You can waste a lot of time bringing a single cleaning them, such as a dusting cloth, to a room to dust and then putting it away and fetching window cleaner. Rather than running back and forth, the pros shorten cleaning time by carrying a caddy filled with all the products they’ll be using, such as furniture polish, microfiber cloths, all-purpose spray cleaner, disinfectant, sponges and scrub brushes, so they don’t have to leave the room every time they need a different item. Bring a vacuum along as well.
Use Products First
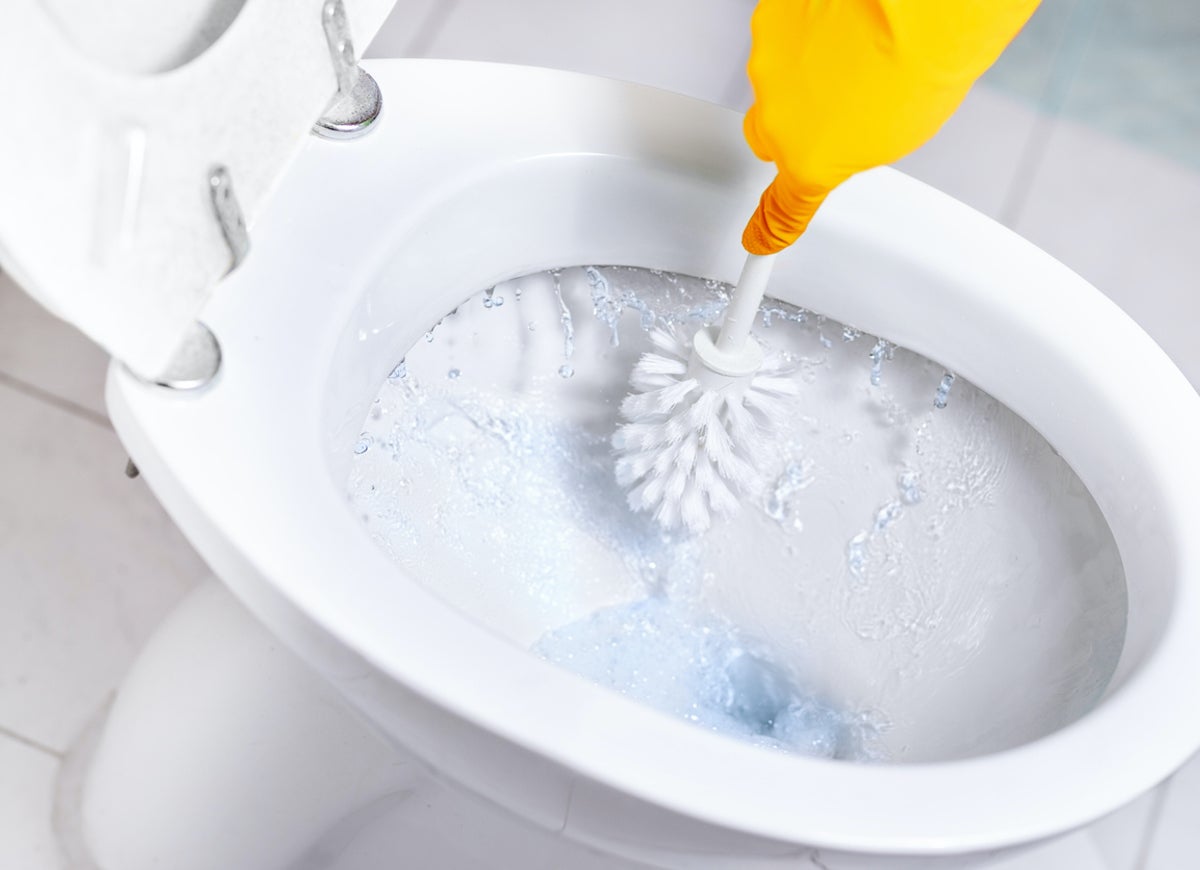
Tasks such as scrubbing toilets, removing hard water deposits, or cleaning away burnt-on oven spills require the use of cleaners that take time to dissolve the stains and gunk. By applying cleaners to these areas first—before you tackle other cleaning tasks—the chemicals will have a chance to soften and break down the stains. Just apply, and then go about your other cleaning chores. When you get back, the stains will wipe off easily and you won’t have to spend time scrubbing.
Declutter, then Clean

It’s virtually impossible to dust and vacuum effectively when toys, books, and other items are strewn on coffee tables and floors. Pros know that the quickest—and most efficient—way to clean is to pick up and put away all items that belong somewhere else first. After that, you’ll have a clear path for cleaning, but trying to do both at once will have you running in circles.
Establish a Pattern
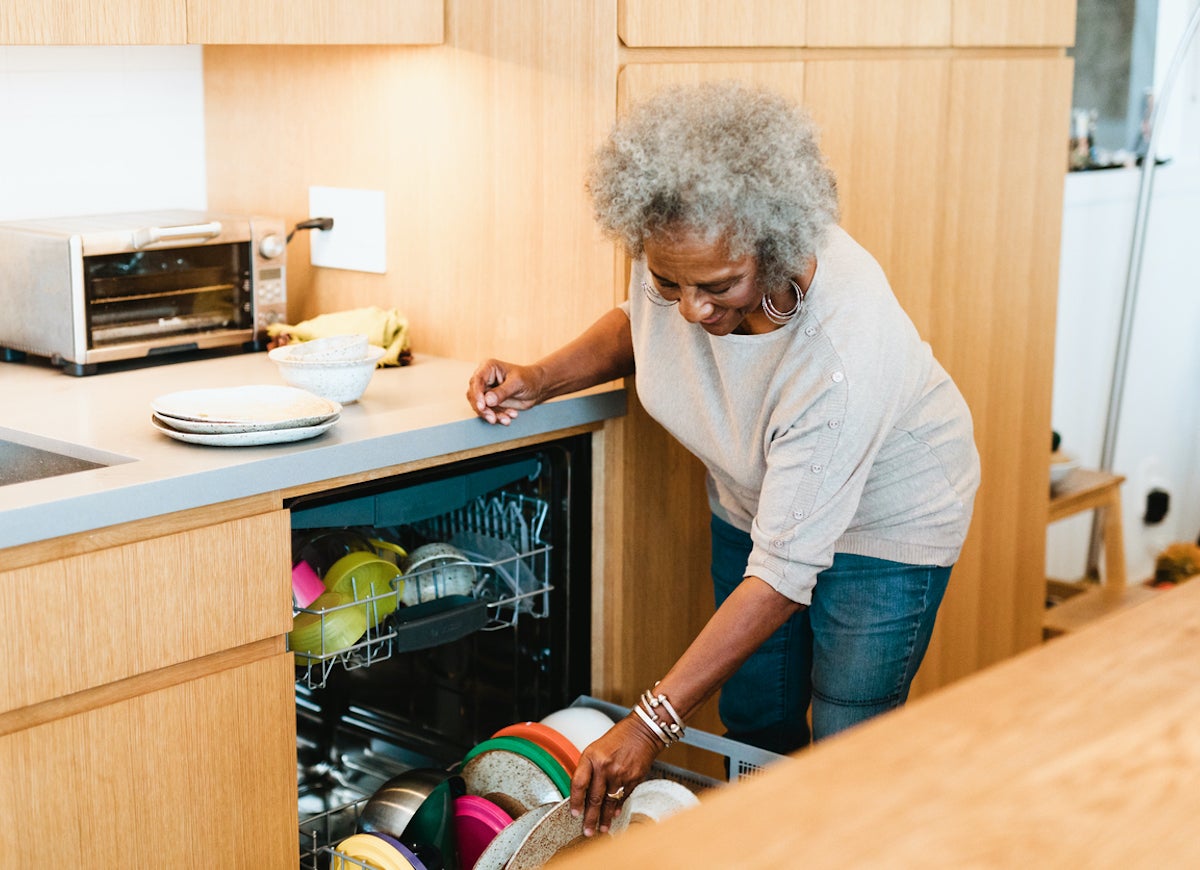
If you’ve ever walked into a room and didn’t know where to start cleaning, you may find it’s easier if you establish a regular cleaning pattern. Because gravity works its magic on dust, crumbs, and other debris, try starting at the top of the room and working downward. At the same time, work from left to right. This is a great timesaving and organizational technique for kitchens and bathrooms and it will help you tackle showers, sinks, counters, tubs, and finally—floors.
Skip the Mop in the Bathroom
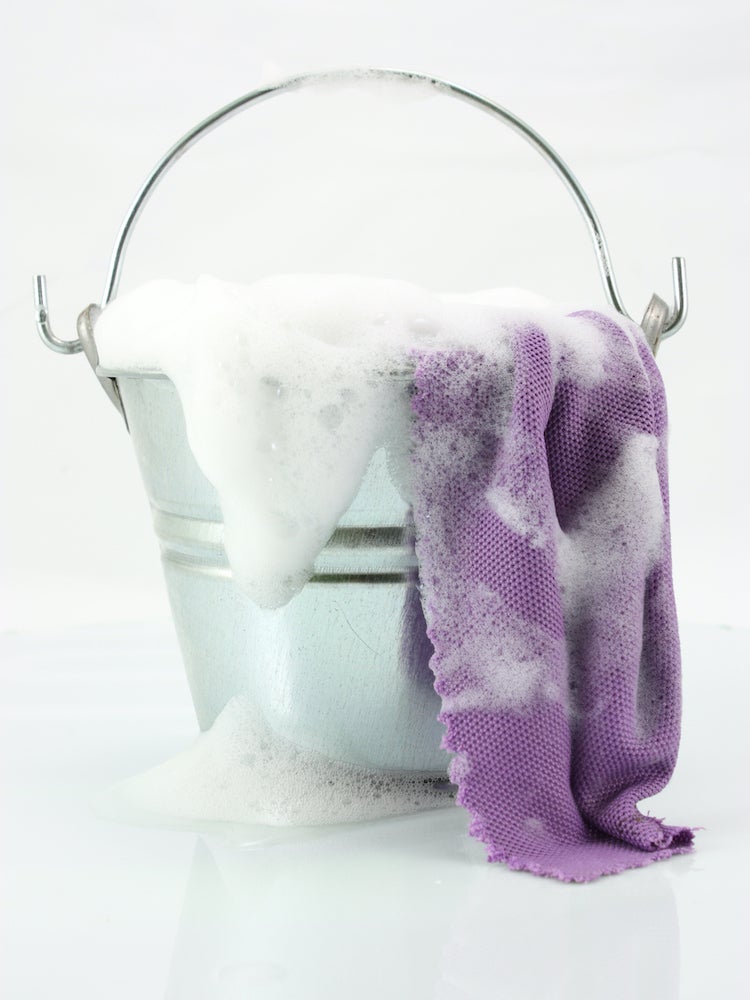
Most bathrooms are relatively small and it can be difficult—if not impossible—to maneuver a mop head behind the commode or between the tub and cabinet. For the cleanest bathroom floor, consider wiping it down with a rag. While this wouldn’t work on a larger kitchen floor, it’s the simplest way to get the bathroom floor really sparkling, and if kneeling is hard on your knees, invest in a good set of knee pads for cleaning day.
Dust First, Vacuum Last
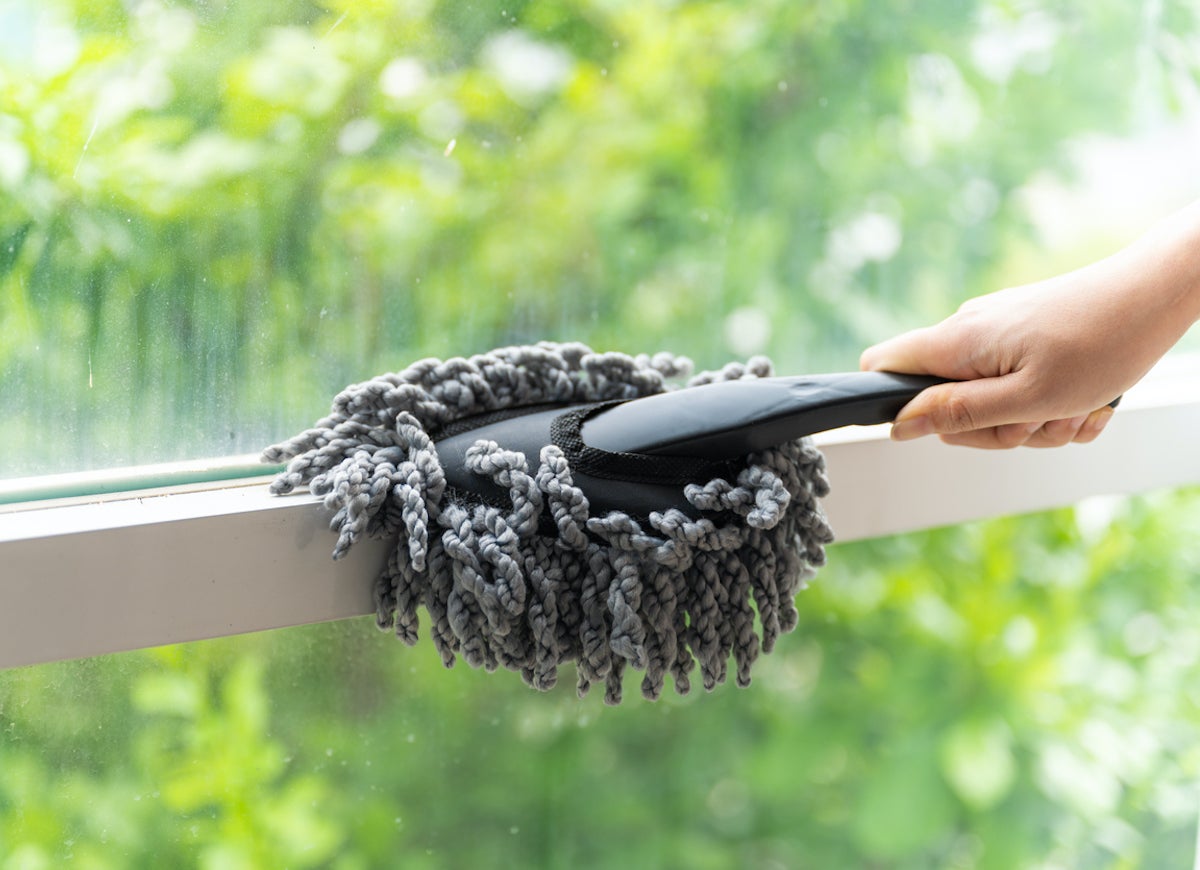
The last thing professional cleaners do in a home is vacuum—usually on their way out the door. That way, the first thing the homeowner sees upon arriving home is the just-vacuumed lines left behind in the carpet. If you vacuum before dusting and straightening up, dust and other debris can fall to the floor and you’ll have to vacuum a second time.
Vacuum Furniture
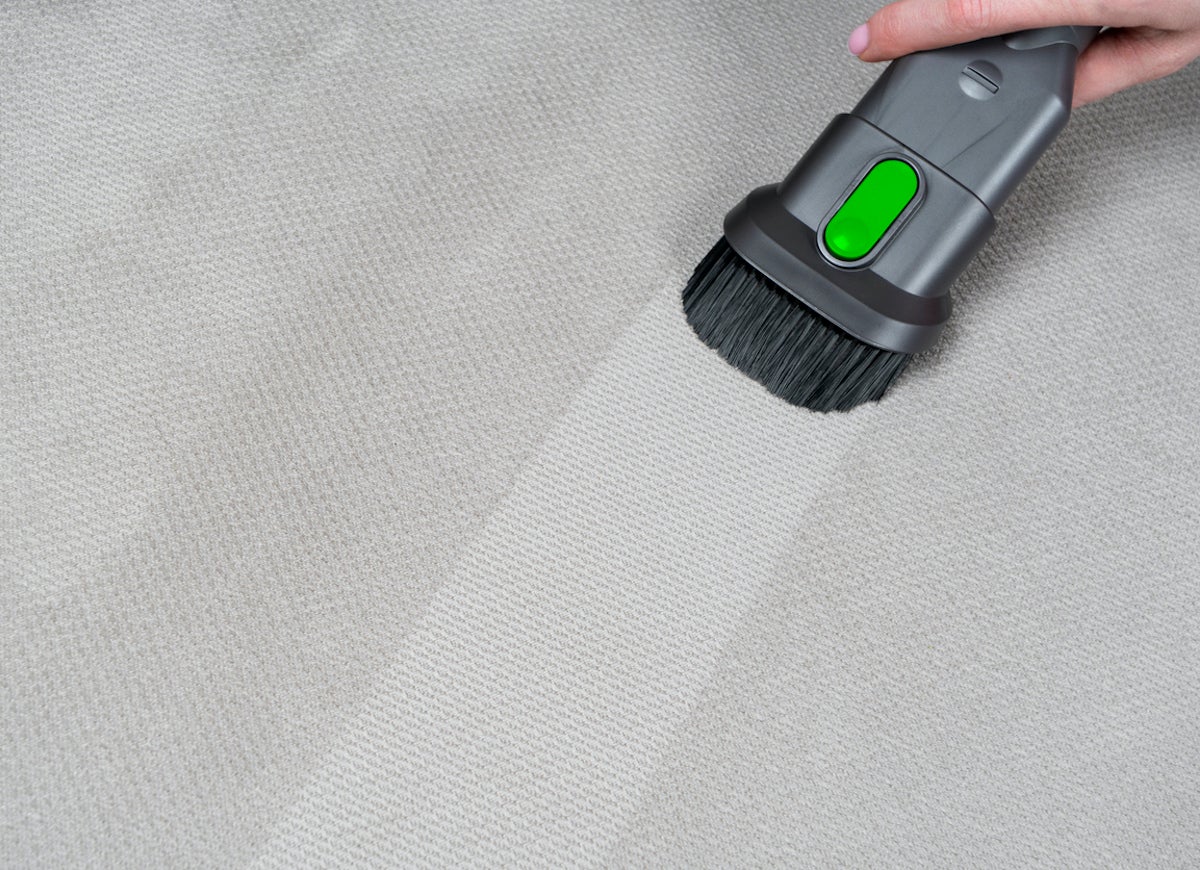
Crumbs, pet fur, and candy wrappers have a tendency to work their way behind sofa and chair cushions, and the best way to give upholstered furniture a thorough cleaning is to remove the cushions and vacuum beneath them every time you clean. You’ll also want to use the upholstery attachment to vacuum the surface of the fabric—this will remove dust that could otherwise leave your furniture looking dingy and dusty.
Use Microfiber on Stainless
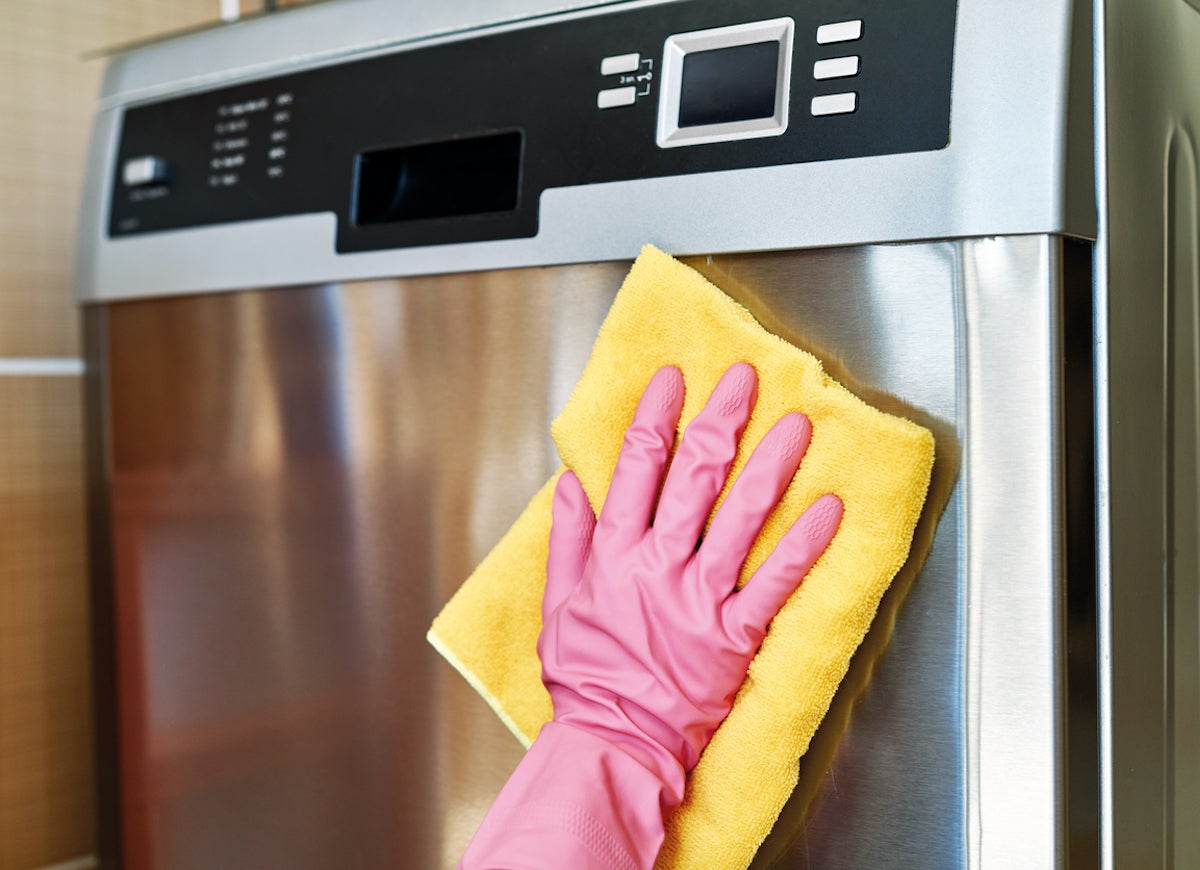
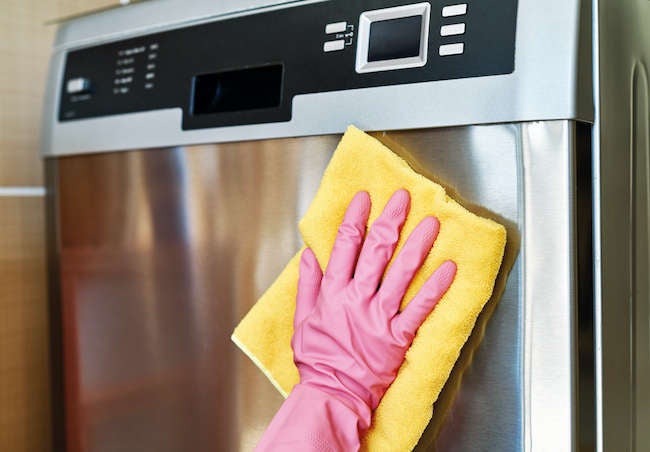
Many of today’s appliances are stainless steel, and nothing makes a kitchen sparkle and shine more than when these metallic surfaces are. The problem is that wiping down the appliances with a kitchen rag, followed by a dry towel, can leave unsightly streaks. To get stainless steel sparkling, use a wet microfiber cloth to wipe away stains and then follow-up immediately with a clean, dry microfiber cloth for a streak-free finish.
Watch the Grain on Hardwood
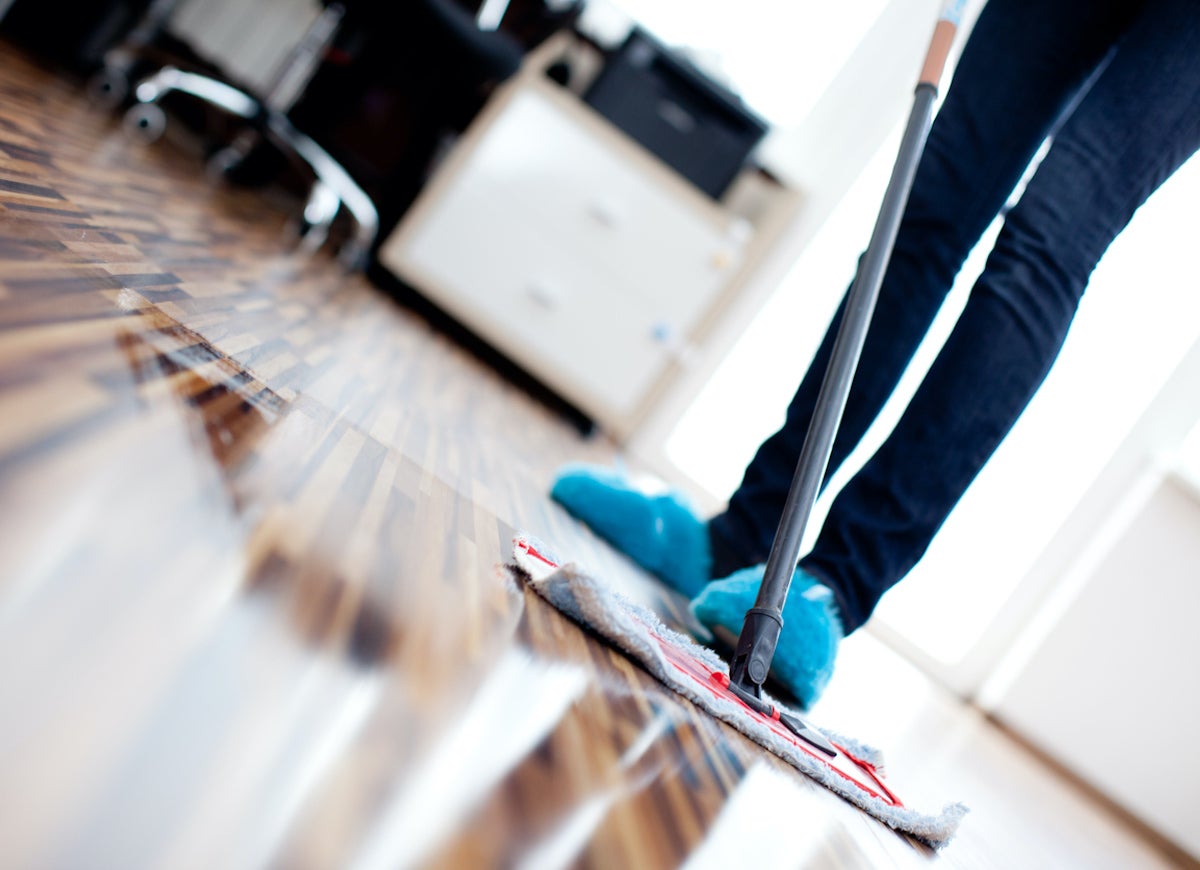
Today’s hardwood floor cleaning and polishing products can help make your floor shine, but you’ll get the best results if you mop or polish with strokes that go in the same direction as the grain. This will prevent unsightly cross grain marks that are noticeable when the floor cleaner dries. In addition, use cleaner sparingly on wood floors and wipe up any excess that pools between planks with a clean rag.
Bring a Trash Bag
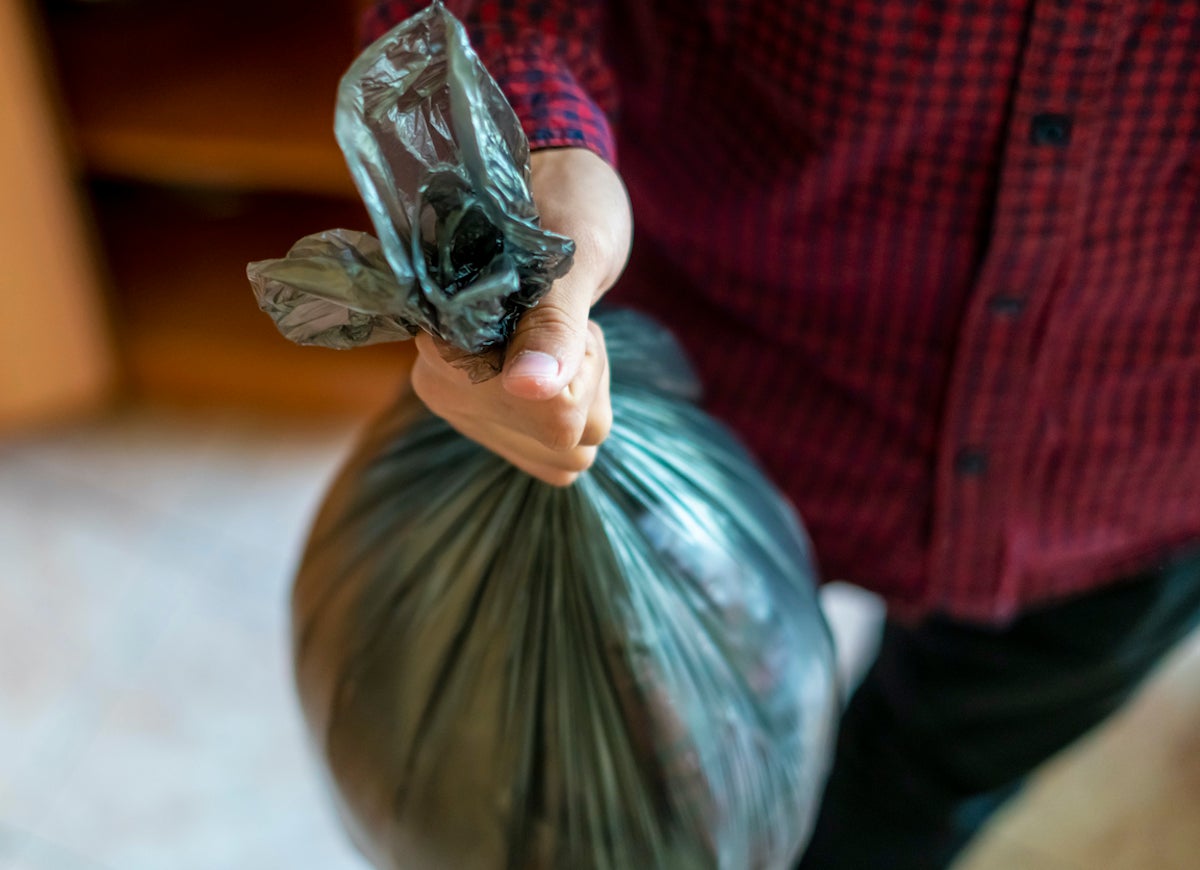
You’ll need somewhere to throw away trash while you’re cleaning, and before you leave a room, you’ll want to empty its waste can. The simplest solution is to carry a large trash bag with you and dump each room’s trash can into your bag as you go. The only exception here is the kitchen garbage, which should be bagged and taken out separately.
Vacuum the Kitchen
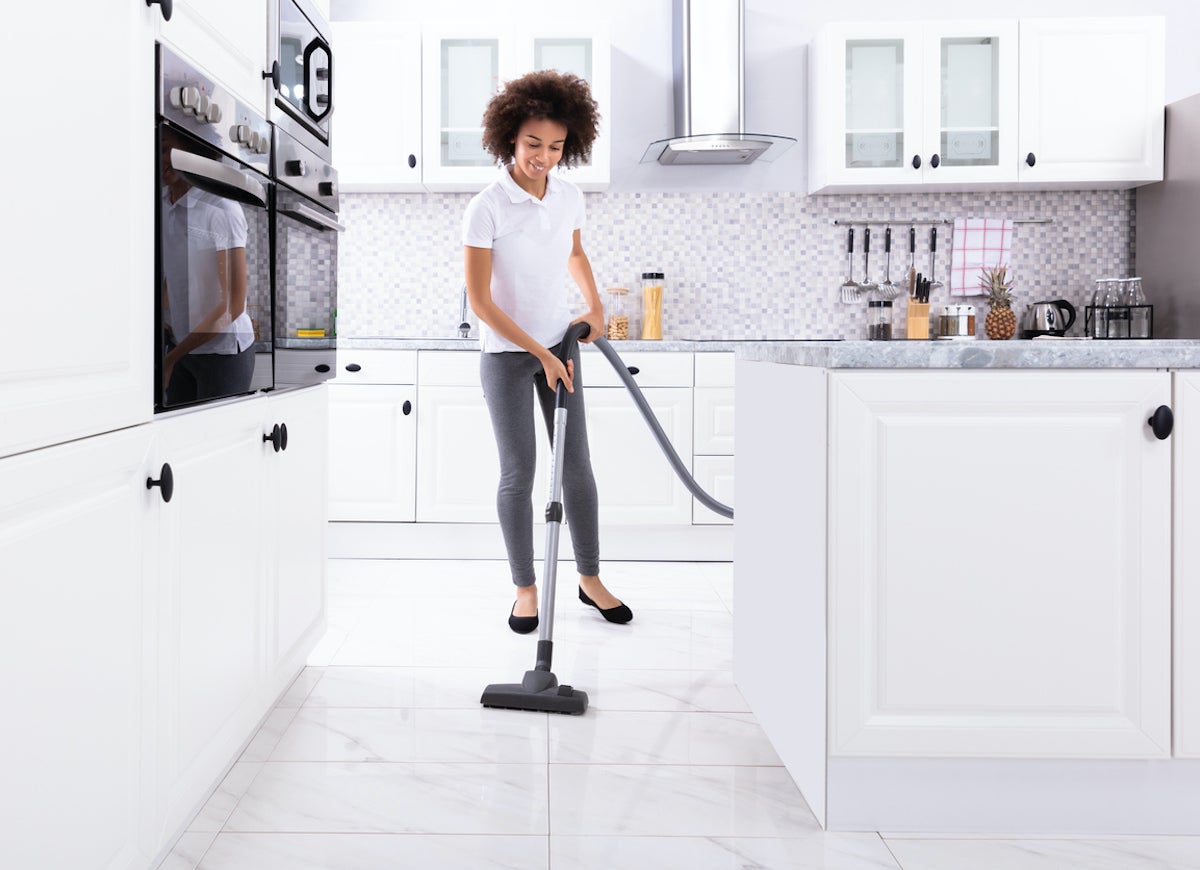
You already know a vacuum is great for picking up crumbs and dirt from floors, but it can do double-duty in the kitchen if you use a wand attachment. For the best results, vacuum those spots in kitchen drawers and cabinets where crumbs tend to settle, such as the silverware drawer and the dry cereal shelf. Don’t forget the shelves in the door of the refrigerator while you’re at it, and before long you’ll have a super-clean kitchen.
Scrape for the Best Sparkle
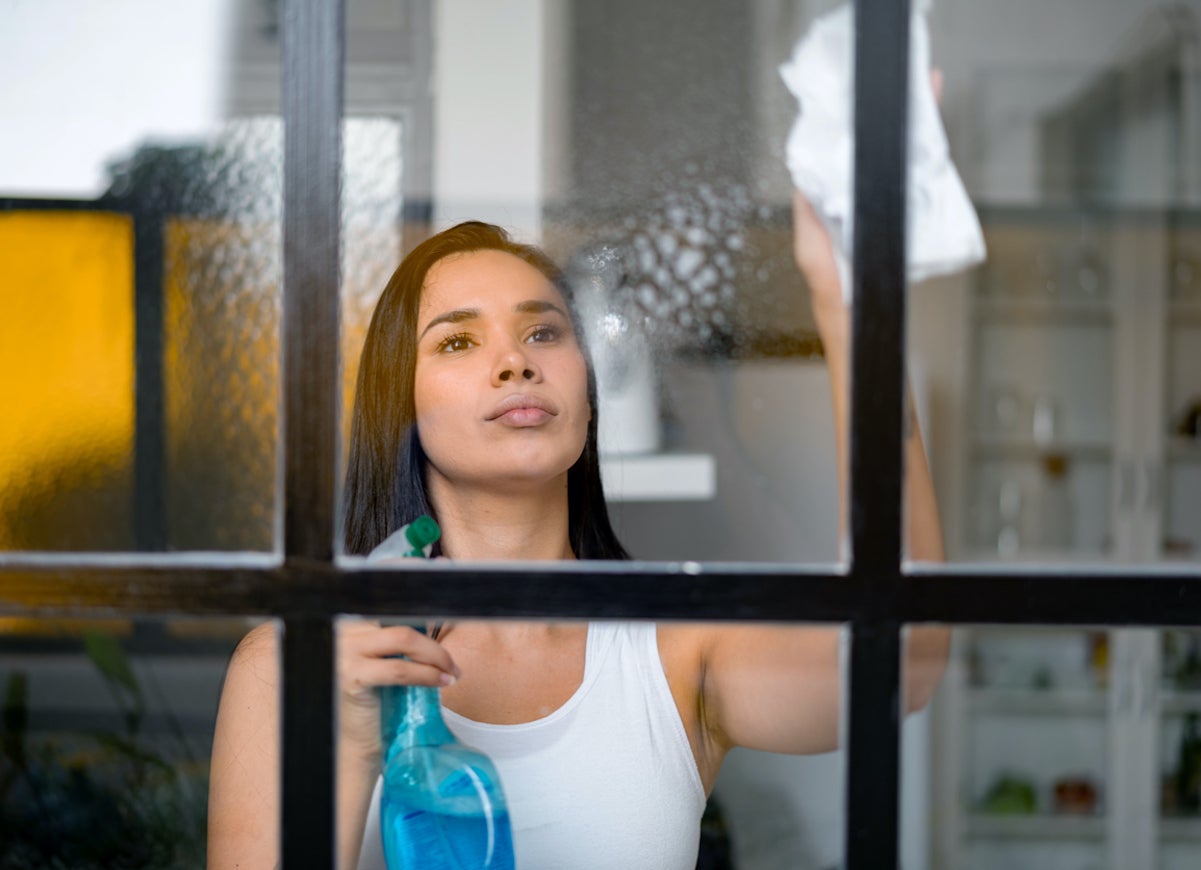
Cleaning windows can be tedious and some house-cleaning companies won’t tackle them, but it doesn’t have to be that difficult. Professional window cleaners have perfected their craft by spraying on a quality window cleaner, such as Sparkle Glass Cleaner, and while the window is wet, using a razor blade scraper to remove stuck-on gunk. After that, use newspapers to dry the glass, and your windows will be as clean and clear as when they were first installed.
Disinfect Sinks with Bleach
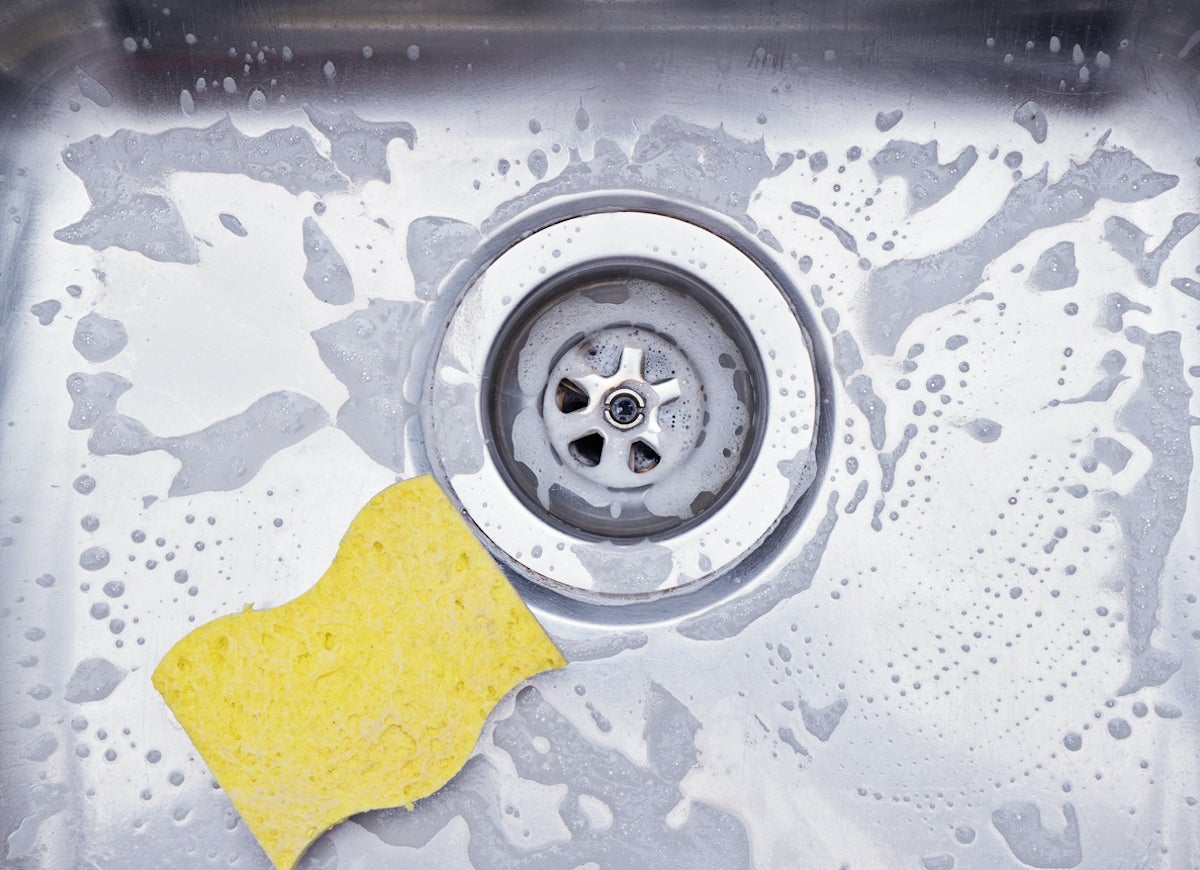
Sinks, especially kitchen sinks, collect all sorts of stuck-on gunk and residue that can leave germs and bacteria behind, even after wiping down. To get sinks their cleanest, fill the sink with cool water when you start cleaning and then add liquid laundry bleach at the rate of 1 cup per 5 gallons of water. Let the water stand while you’re cleaning elsewhere and then drain it before using all-purpose cleaner on the sink. The bleach water will help clean drain pipes as well.
Triple-line Trash Cans
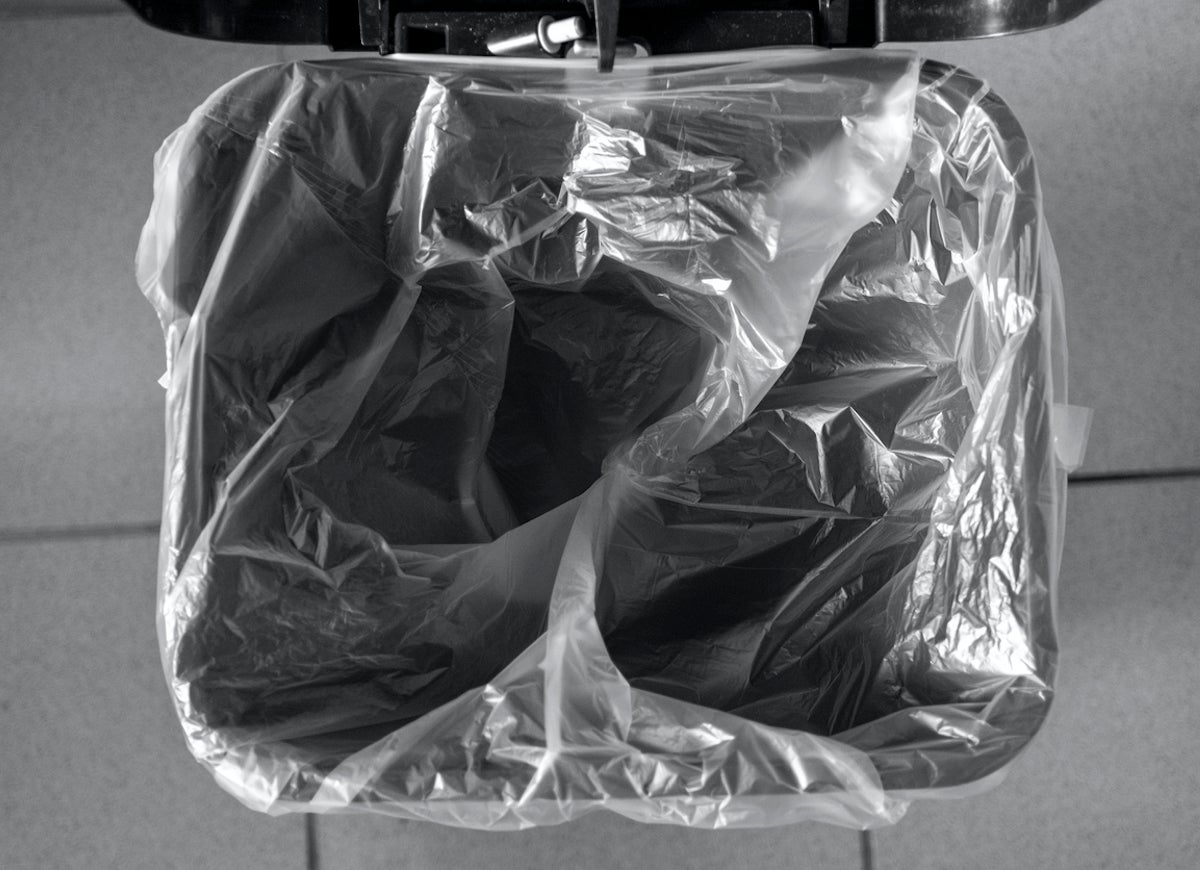
You’ll save time the next time you need to carry out the trash if you triple-line the trash cans. Then, when it’s time to dump the trash, just remove the outermost liner and you’ll still have two more liners in the can. Alternately, just fold up a few extra liners and put them at the bottom of the trash can where they’ll be handy when you next dump the trash.
Squeegee the Shower
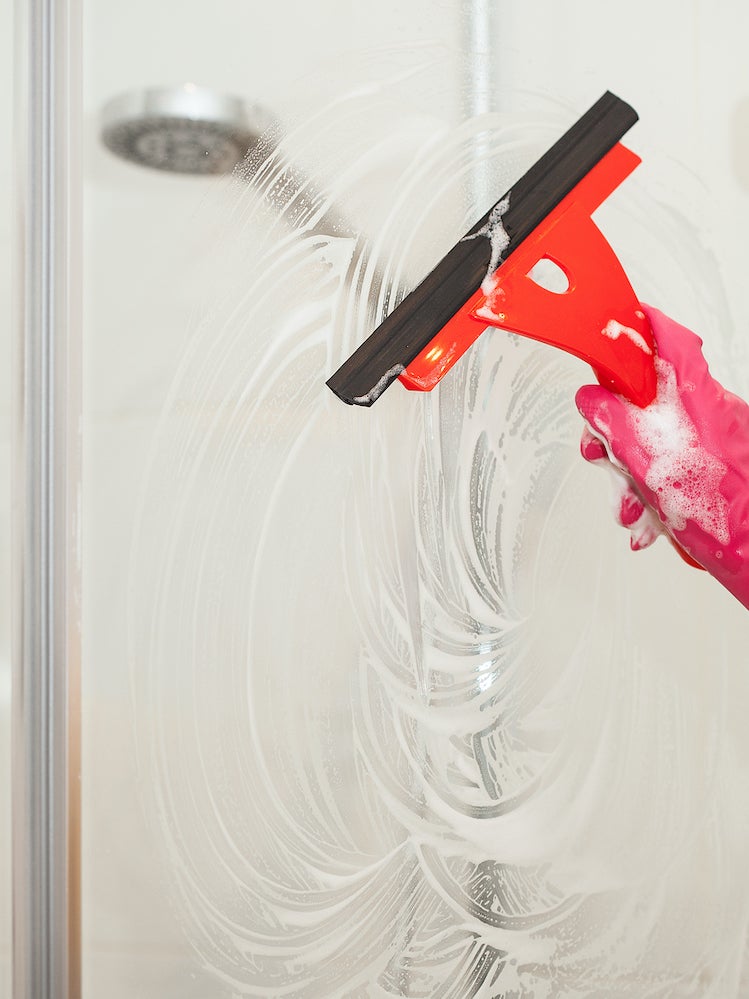
If you’ve ever finished cleaning a shower only to find hard water spots on the tile walls or a glass door after it dries, borrow a tip from the pros. After spraying a cleaning product on the walls, use a sponge to wipe away any visible stains or gunk and then rinse the walls with clear water. While the tile is still wet, use a handheld rubber squeegee to wipe off the droplets using firm vertical strokes from the top of the wall to the bottom.
Get Down to Business
Clean like the pros, so you have time for more entertaining activities.

Meet the 2025 Tools of the Year
After months of scouring the market and putting products through their paces, we’ve named the best of the best in new tools. There’s something for everyone, from veteran pros to average Joes.