
We may earn revenue from the products available on this page and participate in affiliate programs. Learn More ›
DIY a Drip Irrigation System
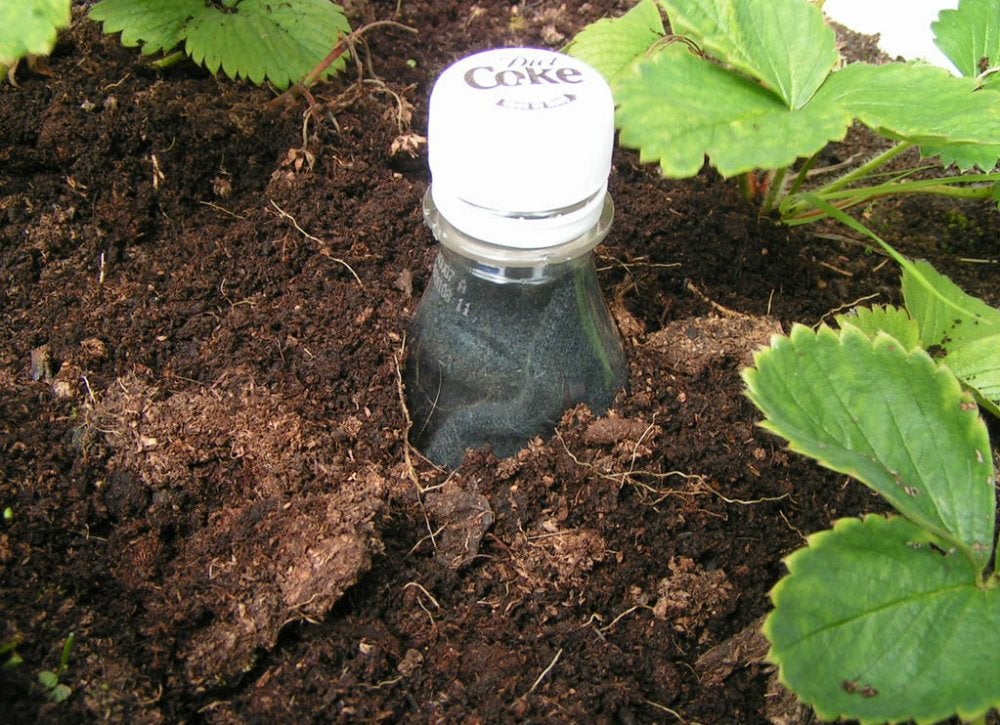
Keeping plants adequately hydrated throughout the dog days of summer is virtually a full time job. That’s where this trick comes in handy. Designed to mimic a drip irrigation system, it delivers water straight to plant roots using nothing more than a plastic bottle and an orphan sock. Puncture holes around the sides, then stuff a sock in it—the fabric will absorb and retain the water, slowly distributing it to plants. Unscrew the cap and fill the bottle when you’re ready to water.
Easily Change Plants
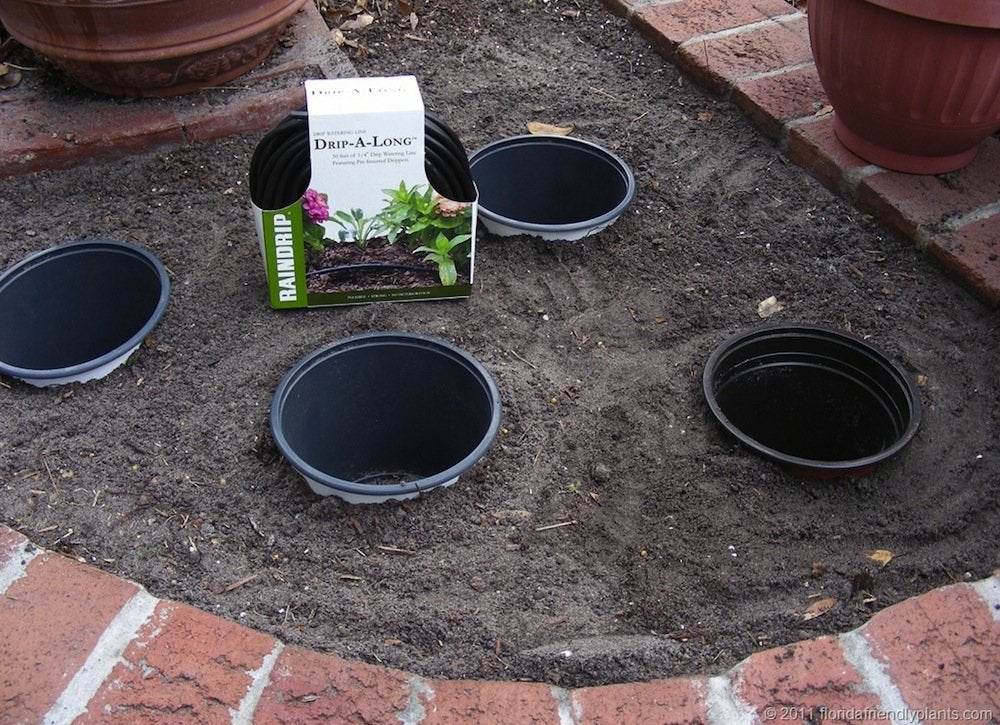
Here’s a trick to switch out garden plantings without ever lifting a trowel. Place plastic pots directly into landscaping beds. Then, drop seasonal plants—pot and all—right into the hole. When the blooms fade or the season changes, remove the old pot and switch in a new plant. Be sure to choose pots with adequate drainage holes. To make your temporary plantings look at home next to perennials, cover beds with a layer of mulch.
Kill Grass with Cardboard
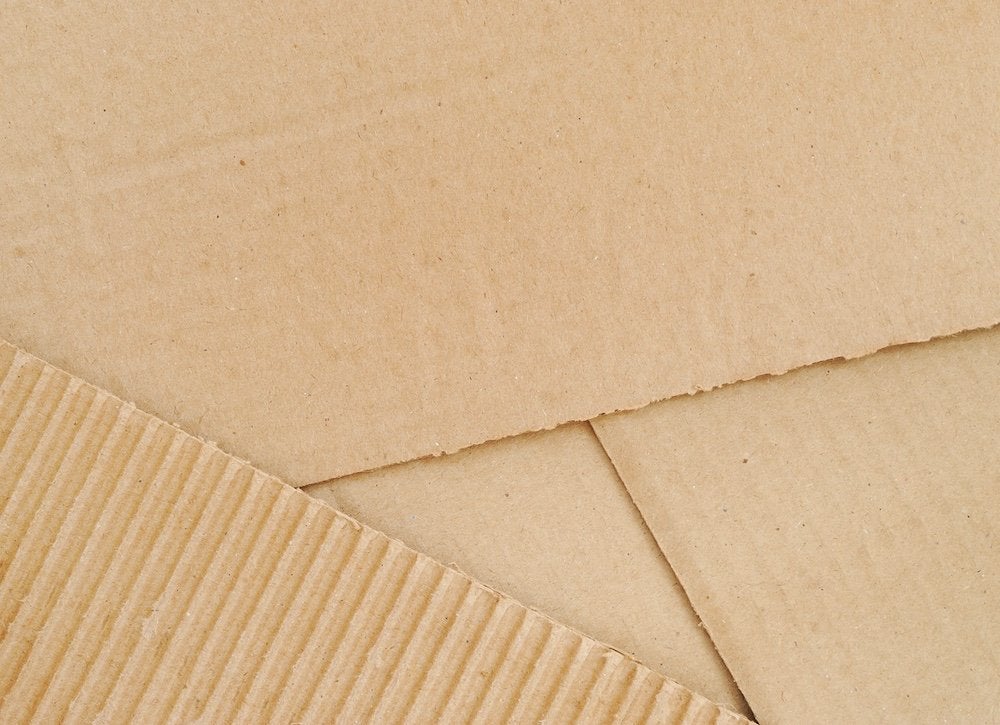
To convert lawn area into a low-maintenance planting bed, you don’t have to break your back shoveling. Simply cover the grass with cardboard, overlapping the sheets as if they were shingles. Next, lay about four to six inches of compost or mulch over the cardboard. Water the area until it’s compacted. Then wait. In two months, the ground will have taken on the soil structure and nutrients necessary to sustain edible or decorative plantings of your choice.
Related: Online Shoppers: Here’s What to Do With All Those Cardboard Boxes
Benefit from Companion Gardening
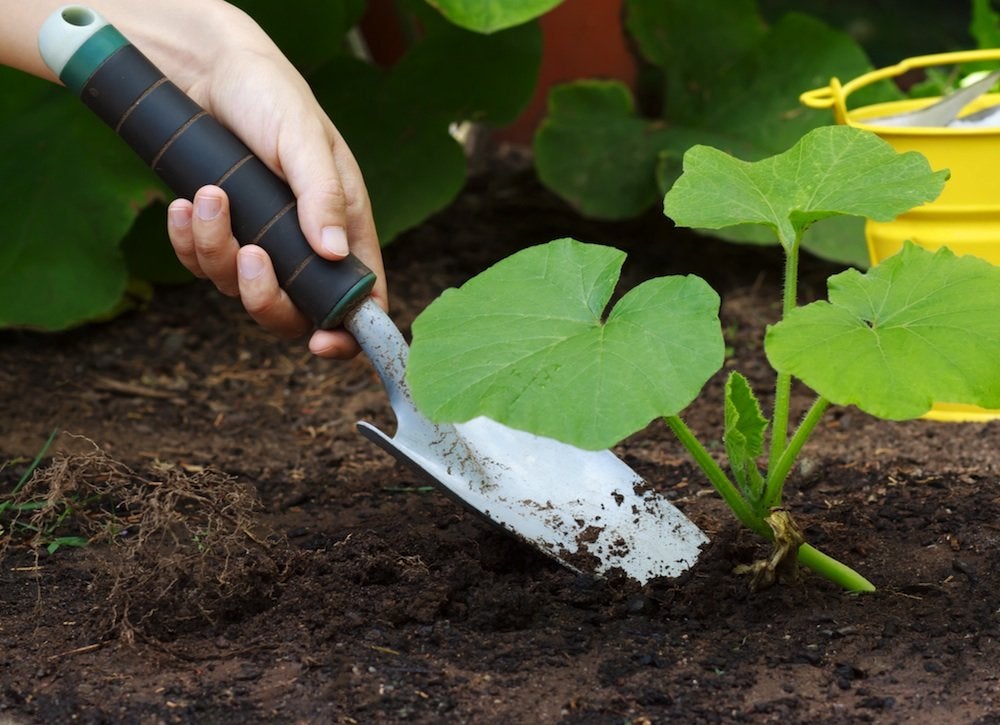
Did you know that plants have best friends? Many plants benefit their neighbors in different ways. For instance, strawberries taste more flavorful when grown near thyme and corn provides a natural trellis for bean plants. Planting a bright marigold border around squash plants discourages squash bugs from devouring your crop.
Related: The 12-Inch Farm: 12 Foods You Can Easily Grow in Containers
Garden in a Bag
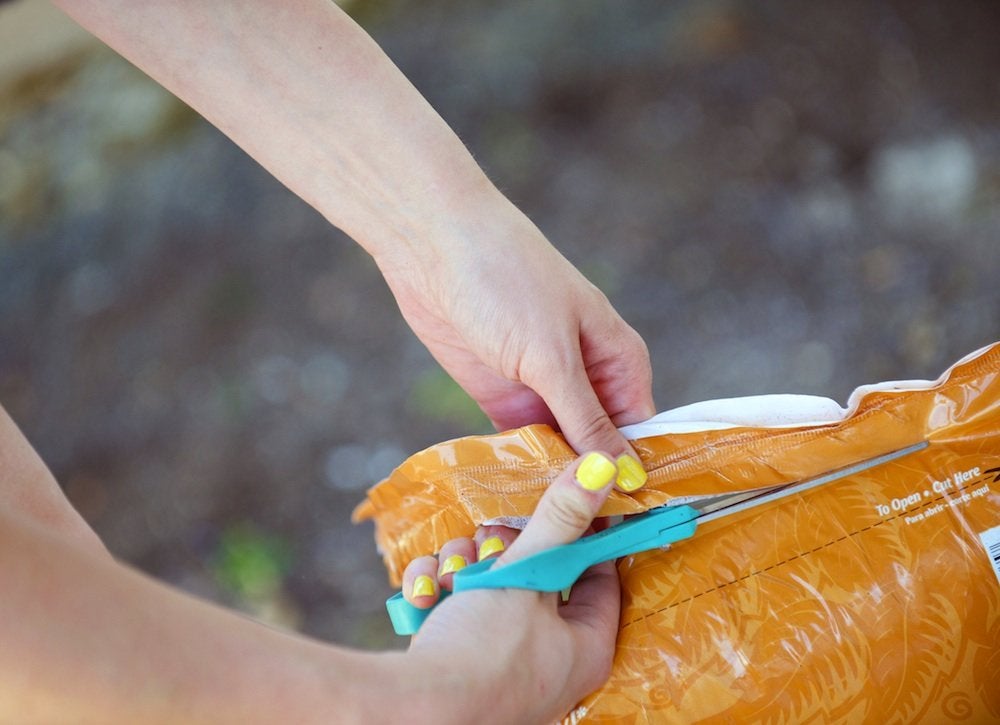
Don’t call it lazy gardening—it’s simply a genius time-saver! By growing a vegetable garden straight out of a bag, you’ll eliminate the need to till and ameliorate poor soil. Not only that, but you can save hours that you’d normally spend weeding. This trick works for shallow rooted plants like lettuce and tomatoes. For plants with deeper root structures, opt instead for raised beds or deep containers.
Related: Everything You Need to Start a Raised-Bed Garden, According to a Seasoned Gardener
Put a Cork In It
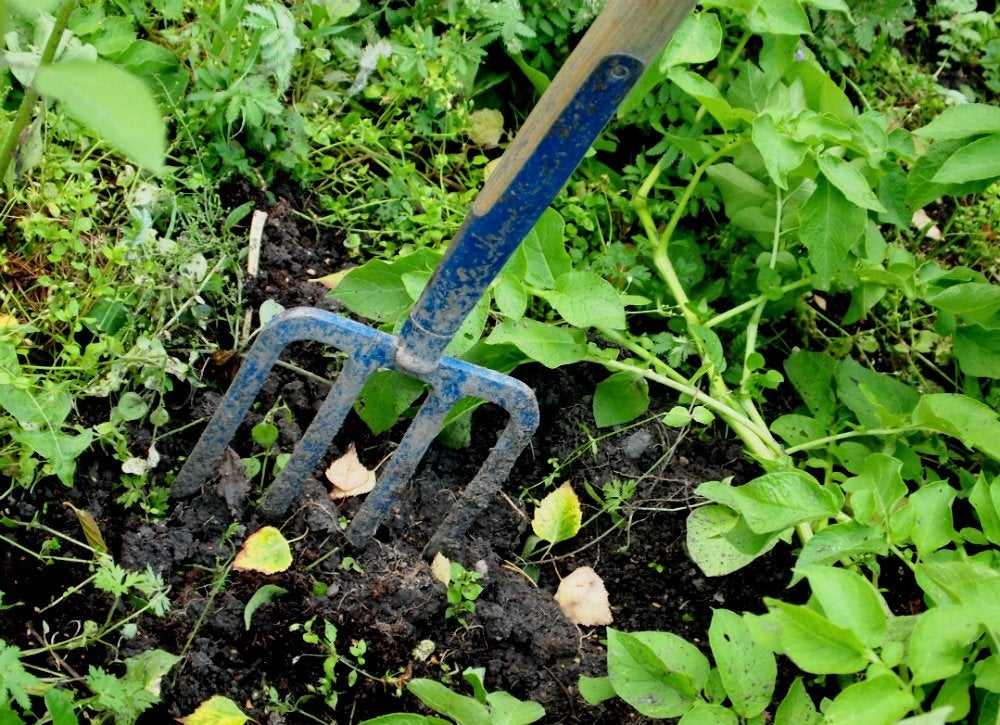
Sowing your seeds just got simpler! Rather than digging individual holes all along your garden bed, enlist the help of recycled materials to turn a garden rake into a makeshift sower. Just press an old wine cork onto each prong so that it’s just just as long as you’d want your holes deep, then push the tool into the dirt. When you pull it back up, you’ll be left with a row of holes ready for seeds.
Related: The 16 Easiest-to-Grow Vegetables for Novice Gardeners
Protect Plants from Pest
YouTube via Lady Green Thumb
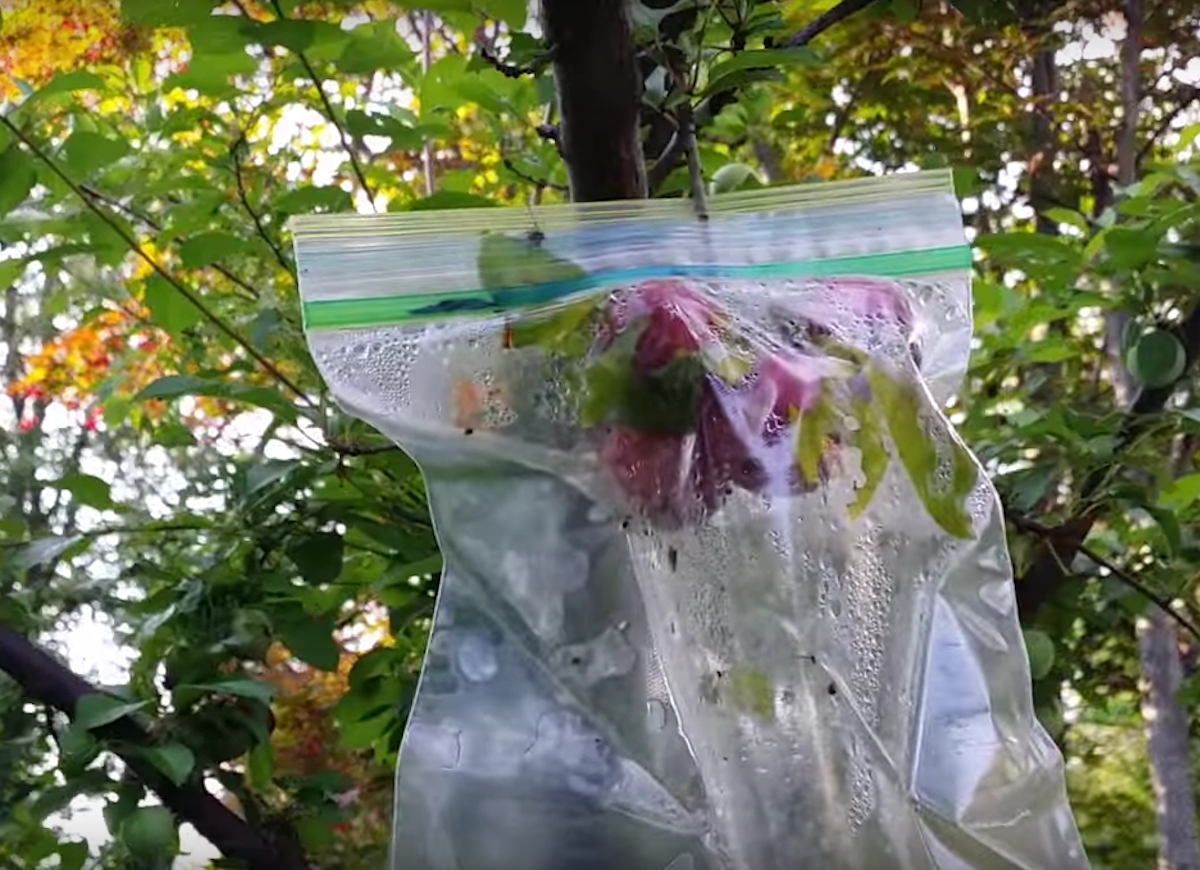
Keeping caterpillars and bugs off of ripening fruit can be a daunting task if you don’t want to use chemical sprays. Protect that fruit quickly, easily, and cheaply by slipping a ziplock baggie over apples or pears once the fruit has set. Seal it as closely around the stem as you can, and then let it be. As the fruit grows and turns downward, the baggie will go with it, and you can harvest everything blemish-free when it’s ripe.
Make Your Own Seed Tape
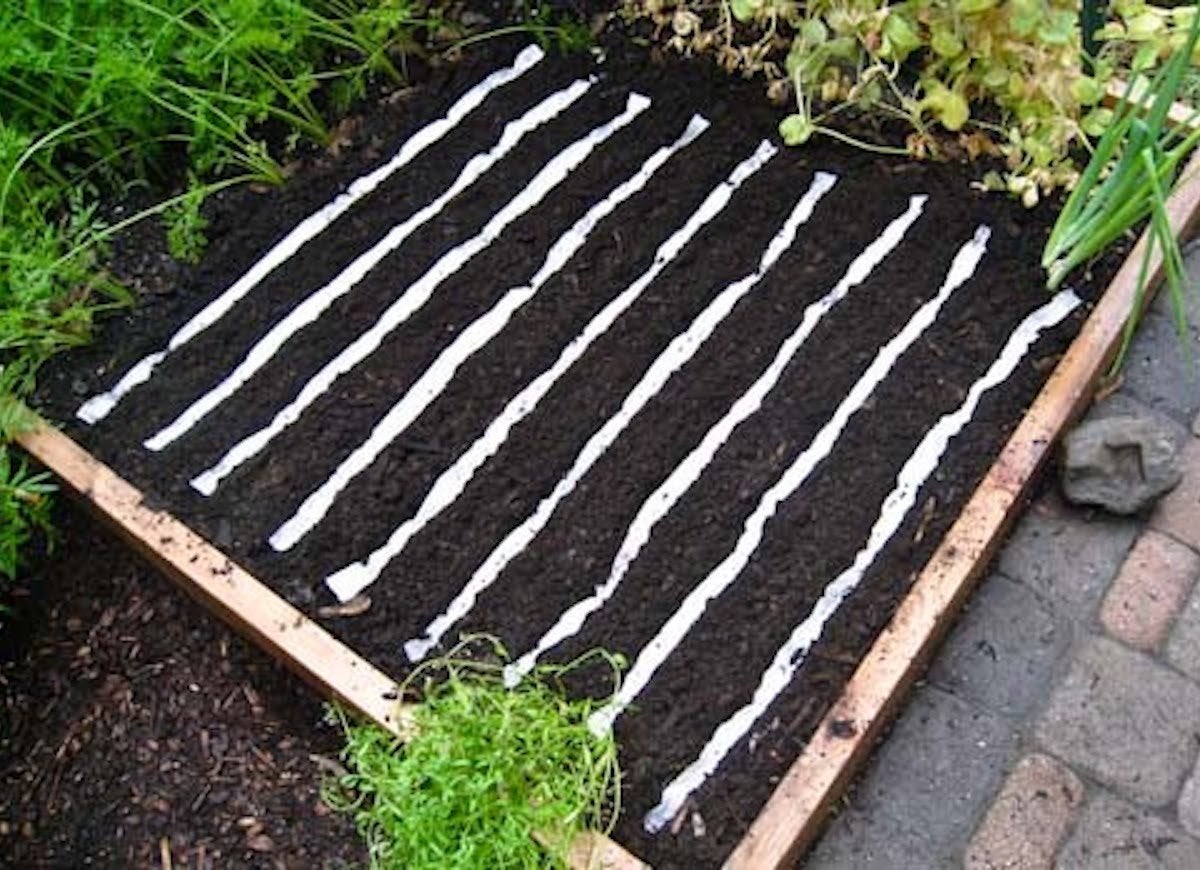
Seed tape is a convenient way to put a lot of tiny seeds, like carrots, down quickly and neatly. It’s expensive to buy, but easy to DIY. Just roll out some toilet paper and mist it with water from a spray bottle. Place your seeds in a line at the appropriate distance from one another. Then fold one third of the paper over the seeds and mist it to make it adhere. Fold the opposite third over and mist again to complete the job. Roll it up on a toilet paper tube and store it until you’re ready to plant.
Related: 25 Easy-Care Plants That Survive With or Without You
Space Out Seeds
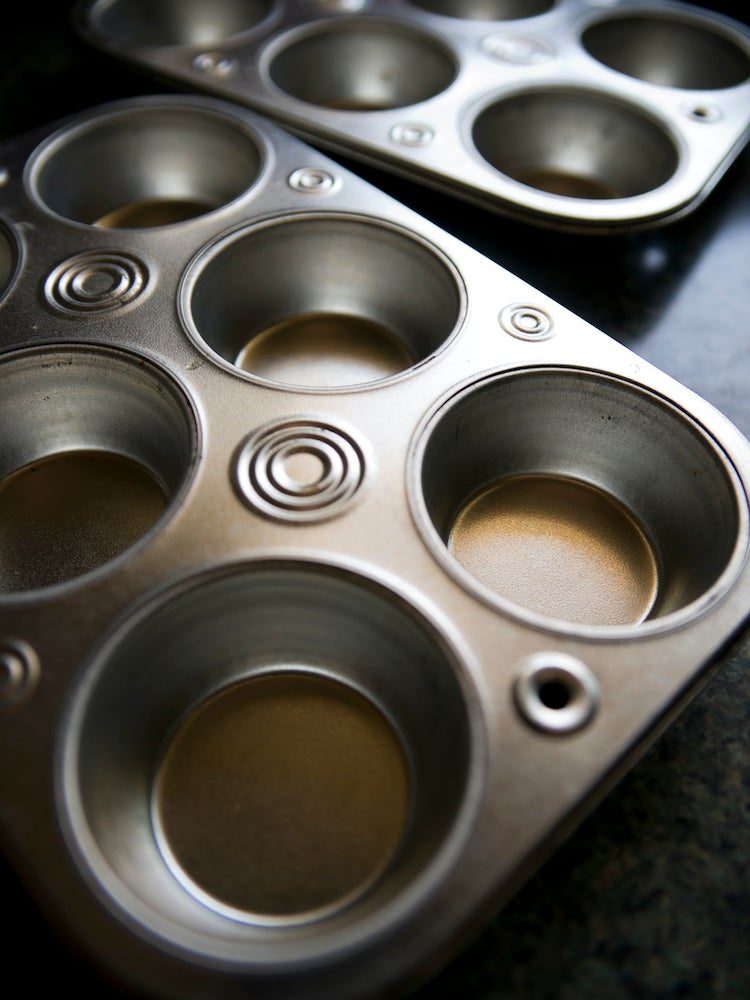
Get vegetable seeds spaced evenly and quickly by using a muffin tin to make planting holes. Simple push the tin into the ground to make depressions in the soil. Then drop the seeds in, cover with soil, and water.
Protect Plants with Plastic Forks
flickr.com via zeevveez
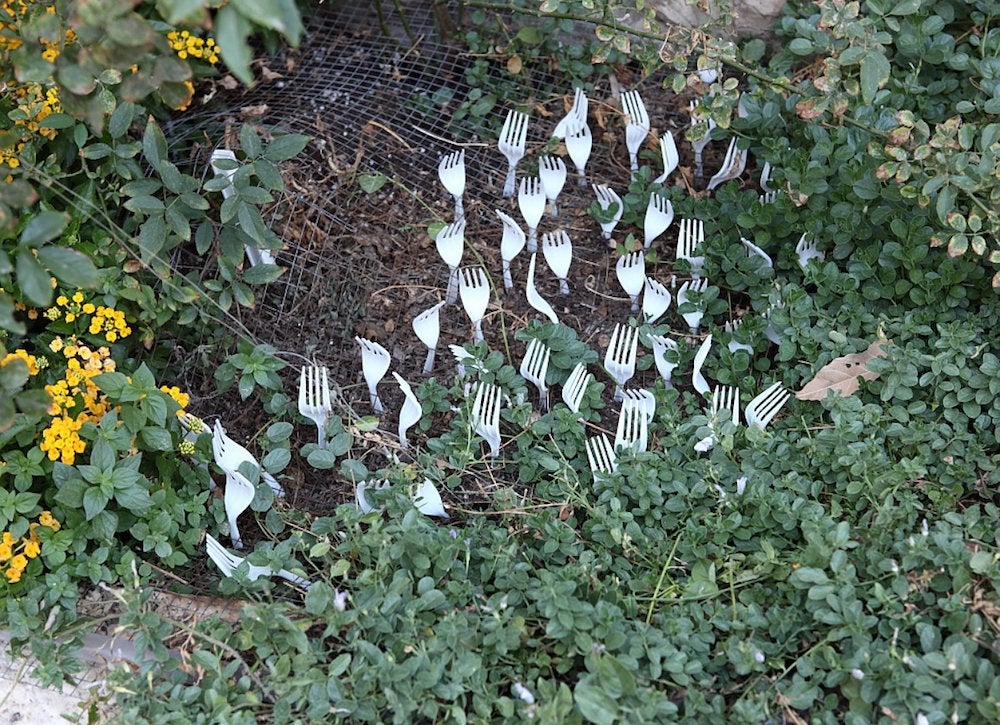
Plastic forks aren’t just for grabbing a bite at your family barbecue; they’re also great for the garden. If you’ve spotted stray cats, rabbits or mice in your yard, stick a few forks in the ground around their favorite hangout. The sharp tines will deter most small animals, and keep young plants out of harm’s way.
Related: 10 Fast-Growing Plants for (Almost) Instant Curb Appeal
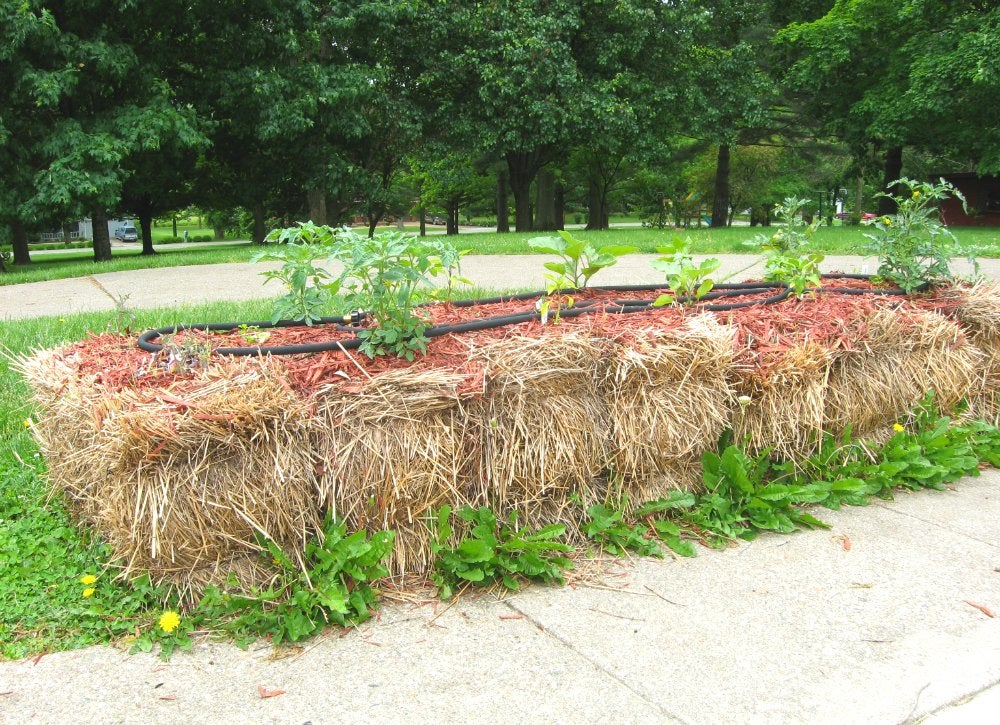
Fertilize with Straw Bale
flickr.com / via Kirsten Skiles
If you need a cheap and easy alternative to soil, look no further than the straw bale. Costing as little as $2, a straw bale provides necessary nutrients to the plant as it decomposes. It’s also incredibly low maintenance. Virtually weed-proof, absorbent bales require less watering than soil and successfully grow all kinds of summer favorites from tomatoes to strawberries.
Related: 8 Ways to Use Straw Bales for Festive and Functional Outdoor Decor
Reuse Your Water
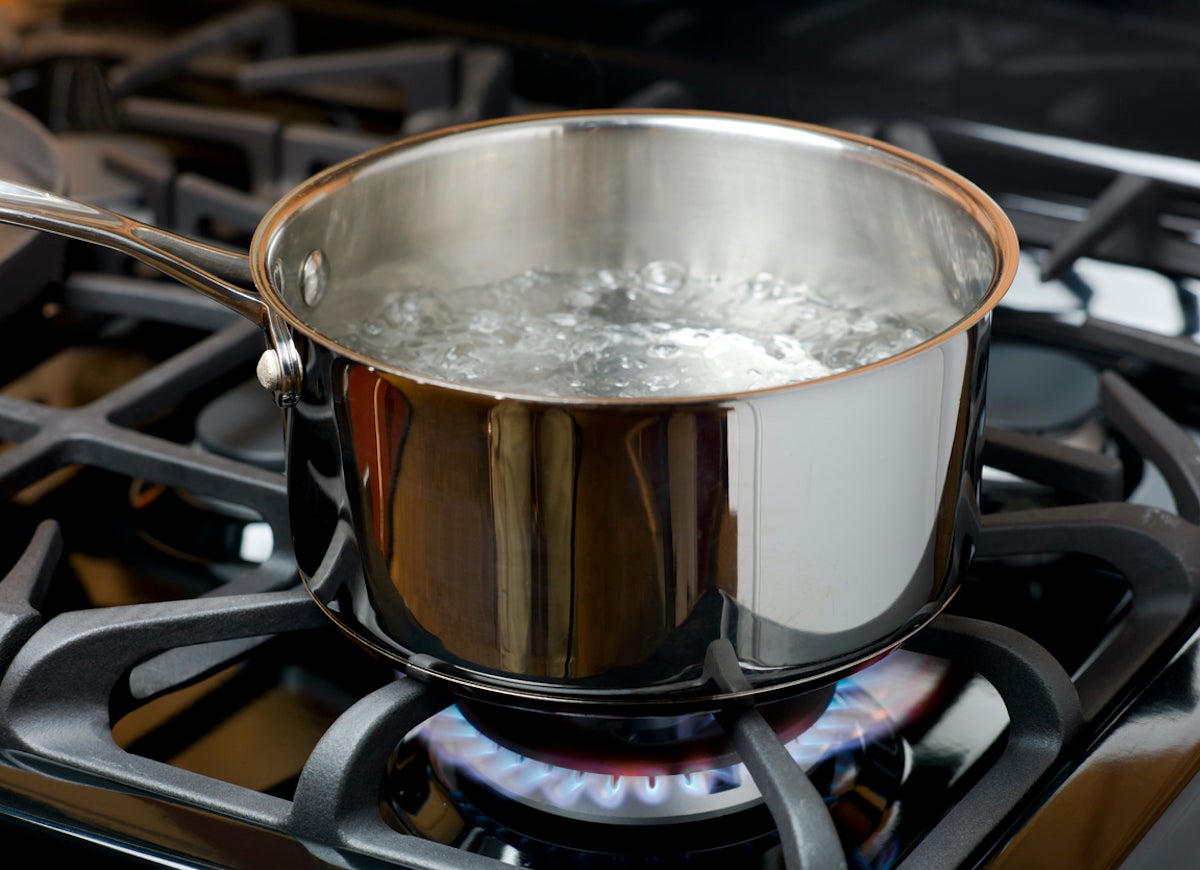
Drought and water shortages mean home gardeners are ever more mindful of conservation. Use your resources wisely—and lower your water bill!—by reusing when you can. For instance, the water you use to boil eggs or rinse veggies is perfect for refreshing outdoor plants. Let hot water cool to room temperature before using on your plants.
Related: 17 Rain Barrels That Make Water Conservation Stylish
Build a Natural Trellis
YouTube via Angling 101
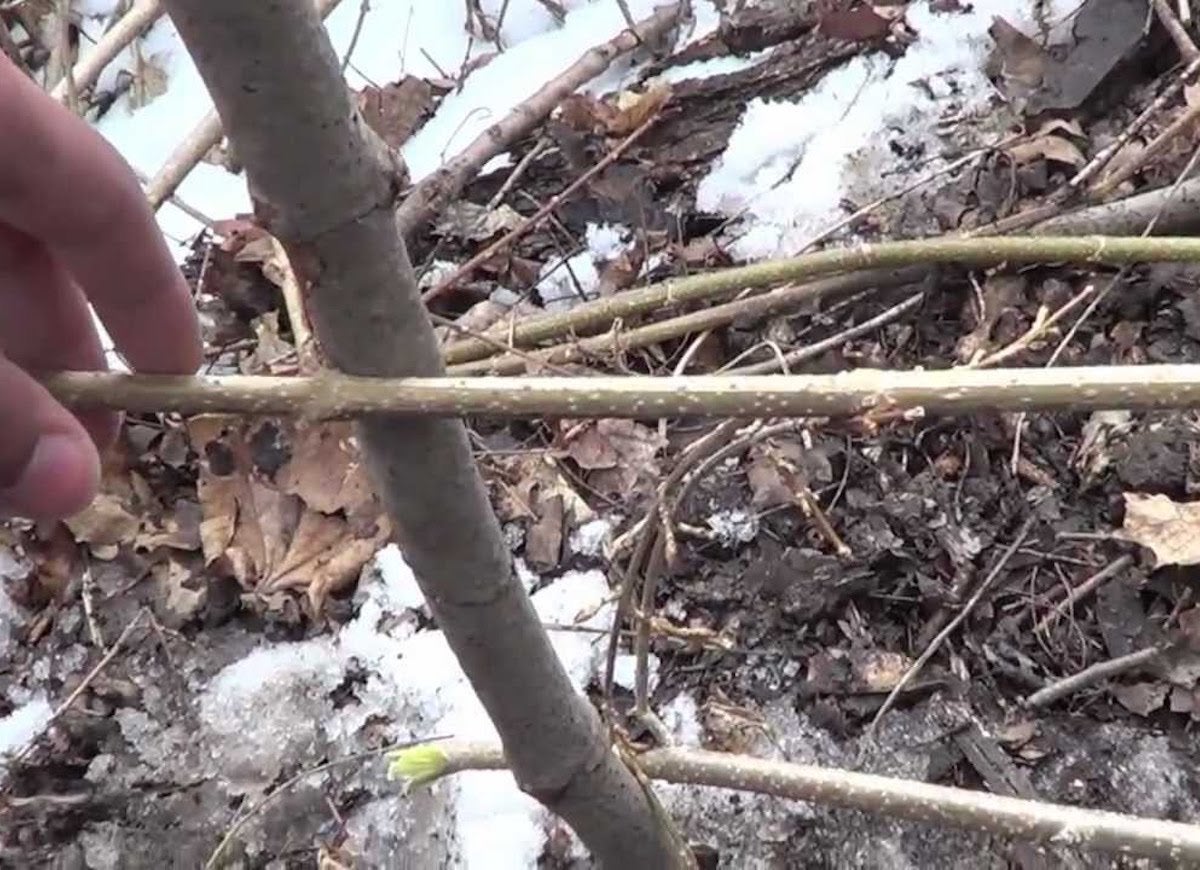
Many vegetable plants like beans and cucumbers do better if they have a trellis to support them while they grow. You can make a trellis out of natural materials on your property without spending a dime. Use the pruned limbs of trees, or other found materials like saplings. Lay the materials out in a grid, fan, or ladder shape on the ground. Then, tie them together where they cross with sturdy twine. Your pile of yard waste will be smaller and your plants will be happier. And you won’t have spent time or money shopping for anything.
Make Your Own Insecticidal Soap
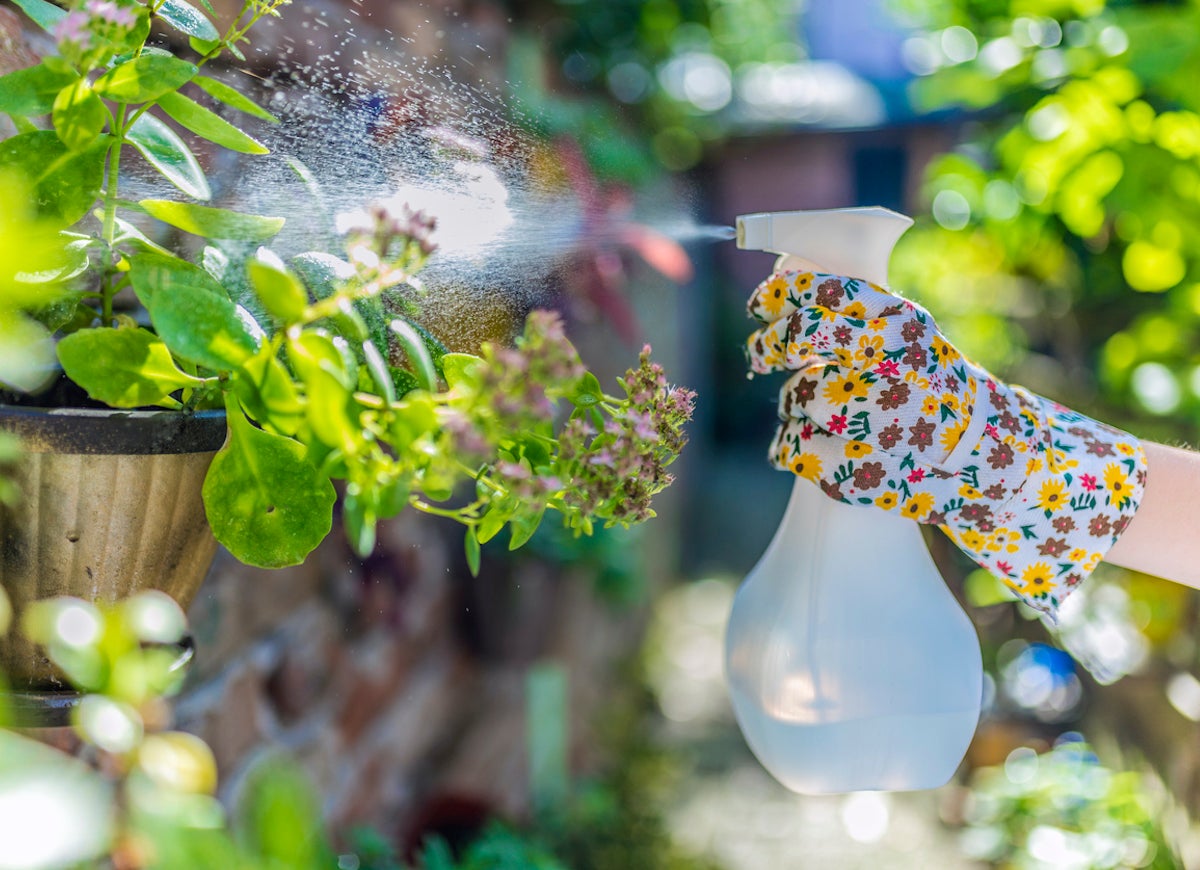
Insecticidal soap is a non-toxic solution for spraying plants that are being bothered by bugs. Mix 1-2 drops of lemon essential oil, 1 tablespoon of pure liquid soap, like castile soap, per 1 quart of water, and put it in a spray bottle. Avoid dishwashing liquid, as the additives can harm plants, and be ineffective on insects. Keep the bottle handy, and use it whenever you need to protect your garden from creepy-crawlers.
Related: 20 Tips for Keeping All Critters Out of Your Yard and Garden
Propagate from Cuttings
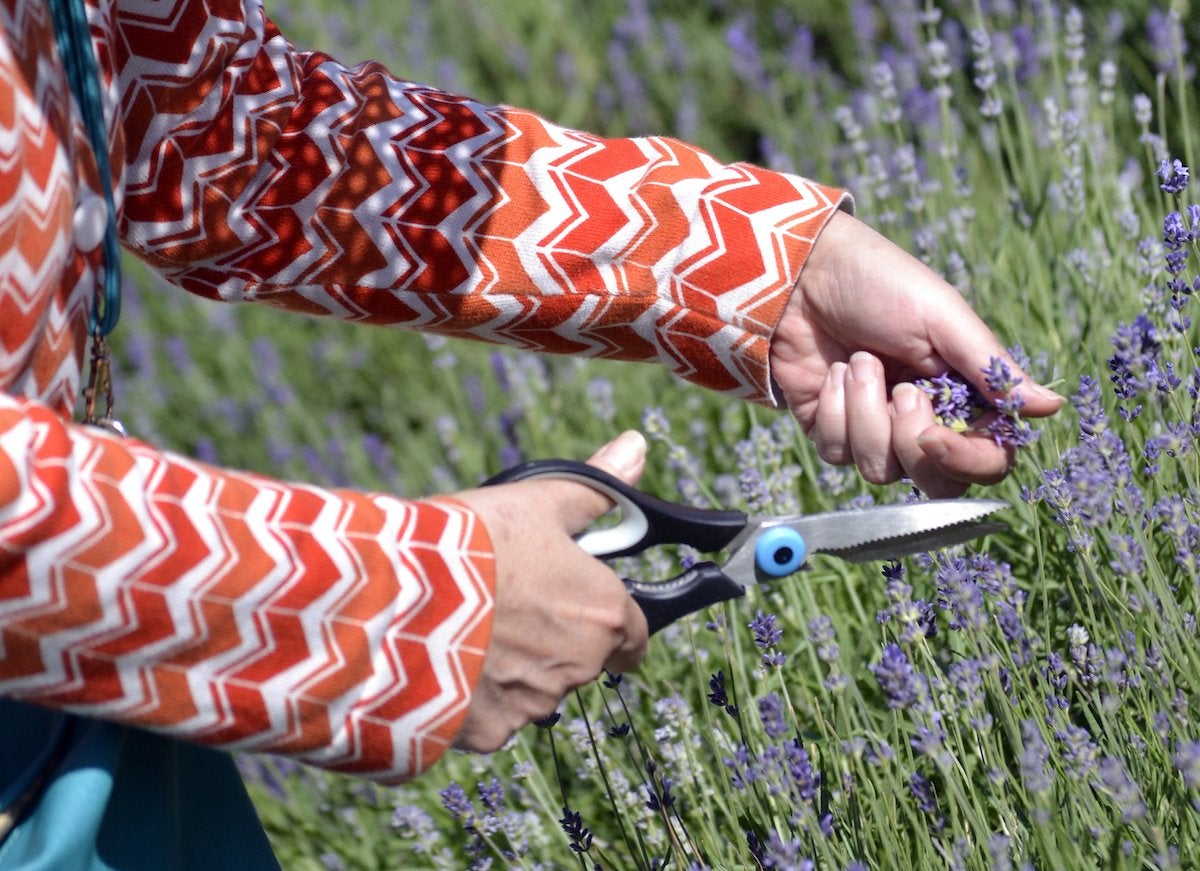
There are many plants that you never need to buy. Instead, take a cutting or two, root it in your garden and wait for it to grow. Jade, lavender, chrysanthemum, and butterfly bush are just a handful of plants that can be propagated from cuttings. Just snip a 6 to 8 inch piece of green growth, then remove all but just a few leaves at the top and stick it into the ground or into a pot of soil. The plant should take root in just a couple of weeks, and by next season, will be well established.
Related: The 15 Best Trees and Shrubs to Grow for Backyard Privacy
Save Your Seedlings
istockphoto.com
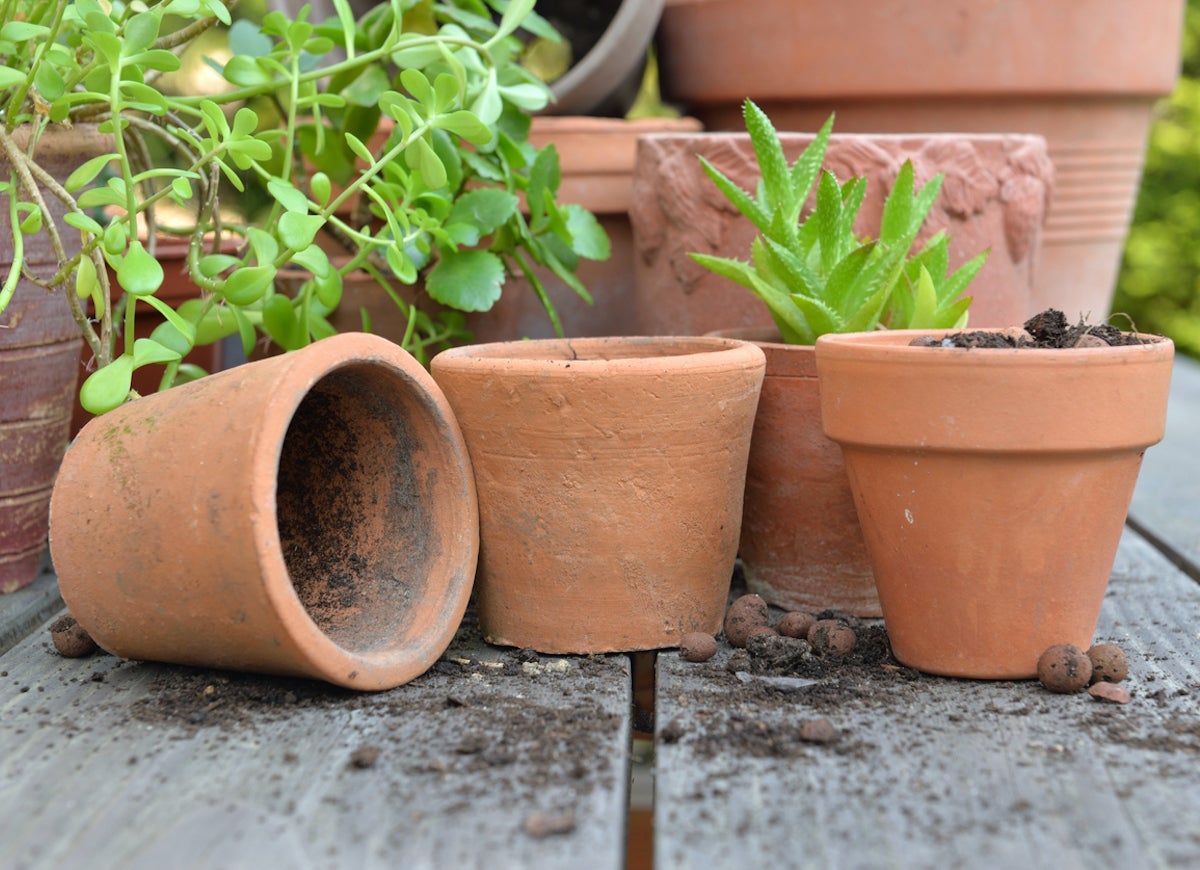
If a late frost threatens to burn your tender seedlings, here’s an invaluable lesson. Protect young shoots by turning terra cotta pots upside down and covering growth. The pots will insulate the plants, increasing their chances of living through frosts and high winds. Be sure to uncover them once the danger has passed.
Start Seeds in Recycled Containers
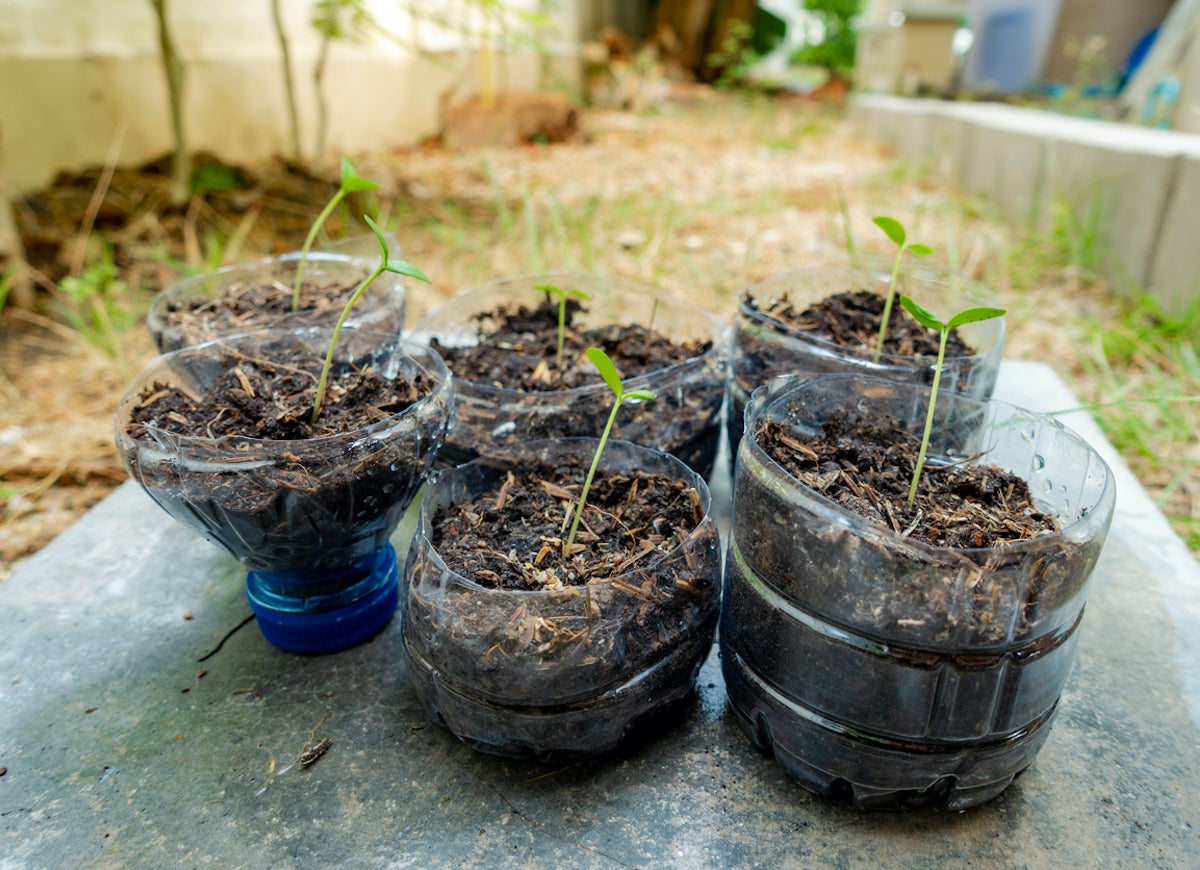
The cheapest garden is one grown from seed, but your garden would be short-lived this year if you delay planting until spring. The solution? Turn empty milk jugs or plastic bottles into mini greenhouses. Slice the container in half, leaving a half inch uncut to serve as hinge. Poke holes for drainage and ventilation, then add a few inches of soil. Plant your seeds and leave the jugs outdoors as early as January. When seedlings emerge in spring, replant them once mature enough.
Knock Out Slugs
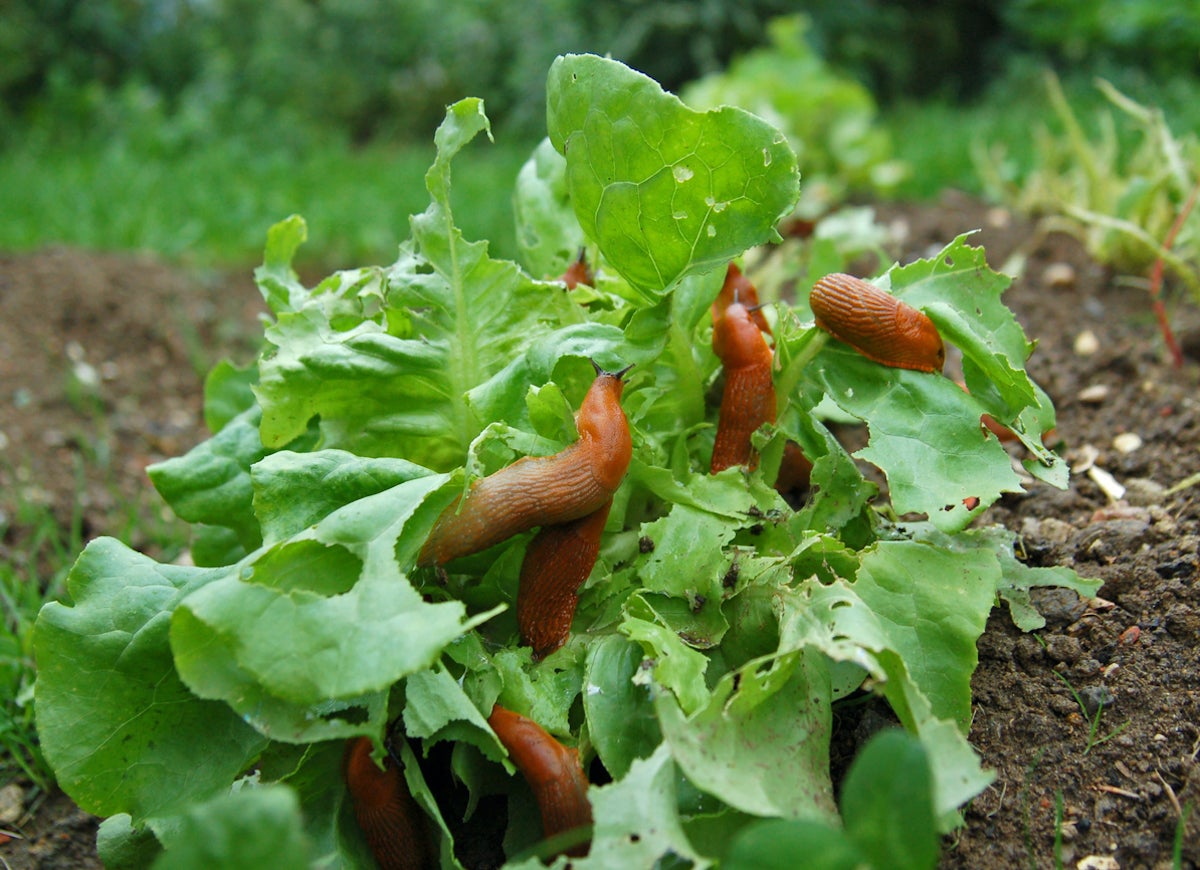
If slugs were houseguests, you’d never want them to visit again. Once these slimy pests settle into your garden, they’ll help themselves to your homegrown veggies, destroy seedlings, and munch on your plants’ leaves until they look like swiss cheese. To get rid of them for good, skip the toxic pellets and opt for a natural alternative like beer or oatmeal instead. To make your own trap, pour some beer in a shallow tin like a tuna can. Slugs love the smell of a cold brew, so you’ll have your garden back in no time.
Related: 25 Easy-Care Plants That Survive With or Without You
Compost Your Pots
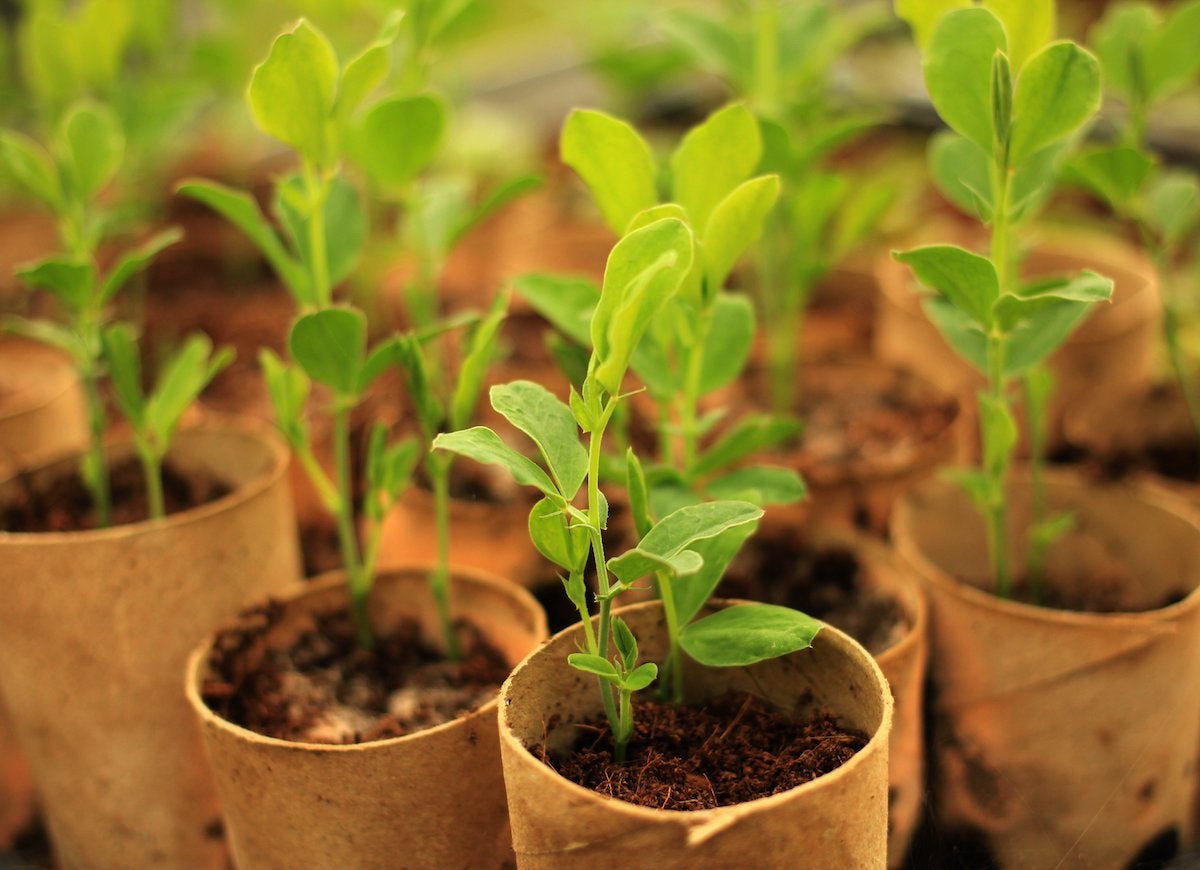
When starting seeds indoors, forgo a fancy set up in favor of these free—and fully compostable—seed pots. Cut slits in one end of a toilet paper roll and fold the ends together to form a closed base. Fill the tube with soil, seeds, and water occasionally until the seed sprouts. Once the seedling is strong enough to be placed outside, fold the bottom flaps aside to let the roots pass through, and plant the entire roll directly in the ground.
Related: 11 Surprising Places to Get Free Gardening Supplies and Save Money
Our Best Advice for Beginner Gardeners
We’ll help you set up your first garden—whether that’s a few pots on your patio, a raised bed, or an in-ground plot out back—and select the right plants for your soil and region.
