We may earn revenue from the products available on this page and participate in affiliate programs. Learn More ›
Tool Around
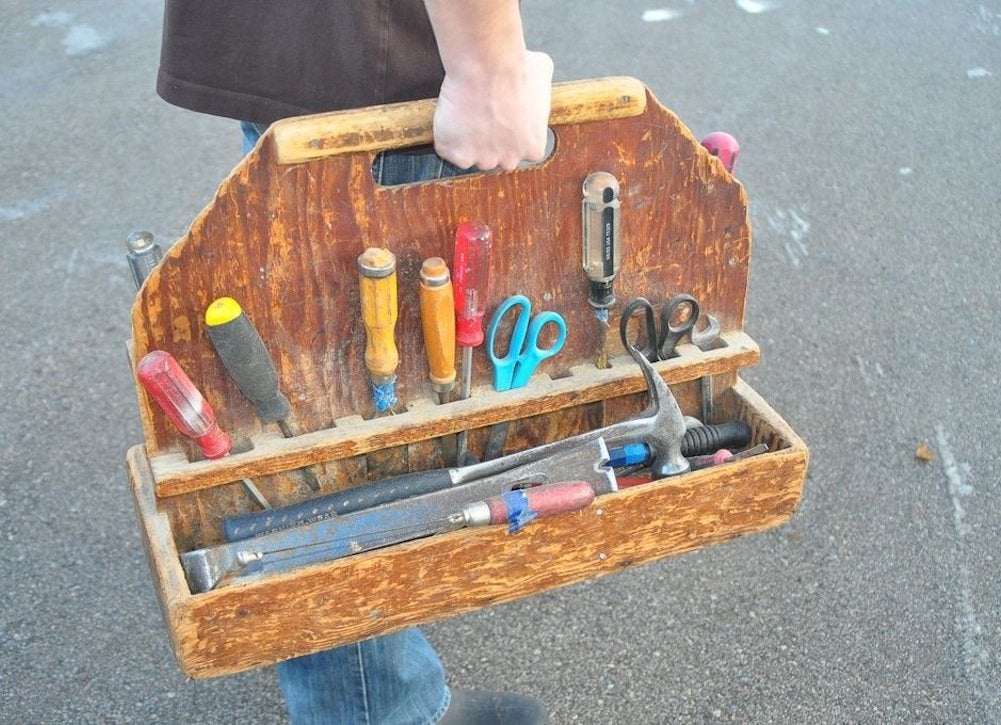
Keep the tools of the DIY trade safe and secure in this scrap wood tool tote. The bottom tray comes together with brads and glue, and offers shelter for hammers and wrenches. The plywood upright, which fits securely into a slot in the base, features holes for tin snips, pliers, and other essentials.
Nocturnal Nook

These wise-guy bookends will start a new chapter on stylish storage in your home library. Assemble the bases using scrap wood and wood glue, and then carve the owl heads. Attach eyes and a beak to each head, and finish by screwing an owl to each base for an enchanting book nook.
Blaze a Trail
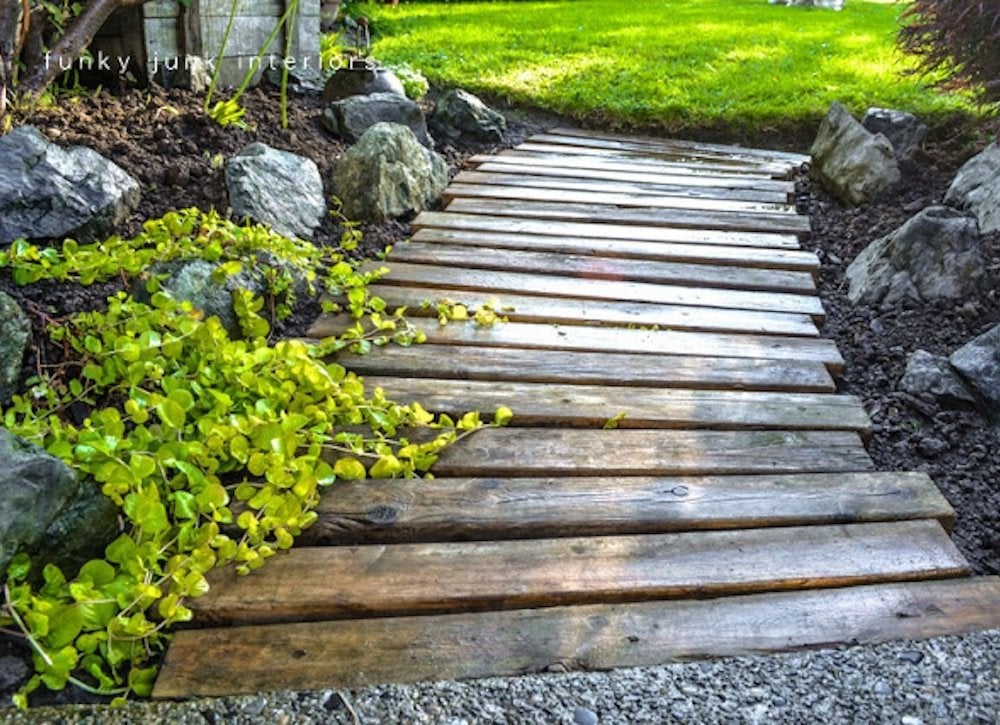
If you’re looking to add or replace a walkway in your garden retreat, consider this pretty (and
free!) pallet wood solution. First, dig a level pathway that’s about the same width as the pallet boards and lower than both the surrounding landscape and any adjacent driveway or other paved area. Then, simply fit the boards tightly in place, pushing a little soil in between each slat to hold it securely.
Related: 7 Thrifty Designs for a DIY Walkway
Into the Woods
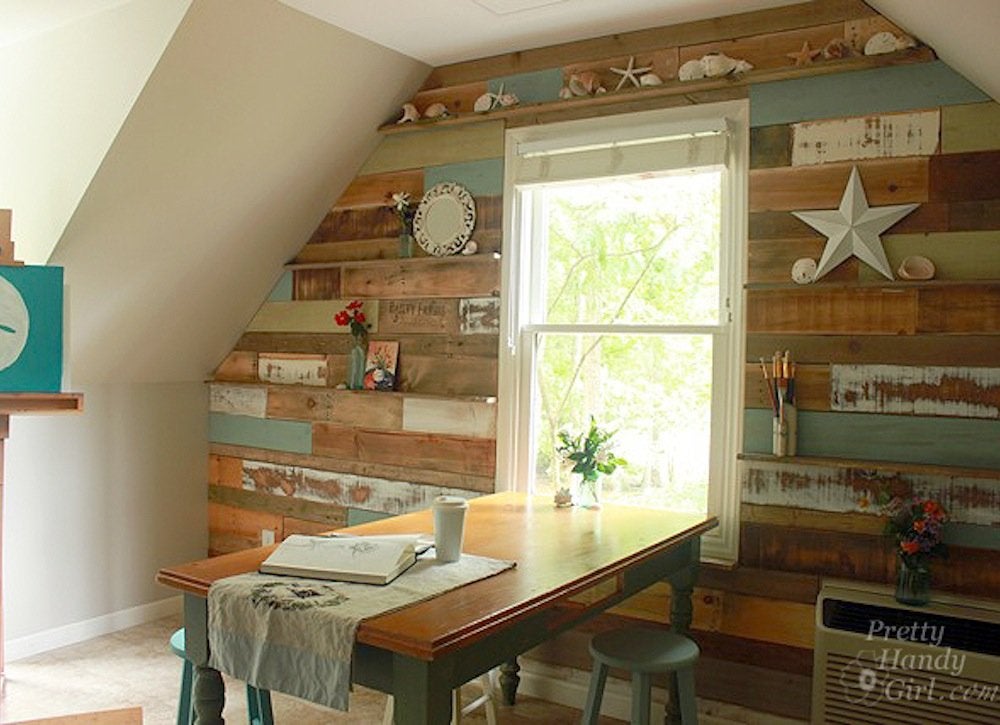
What better way to accent the walls of your art studio than with remnant wood from your last design project? Here, painted pallet wood boards are secured to the wall with construction adhesive and finishing nails. You can even install ledges above some of the boards to display decorative accents.
One for the Birds
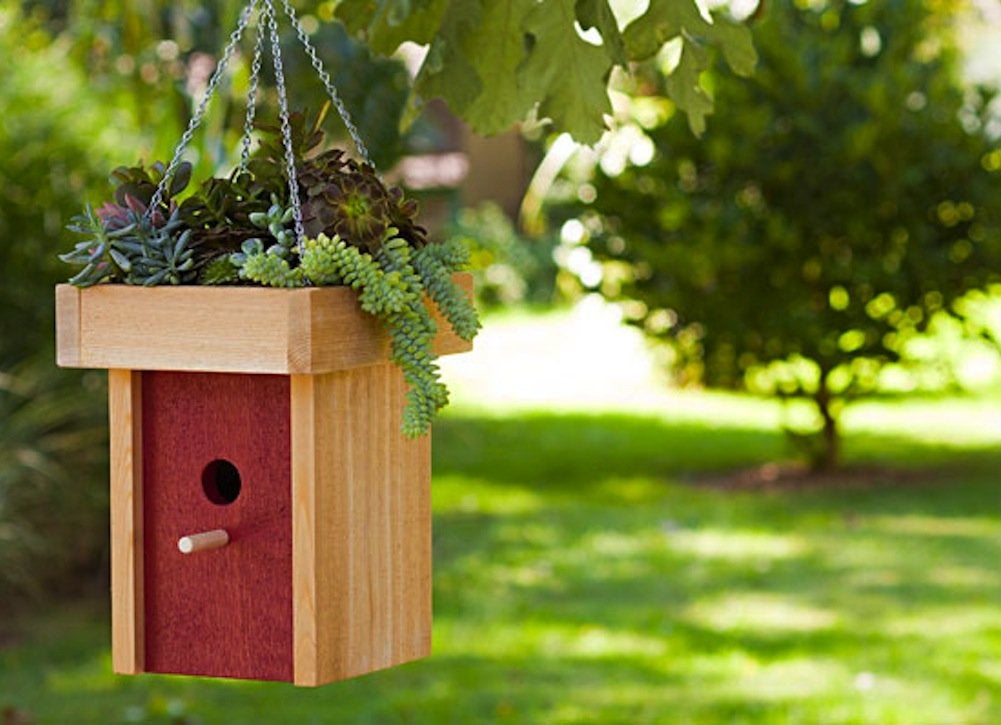
Give your flighty neighbors a place to nest in this bespoke birdhouse planter, made of scrap wood assembled with glue and finishing nails. The main box is constructed of scrap cedar and accented with a poplar perch post, while the cedar roof tray holds home-grown succulents.
Related: 20 Low-Light Houseplants You Can Grow Practically Anywhere
Take a Number
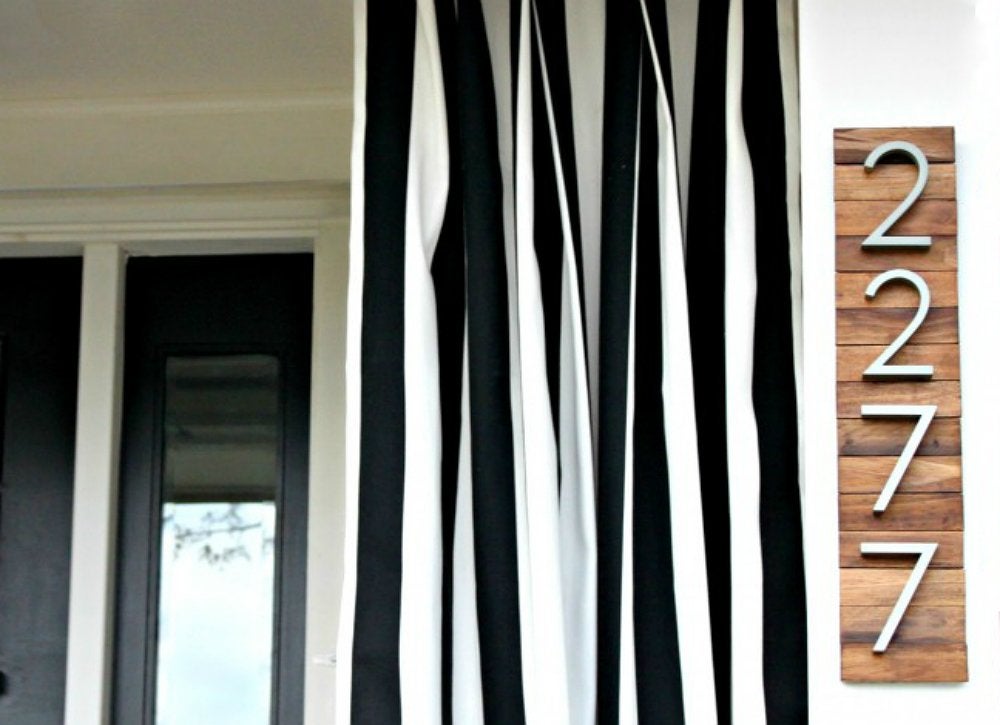
Good for more than just prepping a can of paint, wood paint stirrers can also make a splash on your front porch. To make your own house number display, cut and stain a collection of paint stirrers, then glue them horizontally onto a scrap wood board. Top the board with sleek numerals, and you’ve got a dazzling DIY house ID.
Farm Fresh
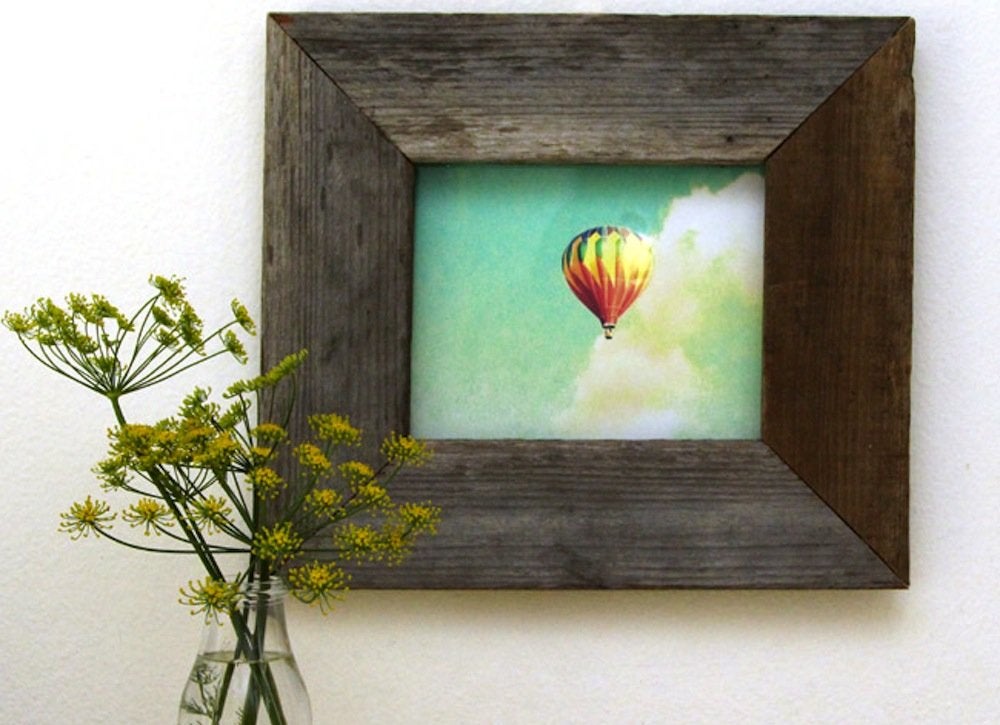
Farmhouse-style accents can come with a high price tag—but not this rustic wood picture frame. Made from barn wood and assembled with hot glue and a few screws, this picture-perfect wall hanging offers both bucolic charm and the lightweight durability required to hang it securely on the wall.
Window of Opportunity
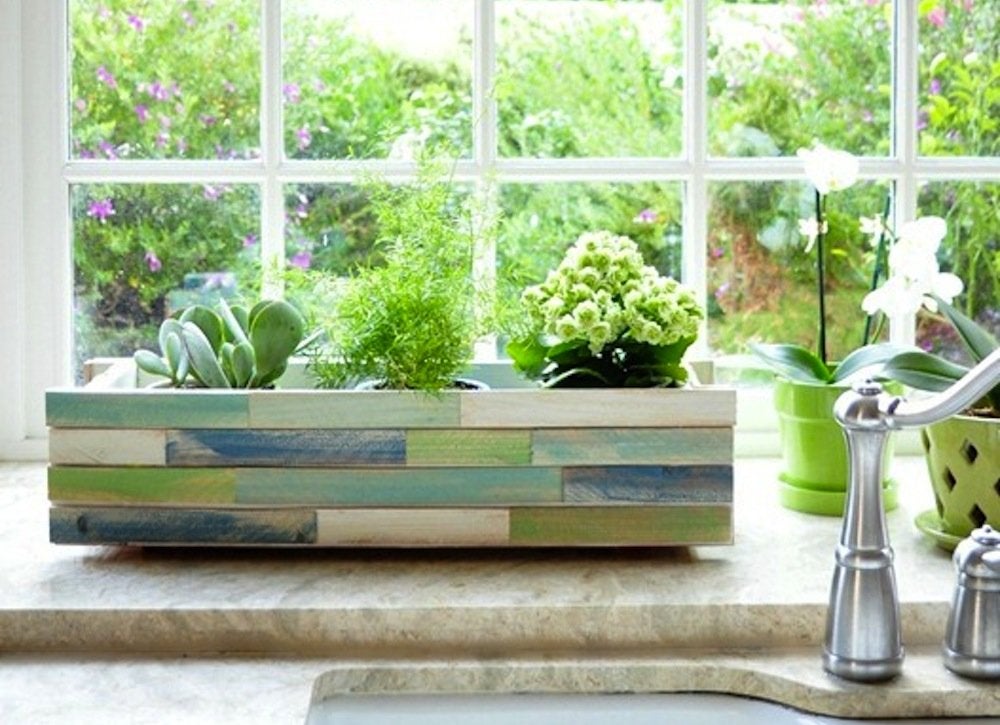
Bring the bounty of spring indoors by putting this weathered-wood planter on display. Deck out a store-bought window box using inexpensive wood shims cut to size and painted in a rainbow of soft colors. Attach the shims to the box using wood glue, and fill with herbs, succulents, and other seasonal staples.
Doggy Dining

With this pup-friendly project, you can feed Fido as well as your own DIY cravings. The table, cut from scrap pine board, is supported by four cut-to-size table legs and features two jigsaw-cut holes sized just right for food and water bowls. After assembly, sand and paint the station so it will be as attractive to you as it will be to your hungry pet.
Florid Details
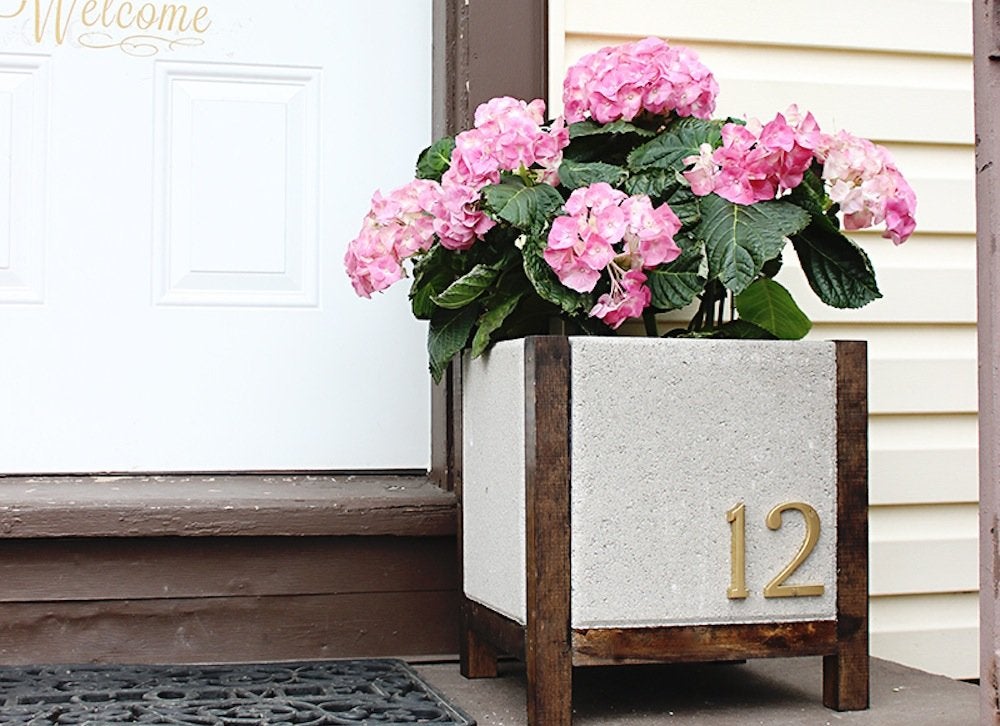
Ordinary scrap wood and concrete pavers can pave the way to a flourishing planter. The joinery, made from 2×2’s, comes together with deck screws, and the pavers are secured to the wood pieces with construction adhesive. Complete the look with a set of shiny house numbers that will make your curb appeal pop.
See the Light
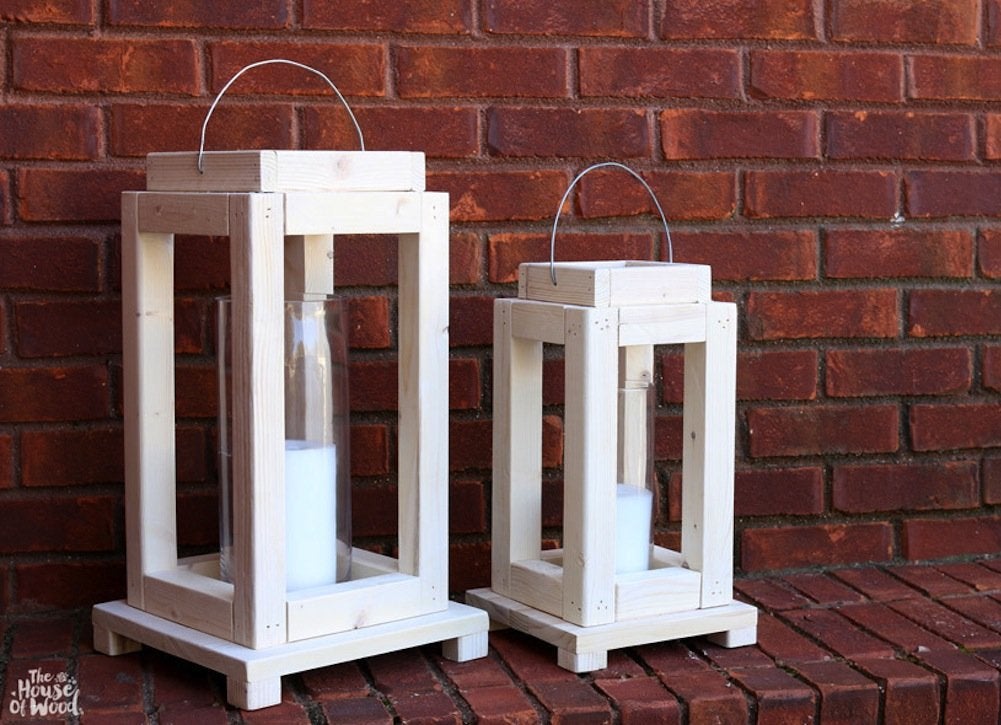
As these DIY luminaries demonstrate, lanterns exude an ambience that will never go out of style. Assemble scrap wood planks into a lantern box and base, attach the box to the base, and top with brad nails and wood glue. Add a paint bucket handle to make the lantern easier to move around, then rest a candle inside to cast a romantic glow—and perhaps release a whiff of your favorite fragrance too.
Related: 8 New Ideas for DIY Outdoor Lighting
Woody Undertones
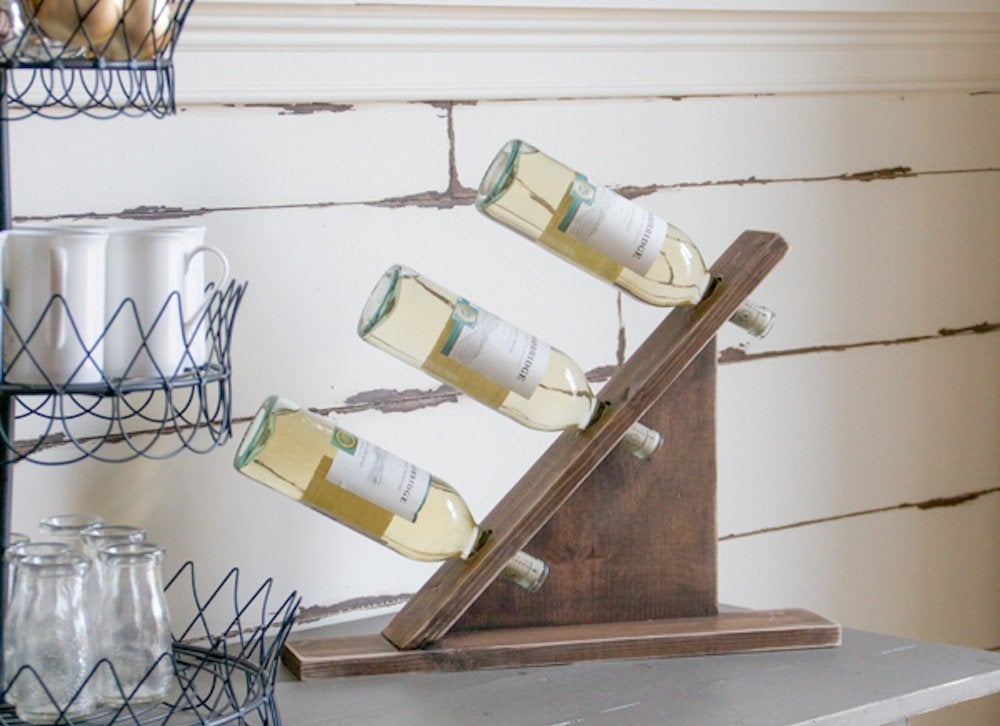
Your guests are sure to savor this eye-popping wine rack every time you pop open a bottle. To build it, measure and cut the top, base, and triangular midsection to size, and then assemble with pocket-hole screws. After staining and distressing the rack to suit your style, fill it with your favorite varietals.
Related: 25 Kitchen Trends You Might Regret
Hole-in-One
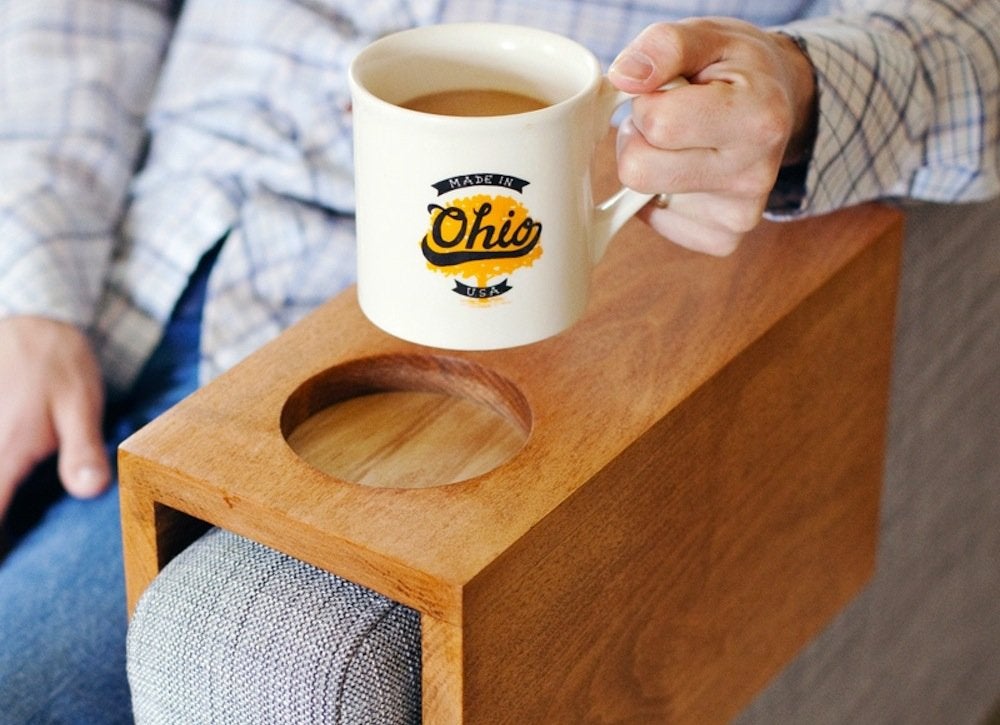
Give naked upholstery a sleek and savvy cover-up with this wooden sofa sleeve. Using glue, assemble precut and drilled scrap wood into a convenient perch that hugs an arm of your couch or chair. The circular trench, drilled with a hole saw, lets this sofa accessory double as a cup holder.
Related: Sofa, So Good: 10 Creative Ways to Revive a Tired Old Couch
Gear Up
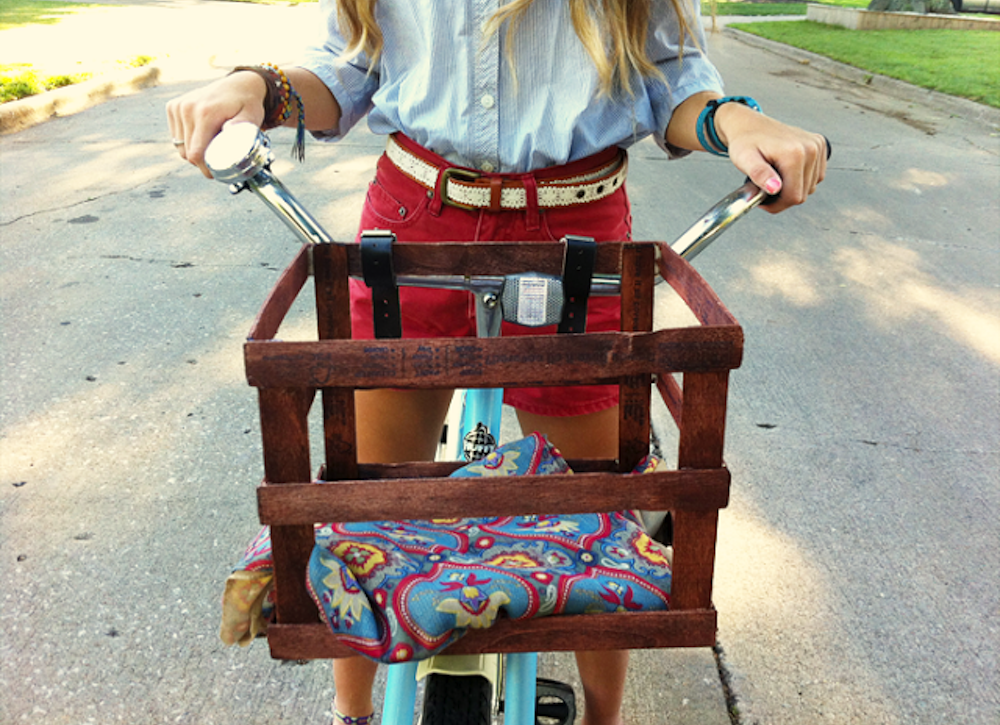
Accent your bike with this basket made of paint stirrers that have simply been glued together and stained. The finished product mimics a classic bike crate and lends instant old-school charm to your favorite mode of transportation. Secure the basket to your bike with belts or basket fasteners, and then hit the road in style!
Top-Shelf Idea
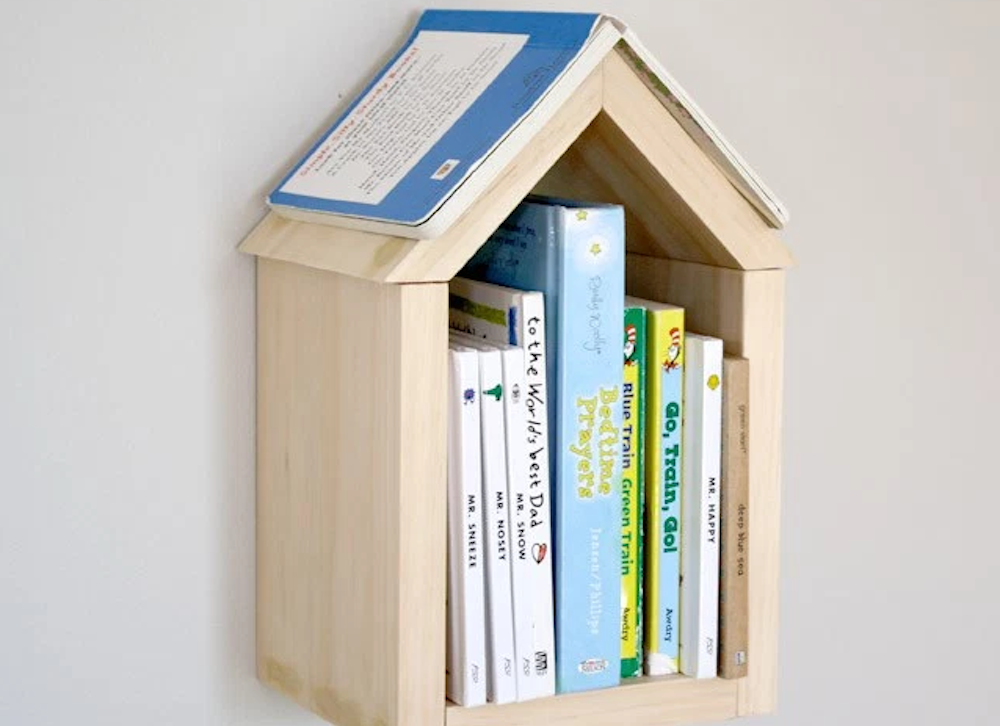
Classics, thrillers, and bedtime stories alike will feel at home in this winsome wood shelf. Assemble a frame from scrap wood, connecting the base pieces together using wood glue and brad nails. Attach the beveled-edge
roof to the top, fill any nail holes with wood filler, and sand the shelf smooth. Paint if desired for a fairytale-worthy result.
Related: 25 DIY Storage Ideas to Help Corral Your Kids’ Clutter
Beyond Measure
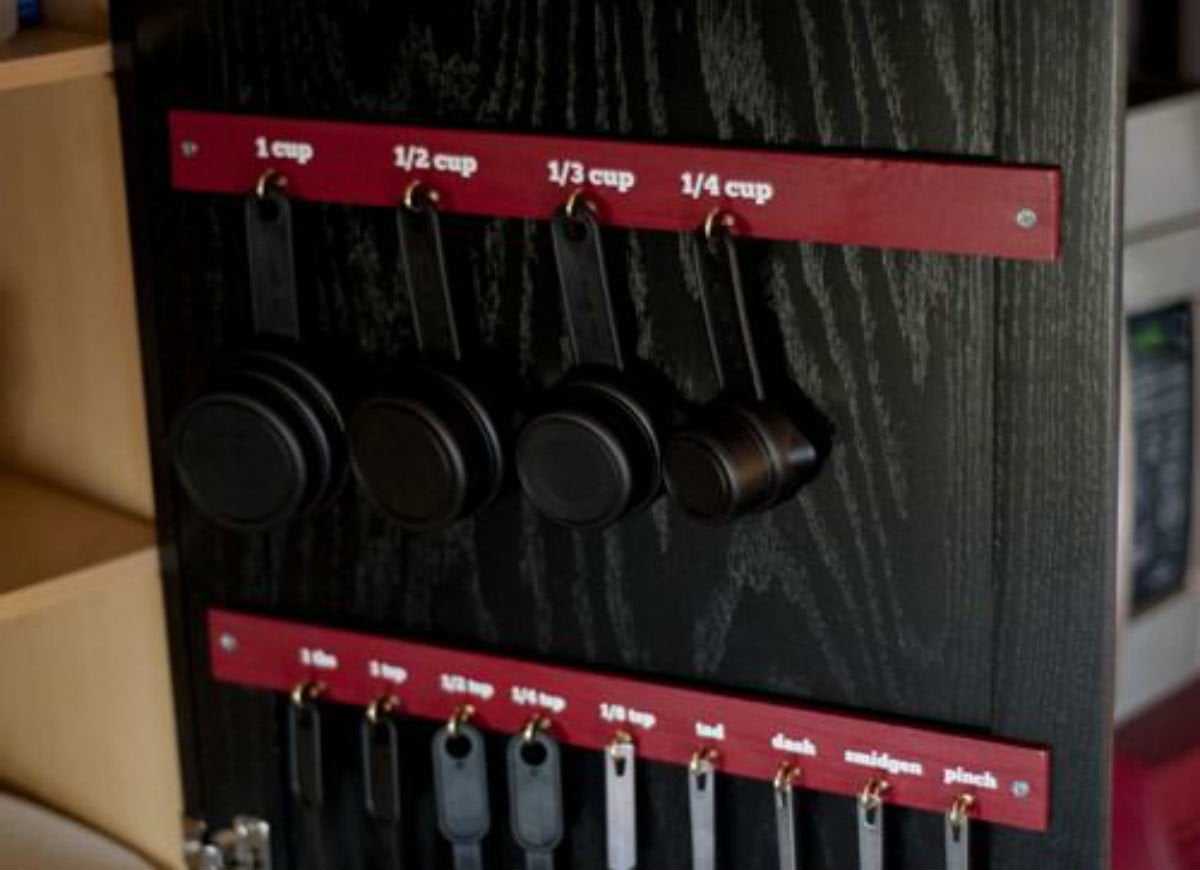
Few store-bought kitchen tool organizers can measure up to this DIY equivalent. Cut off the handles of a few paint stirrers, give them a coat of color, and nail them to a kitchen cabinet. Cup hooks secured to the stirrers, with each measure carefully labeled, guarantee recipe success.
Roped In
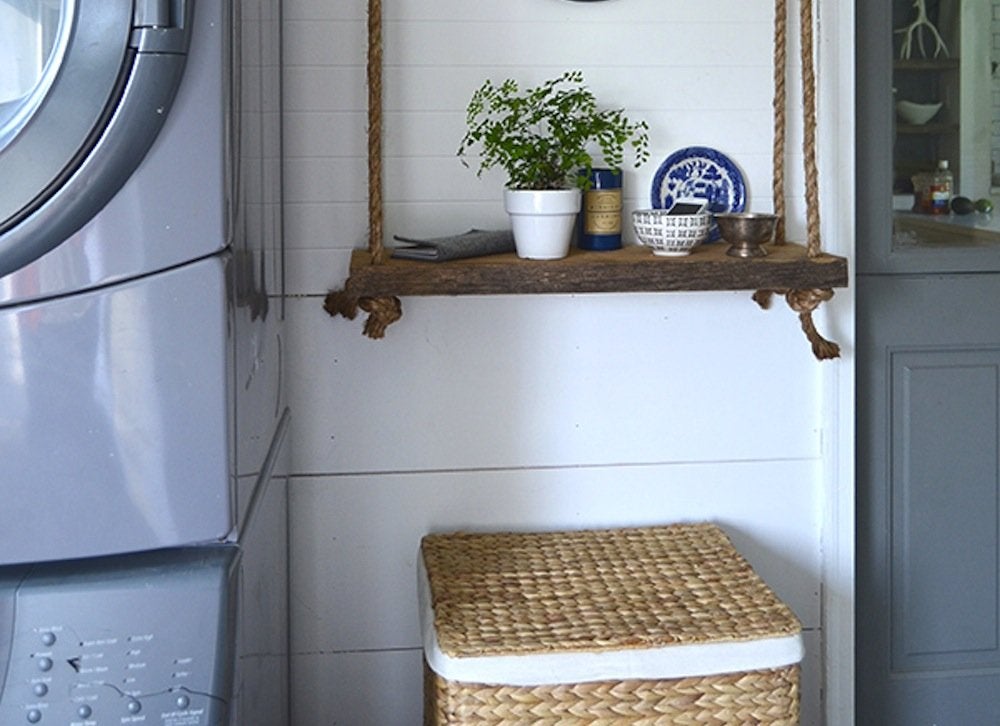
Even hardworking spaces like the laundry room can use some playfulness. Here, a scrap wood plank suspended with rope from a screw-eye hook in the ceiling creates a hanging shelf with the fun vibe of a tree swing—and plenty of storage room for supplies.
Related: 8 “Zero Dollar” Laundry Room Hacks
Counter the Ordinary
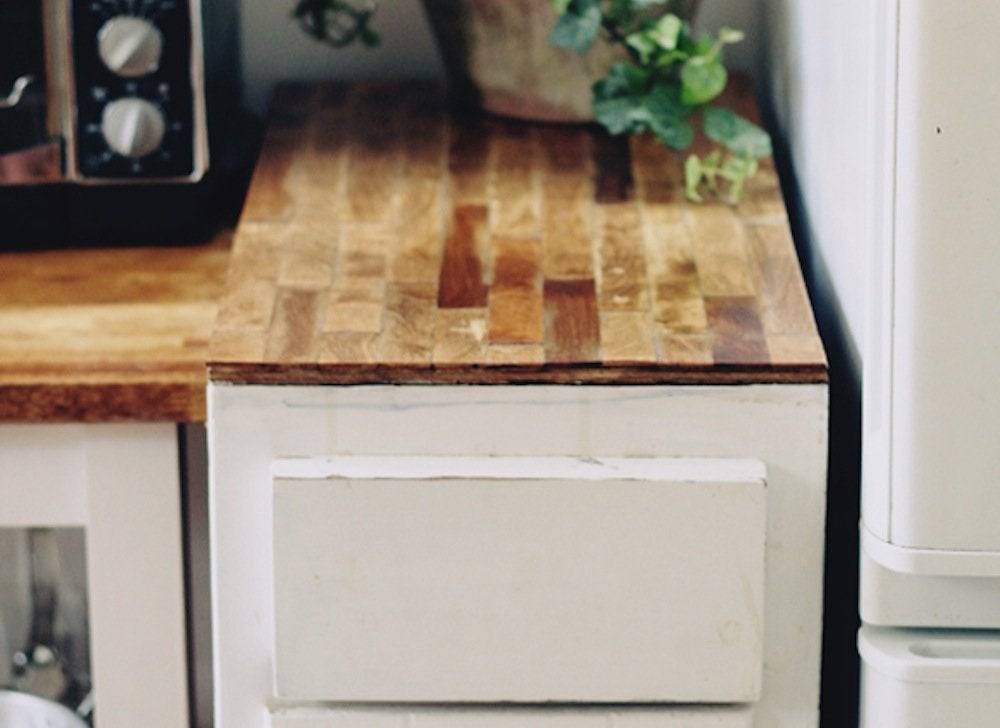
Refinish a countertop or give an old piece of furniture a rustic look by outfitting it with a surface made from a surprising wooden throwaway:
paint stirrers. Nail a piece of cut-to-size plywood to your item, trim off the curved ends of the paint stirrers, and attach the straight lengths to the plywood top using wood glue. A little wood filler, sanding, and staining are all that’s left to bring this project to its charming end.
Related: The Best Countertop Material for Every Type of Kitchen
Wood You Come In?
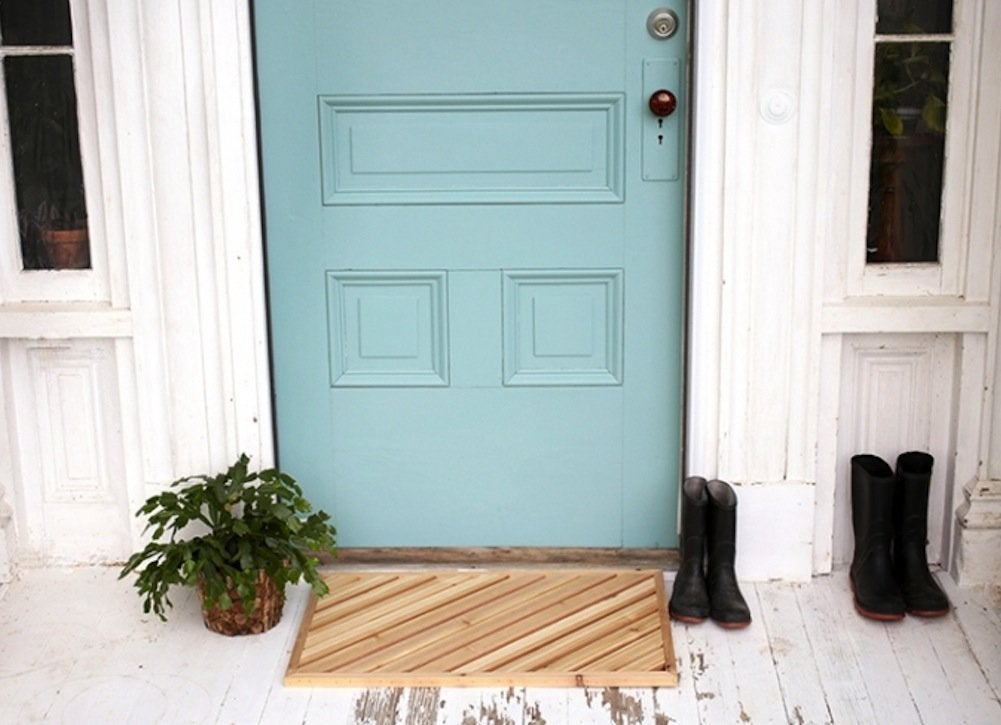
Pep up a blah entryway with this wooden doormat. Glue and nail pieces of scrap cedar to form the frame, and then cut the inside pieces at angles, gluing and nailing them within the frame until it’s filled. The widely spaced slats make it a cinch to scrape off mud and other carpet-soiling gunk from sopping shoes, ensuring that this project is both attractive and functional.
Twiggy Figure
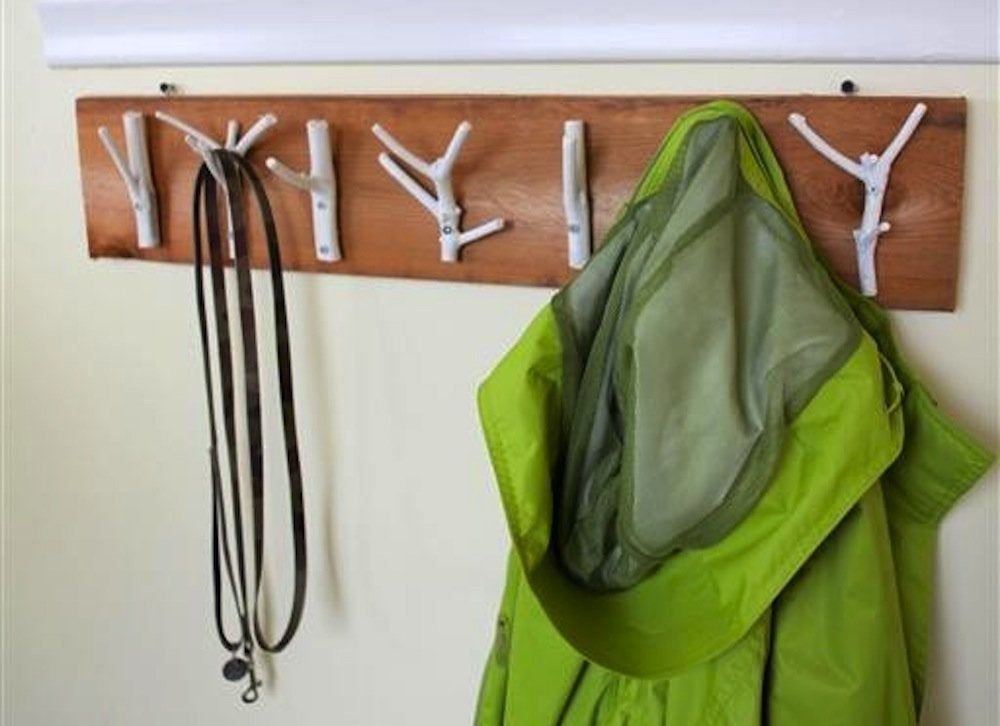
No hooks handy to build your dream coat rack? Branch out! Twigs offer an ideal (and stylish) substitute, and you can safely prune them from nearby trees without causing any damage. Snip a few likely twigs, then paint them and screw them onto a wooden board to fashion a functional drop zone for everyday extras.
Chopping Block
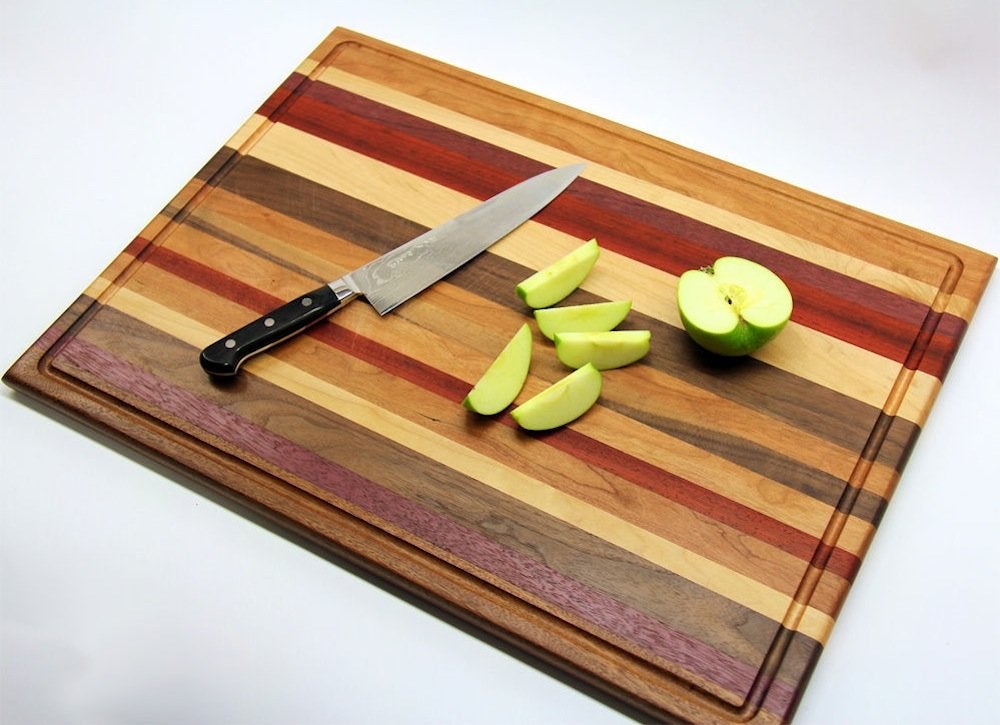
Any maple, mahogany, or other hardwoods left in your cutoff box can serve as the basis for a multifaceted cutting board. Glue together precut, jointed, and planed wood strips into one large board, then route a groove along the border. Finish with a thorough sanding, then use it to show off your culinary—and woodworking—chops!
Related: 11 “Zero Dollar” Ways to Organize Your Kitchen Cabinets

A DIYer’s Guide to Replacing Flooring
Update the look and feel of any room by replacing old, worn-out flooring. These products and straightforward steps make it easy enough for any handy homeowner to do.
