We may earn revenue from the products available on this page and participate in affiliate programs. Learn More ›
Know Basic Home Maintenance Skills
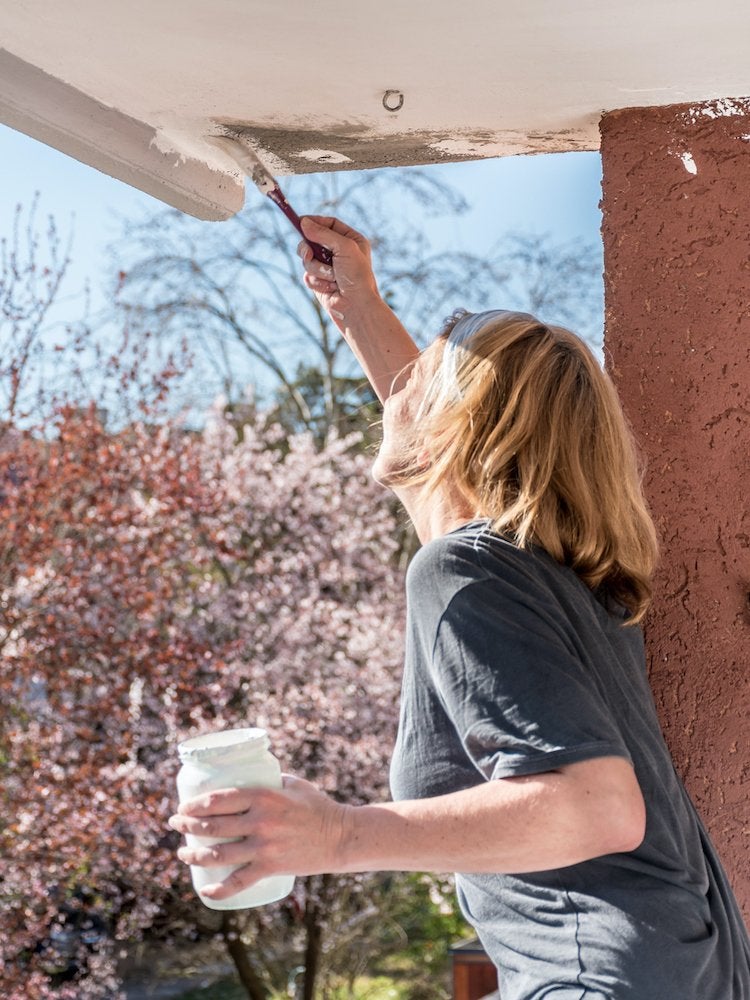
Not every home’s a fixer-upper, but all houses need occasional repairs and maintenance. You’ll be able to handle those jobs like a pro if you have these 50 key home improvement skills under your belt. They’ll come in handy whether you’re redoing the house, upgrading a room, or just trying to keep everything in top condition.
Clear Out the Gutters
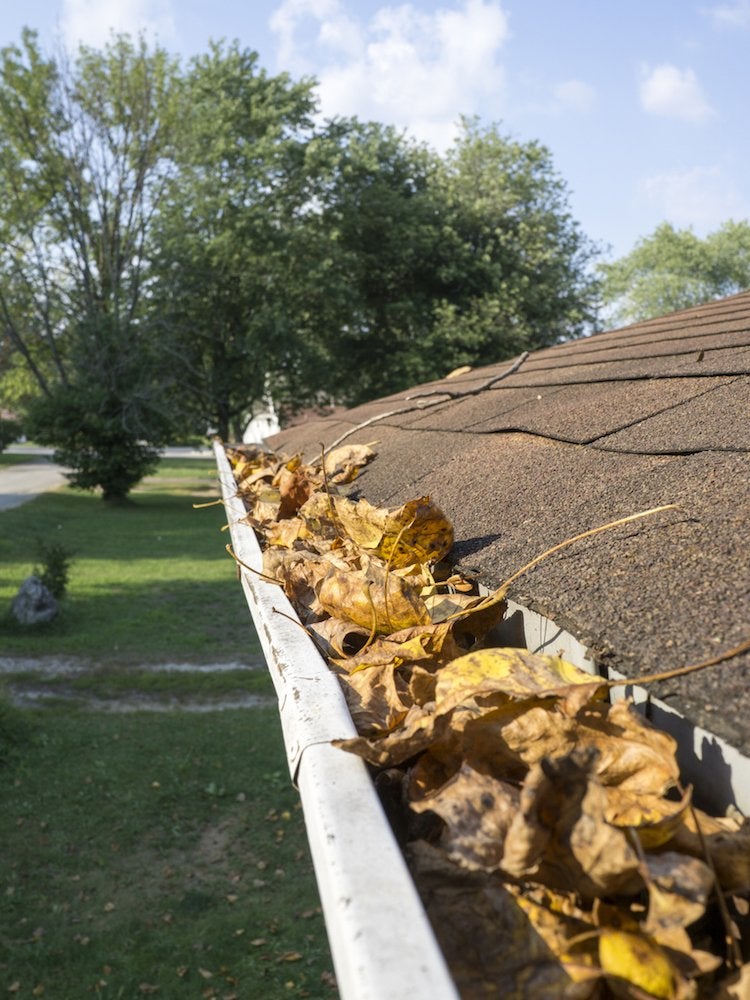
Even the ladder-averse can clean the gutters twice a year to prevent pests and ice dams. Remove leaves by hand or with the assistance of a leaf blower, garden hose, or wet-dry vac. When you’re up on a ladder, be sure to use a stabilizer. If sticking to ground level is more your style, you can still get the job done if you have special attachments for your leaf blower or wet-dry vac.
RELATED: Solved! How Often Should I Really Clean My Gutters?
Fix a Dripping Faucet

Leaky faucets can be fixed with a little elbow grease and know-how. First, turn off the water to the sink and stop the drain with a rag so you don’t lose any small parts while you’re dismantling the faucet. A compression faucet needs a new rubber washer to seal the valve, and a drippy washerless faucet can be stopped up with a new O-ring.
Swap Out Furnace Filters
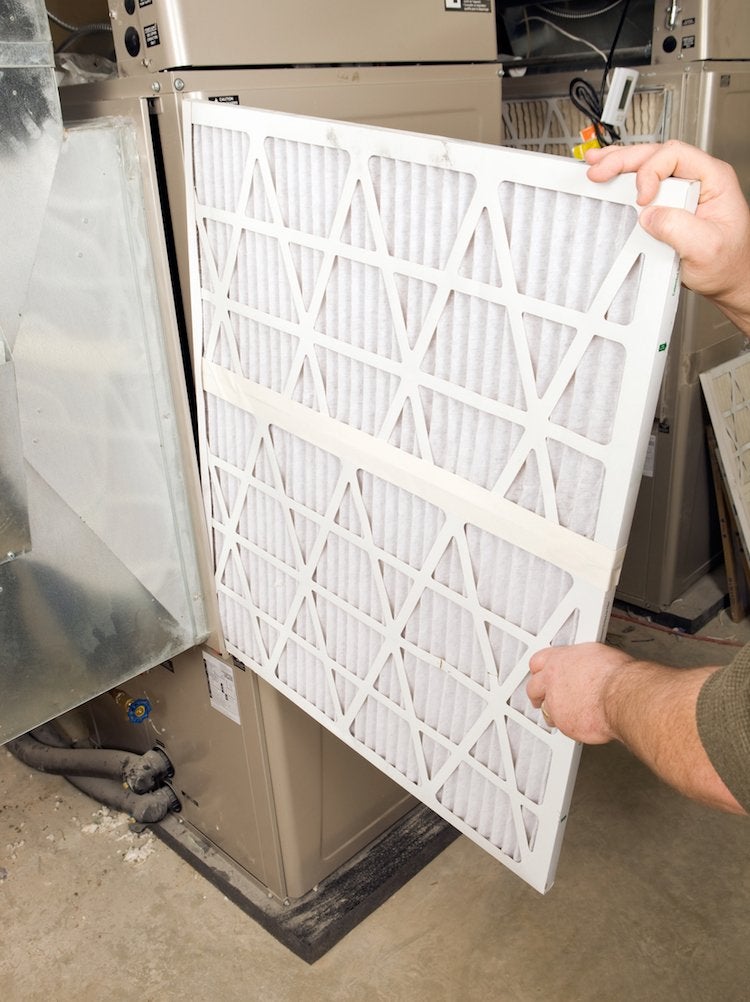
The simplest way to maximize furnace efficiency is quick, easy, and all-too-often forgotten: Make sure to change your furnace filter every two months. Choose the right filter for your model, turn off your furnace, and remove the service panel to swap out the old filter for the new one. Each furnace is different, so be sure to consult your manual about the correct procedure.
RELATED: The Best Furnace Filters to Keep Your Equipment Running Smoothly
Care for Hardwood Floors
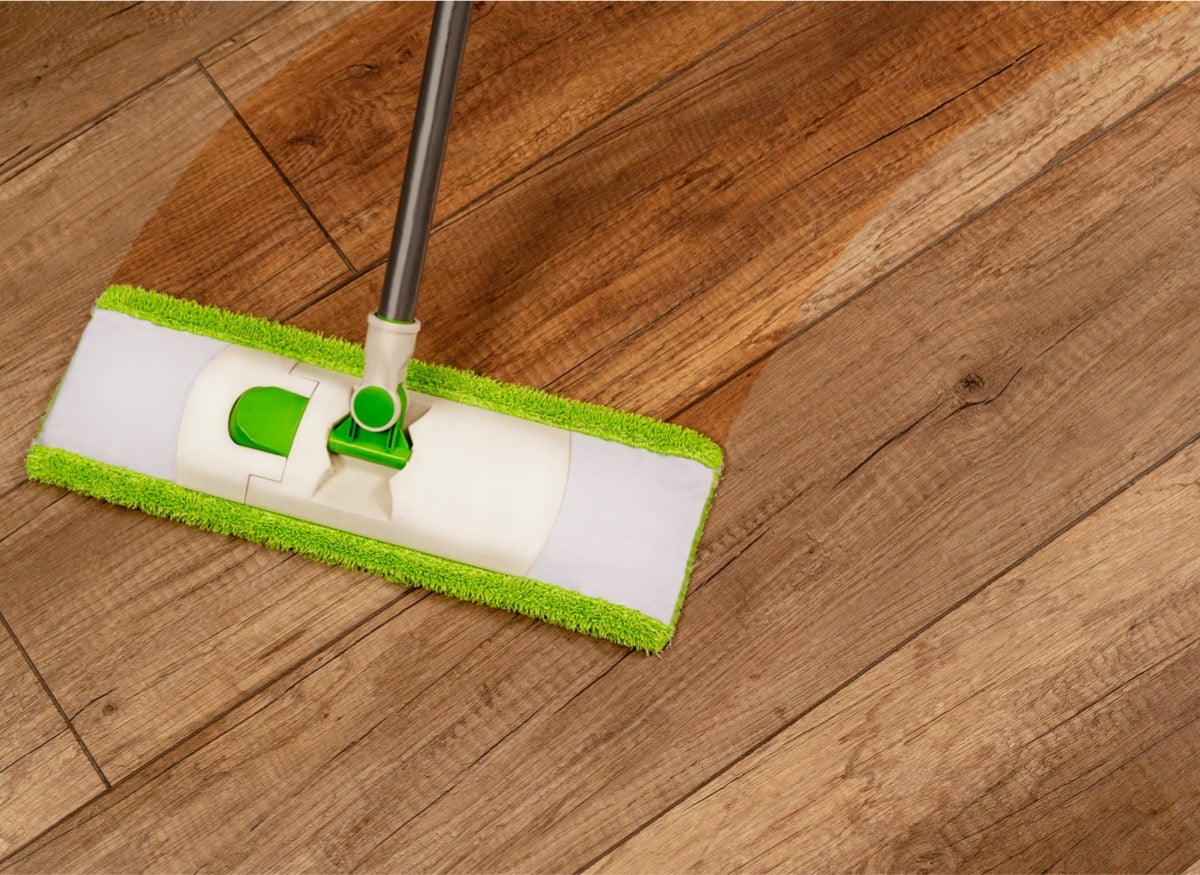
Hardwood floors are often a home’s most inviting feature and with proper care, you can keep them that way. Be sure to use cleaning products designed for hardwood, because other cleansers can cause damage. A little water on a cloth works wonders on spills, but too much water will damage the wood. For fabulous floors, vacuum frequently using a hardwood floor attachment to grab dust from between boards without scratching.
Replacing a Shower Head
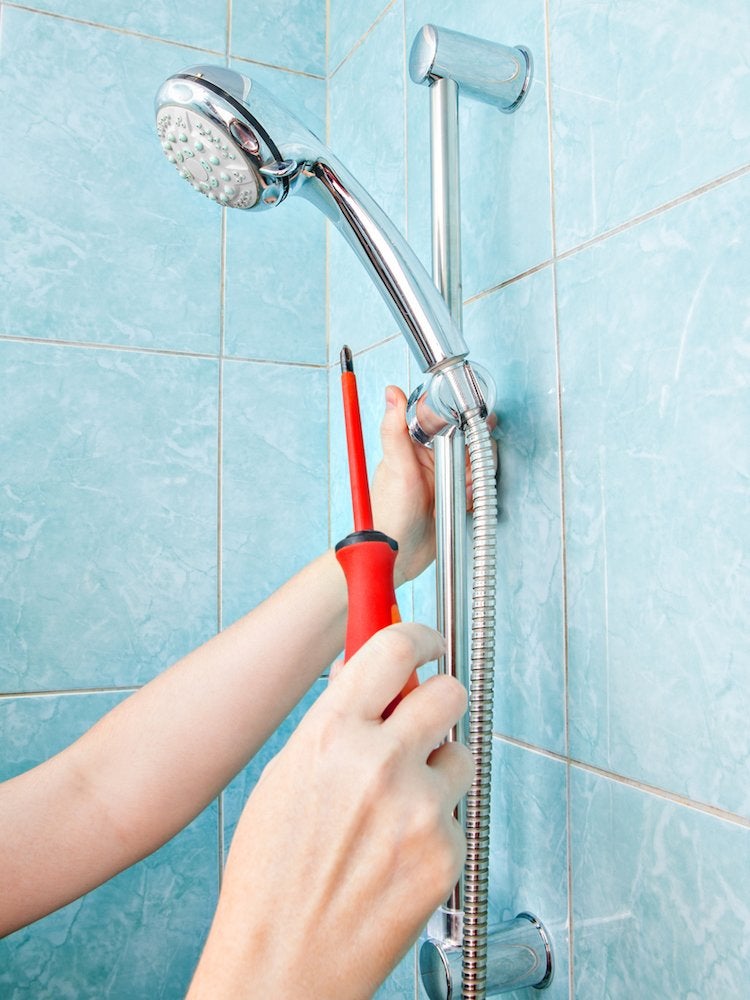
Replacing a shower head is a small project with a big impact. Remove the existing shower head, then lay thread seal tape at the base of the shower arm before screwing in the new piece. Don’t fasten it too tightly. While you’re standing in the tub and you have a screwdriver in your hand, replace the shower arm, too, if you like (they’re usually sold separately).
RELATED: Our Favorite High-Pressure Shower Head Can Totally Transform Your Shower—And Installs In Seconds
Installing a New Thermostat

A programmable thermostat is a big step toward energy efficiency, and it’s easy to install: Turn off the breaker to your furnace and air conditioner, then remove the old thermostat, leaving the wires in place. The number of wires (two or four) will help determine which type of thermostat you should buy to replace it. Either way, you’re on the road to easier heating and cooling.
RELATED: The Best Smart Thermostats
Clear a Clogged Toilet
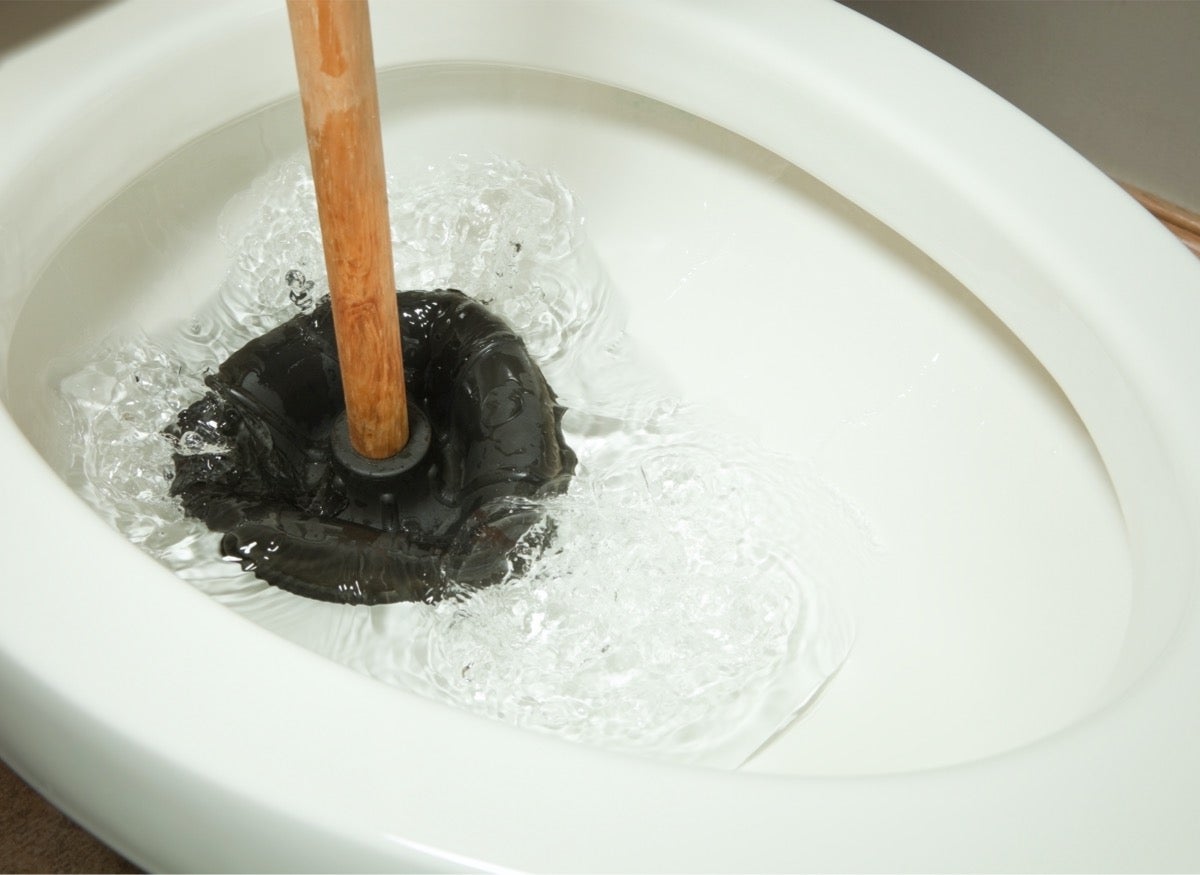
Every homeowner will encounter a clogged toilet or two over the years. However alarming it is when it happens, a clog is simple to fix with a plunger, an auger, rubber gloves, and a bucket. If the bowl is in danger of overflowing, shut off the water supply valve behind the toilet and empty out half of the water. Try a plunger first, but if that doesn’t work, grab an auger.
RELATED: DIY Toilet Repair: 5 Common Commode Problems and How to Fix Them
Building a Low-Cost Trellis
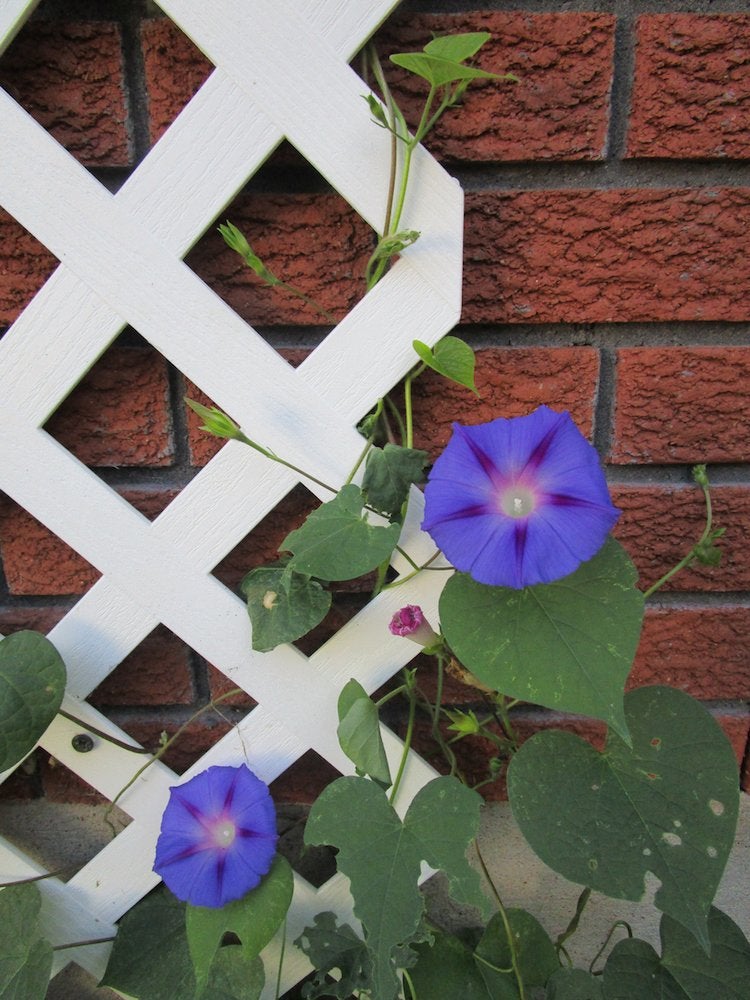
A rustic trellis can be fashioned from green saplings, dry wood, or bamboo poles fastened together with garden twine. You can make a trellis of just about any size to accommodate your garden’s climbing plants. If you fashion a larger one, though, you’ll need to figure out how to stake it securely into the earth.
RELATED: 10 Climbing Plants That Are Easy to Keep Under Control
Build and Attach Window Boxes
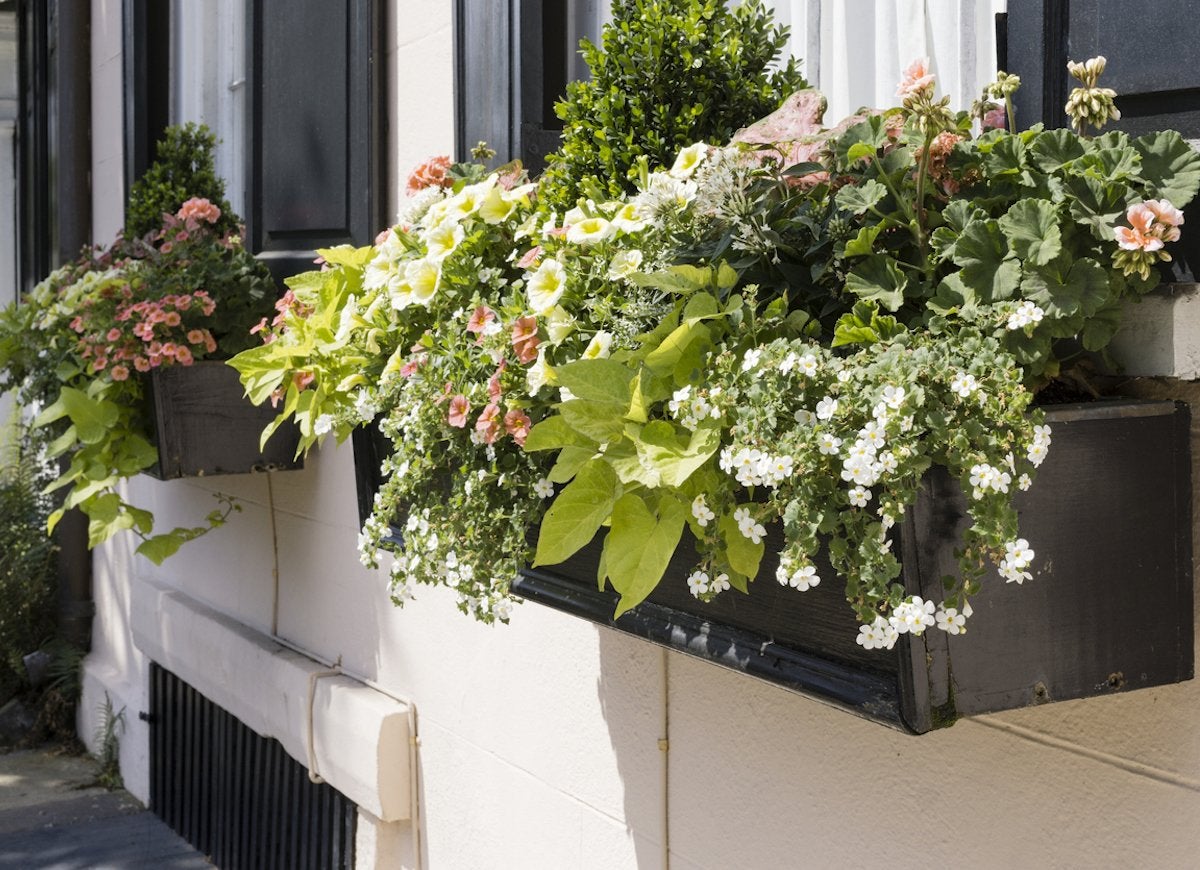
The perfect project for a beginner woodworker, a window box should be cut to the inside width of the window frame, plus 1½ inches. Fit the pieces together with a simple butt joint. Screw the boards together and drill drainage holes on the bottom. Attach the window box to the window frame using heavy-duty screws or brackets to make sure that your favorite flowers have a secure home.
Locate Wall Studs

Hanging a shelf or a heavy mirror? It’s best to know where your wall studs are before you start—to save your time and your walls! When you knock on a wall, a spot with the stud behind it will sound solid. Alternatively, use a magnetic stud finder that beeps when it locates the nails in the boards. Happy hunting!
RELATED: How to Use a Stud Finder
Effectively Clean Porcelain Tiles
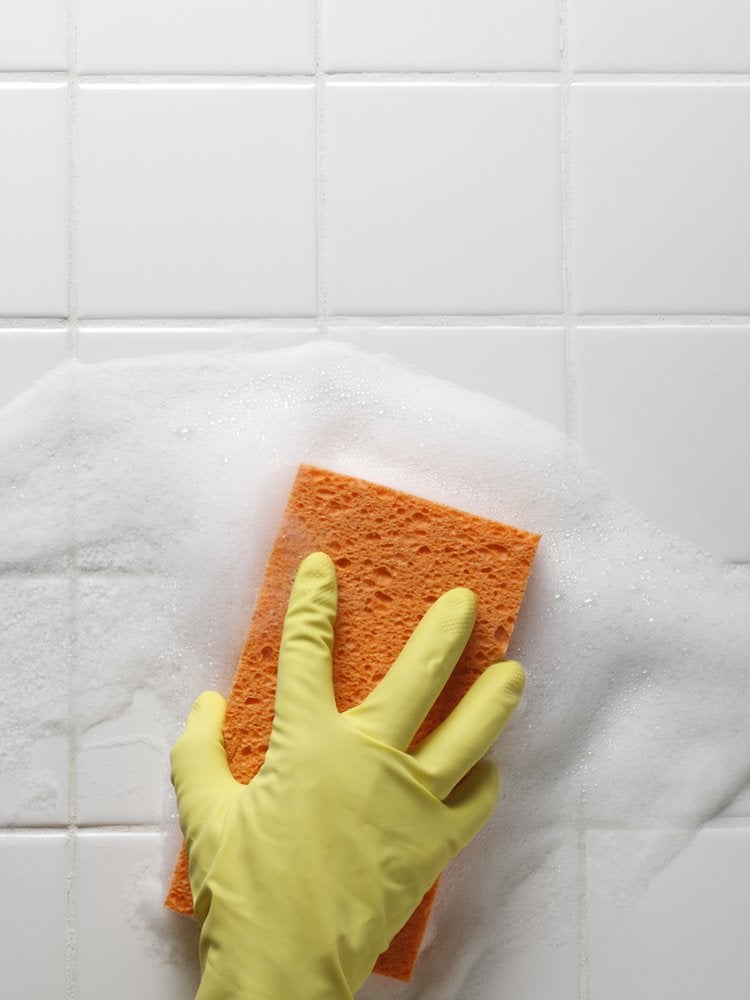
For squeaky-clean porcelain tiles, sweep and vacuum them twice a week. Soak with a water-vinegar mixture for 5 to 10 minutes once a month for a deep clean, and scrub with a soft-bristled brush. Dry with a microfiber cloth. To keep tiles looking new, avoid bleach, wax, oil-based cleansers, and hard scrubbers.
RELATED: Here Are All The Ways You’re Accidentally Ruining Your Tile
Plant Bushes or Shrubs
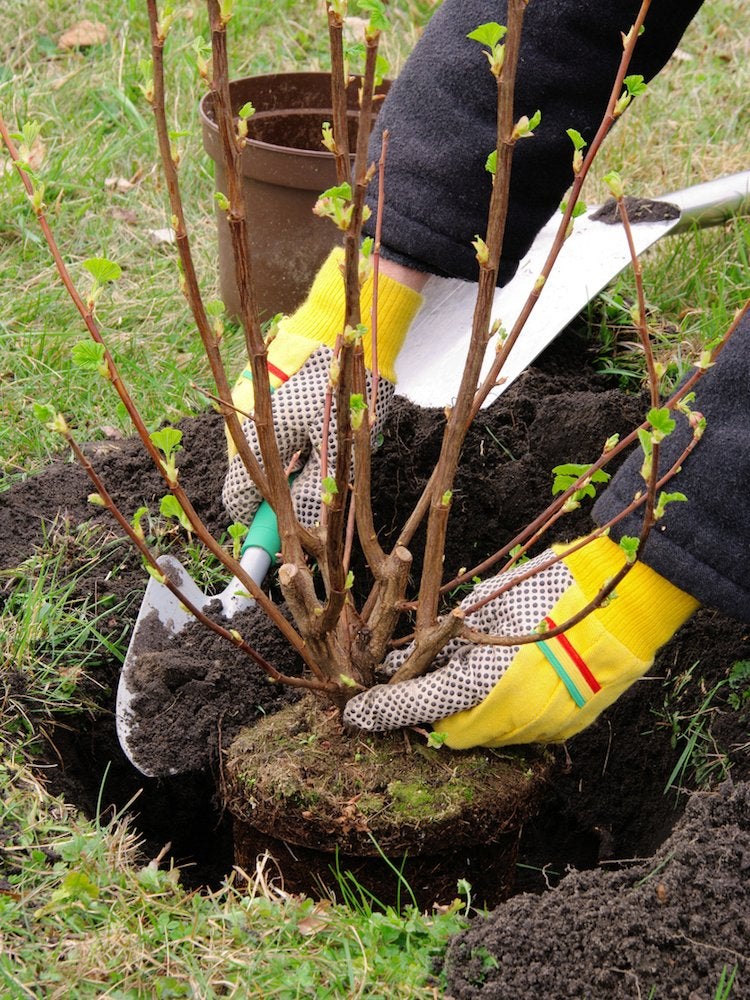
Whether or not you have a green thumb, you should be able to plant shrubs. Increase your odds of success by picking a plant that will fare well in your climate, and plan on getting it in the ground in early spring or fall. Test the soil drainage (higher ground means faster drainage) before planting, and dig a hole twice as big as the root ball, and deep enough so the ball is level with grade.
Hang Shelves

Need some vertical storage? You can hang floating shelves, but be sure they’re attached to the wall studs for a supportive base. Otherwise, use wall anchors that can support the amount of weight you’d like the floating shelves to hold. Always use a level before you drill. If you don’t have a traditional or laser level, you can download a level app to your smartphone.
Unclog a Sink
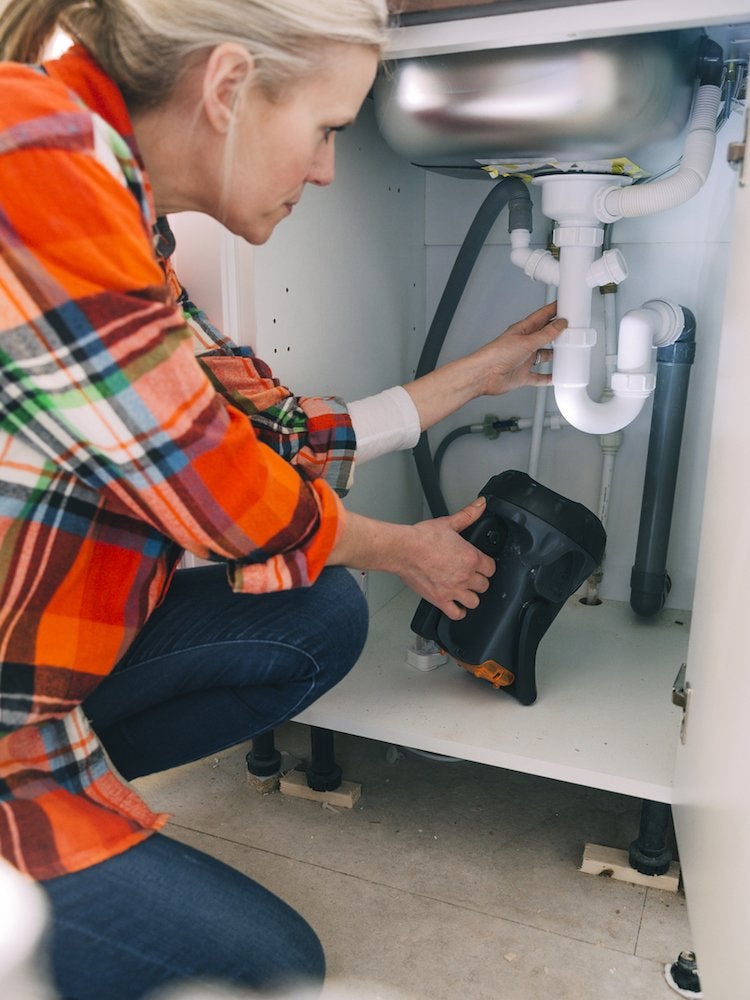
If you have a clogged sink, skip the chemical drain cleaners—they probably won’t fix anything. Your problem may be a blocked P-trap. Check this U-shaped pipe under the sink by first placing a bucket underneath it and then unscrewing the pipe.
Replace a Faucet

Replacing a faucet might sound impressive, but it’s not too tough. Choose a new fixture that requires holes in the same locations as the old faucet to ensure that it will fit properly on the sink. Before working under the sink, snap a picture so you know how to put everything back together. Shut off the water, drain the faucet, then follow the manufacturer’s instructions.
RELATED: How to Install a Faucet
Use a Caulk Gun
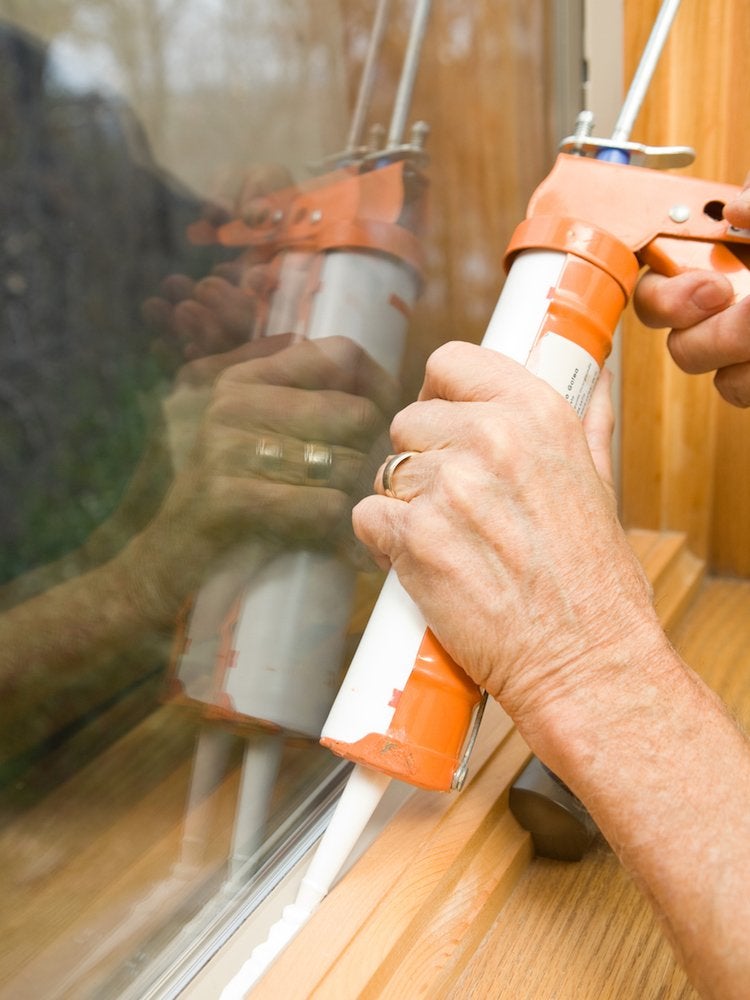
Filling gaps indoors or weatherproofing your exterior is simple with a caulk gun. To use a caulk gun, pull back the plunger and insert the tube of caulk. Cut the plastic applicator at a 45-degree angle to slow the flow of caulk. A softer touch on the trigger allows better control of the sealant.
RELATED: 15 Problems Around the House That You Can Solve With Caulk
Use a Pressure Washer
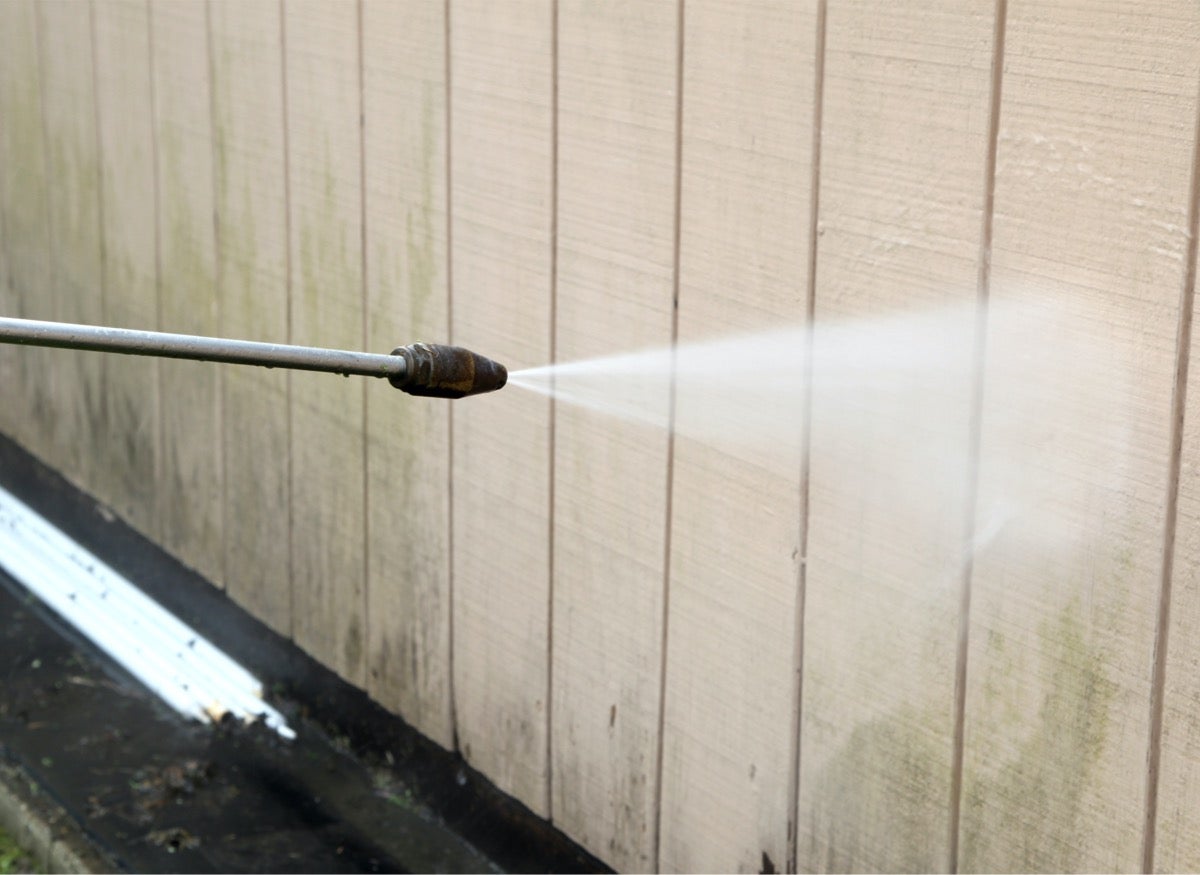
Yikes! Can you even recognize your exterior paint color under all that grime? Cleaning your exterior with a pressure washer can remove several years’ worth of dirt. Work from the top down, and to keep from stripping paint or damaging siding, avoid pointing the hose at a 90-degree angle. Your house will be beautifully grime-free in no time.
Build Raised Beds
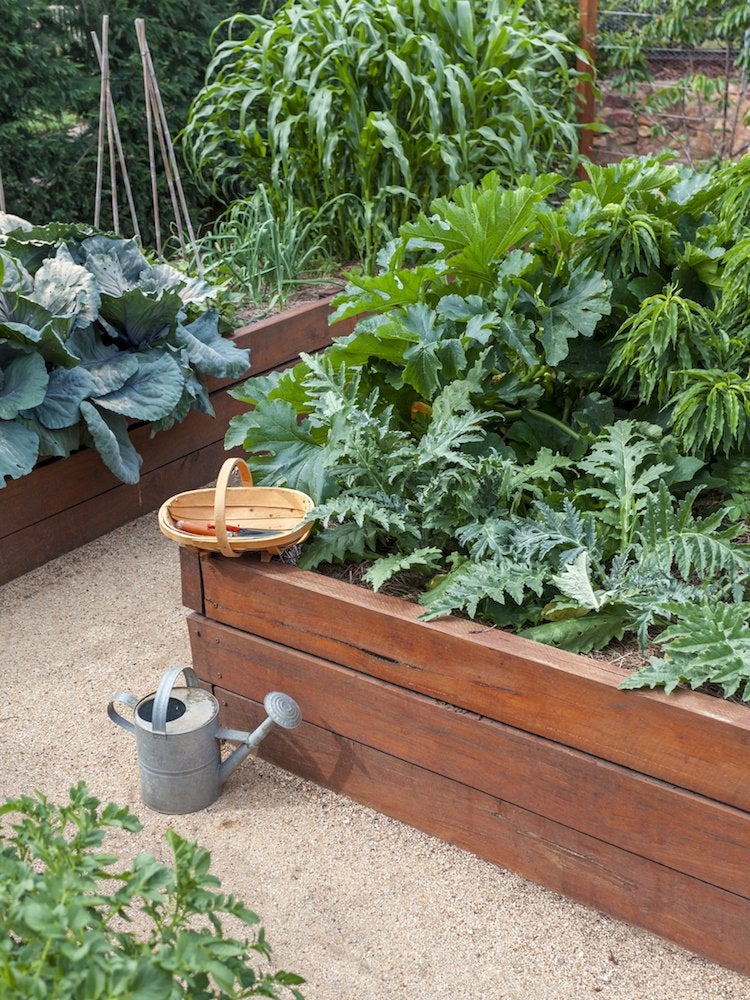
Don’t let poor soil quality stop you from starting a garden—build a raised bed! To allow easy access to your crop, aim for a bed that’s about three to four feet across. Dig a trench a few inches deep to accommodate a wooden frame, and fill with a raised bed soil mix that includes compost, manure, and rock dust for optimal growing conditions.
Make Compost

Starting your own backyard compost is a great way to make nutrient-rich “black gold” for your garden and houseplants.
There are many ways to create a compost area in the yard, from a simple dirt hole to a store-bought bin. Use your food scraps, but avoid putting dairy, meat, cooked food, and other rodent attractants into your compost. The secret to a successful compost is adding food scraps along with dry compostables, like paper products or grass clippings. This helps aeration, which ensures the microorganisms can break down your scraps..
Repair a Screen
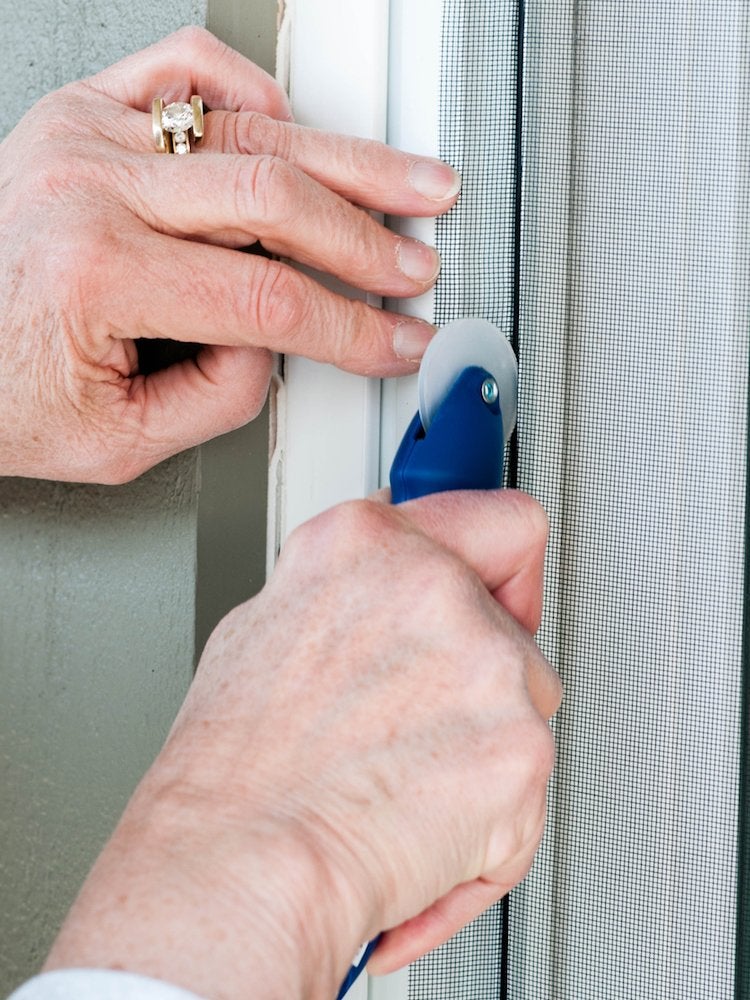
They’re an important part of your home’s defense against insects, so when window screens snag, repair them. Pop the old screen from the metal frame and discard it along with the old plastic cording. Size a new screen, allowing a little extra along the perimeter. Insert it into the frame with new cording or spline, and trim the excess.
RELATED: How to Clean Window Screens
Install a Storm Door

Need extra insulation at home, or maybe just a little more natural light? Either way, installing a storm door is a great solution. First, measure your door from the interior frame. Be sure it’s square, and adjust with shims if needed. There’s probably a prehung door frame to fit your measurements, but if not, you can order a custom door.
RELATED: The Best Storm Doors for Inclement Weather Conditions
Scour Grout Clean
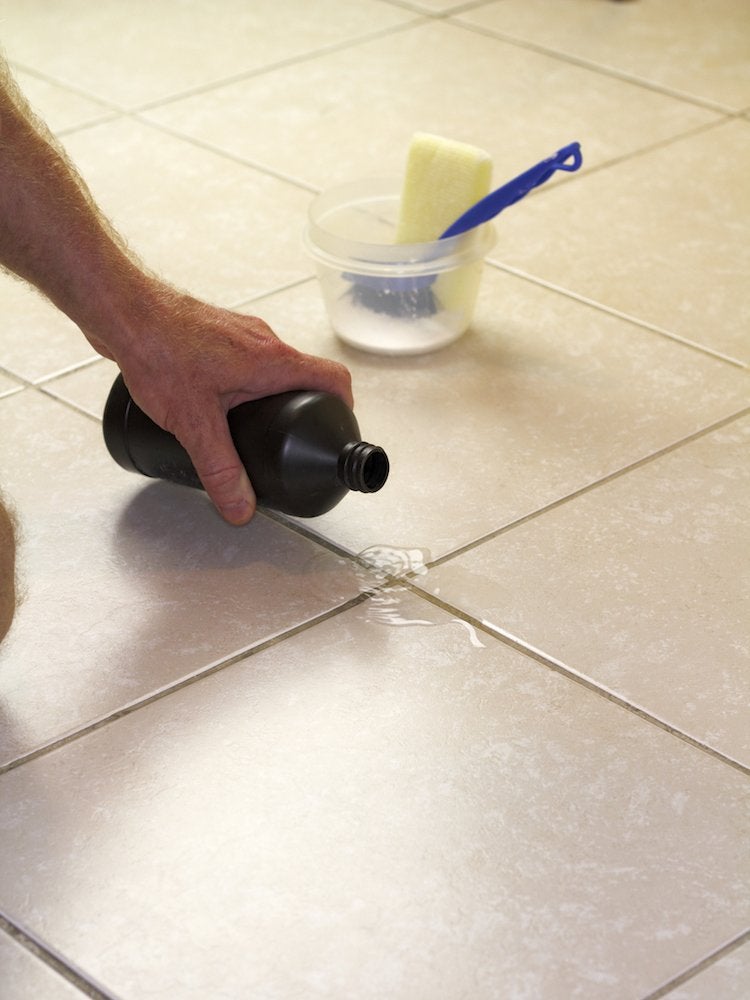
Little-known fact: Grout’s natural color is not mildew-gray. To successfully get at grout, spray warm water and scrub with a hard-bristled brush. For deep stains, cover with a baking soda-and-water paste, and spray with a mixture of vinegar and water for a cleansing foam. When the foaming stops, scrub and rinse your soon-to-be sparkling tiles.
RELATED: 8 Ways to Clean Stained Grout
Paint a Room

After you pick the perfect colors, clear the room of furniture and light fixtures (after disconnecting the power). Vacuum the walls, floors, and ceiling. Protect floors from drips with a drop cloth, and baseboards with painter’s tape. Keep the room ventilated, and wait a day or two before moving back in.
Rewire a Lamp
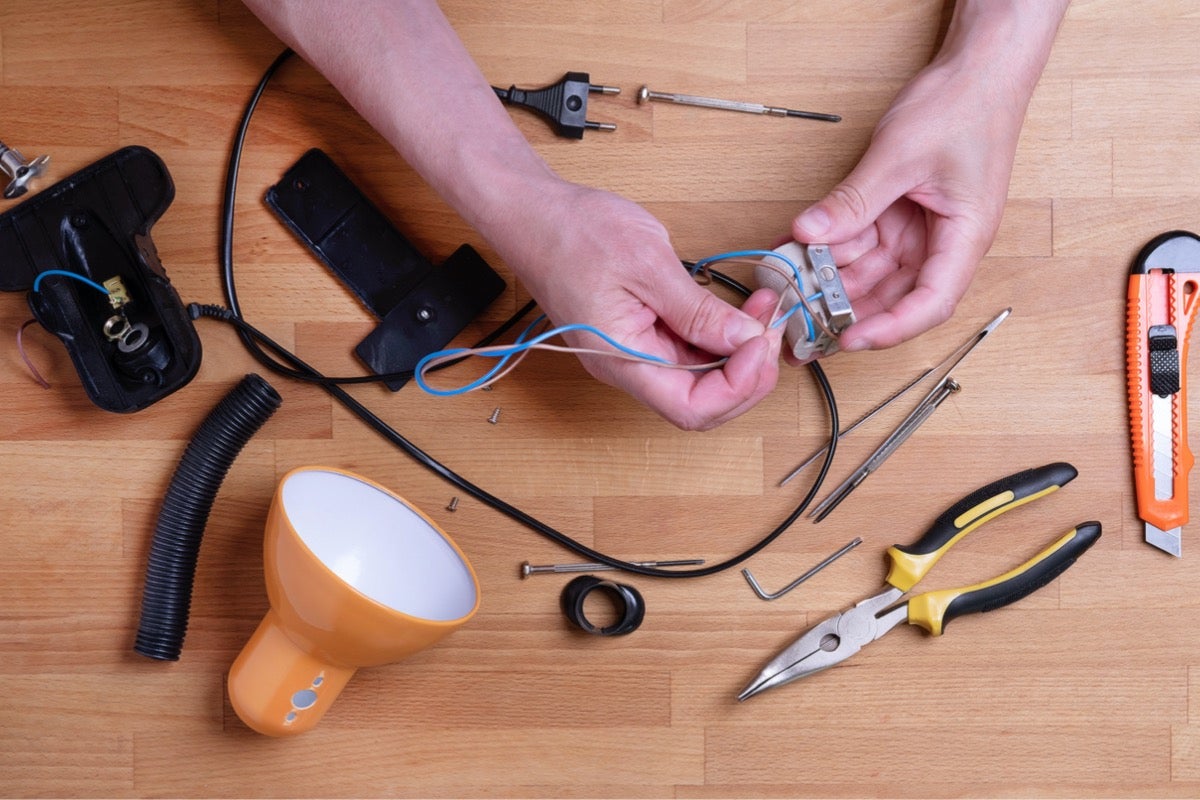
Has your vintage lamp gone dark? You can let there be light (again) by rewiring it. Unscrew the light bulb from the unplugged lamp and remove the old light socket. Unscrew the base of the lamp to remove the old cord. Thread in a new cord, add a new socket, and your old lamp will shine like new.
Clean Stainless Steel
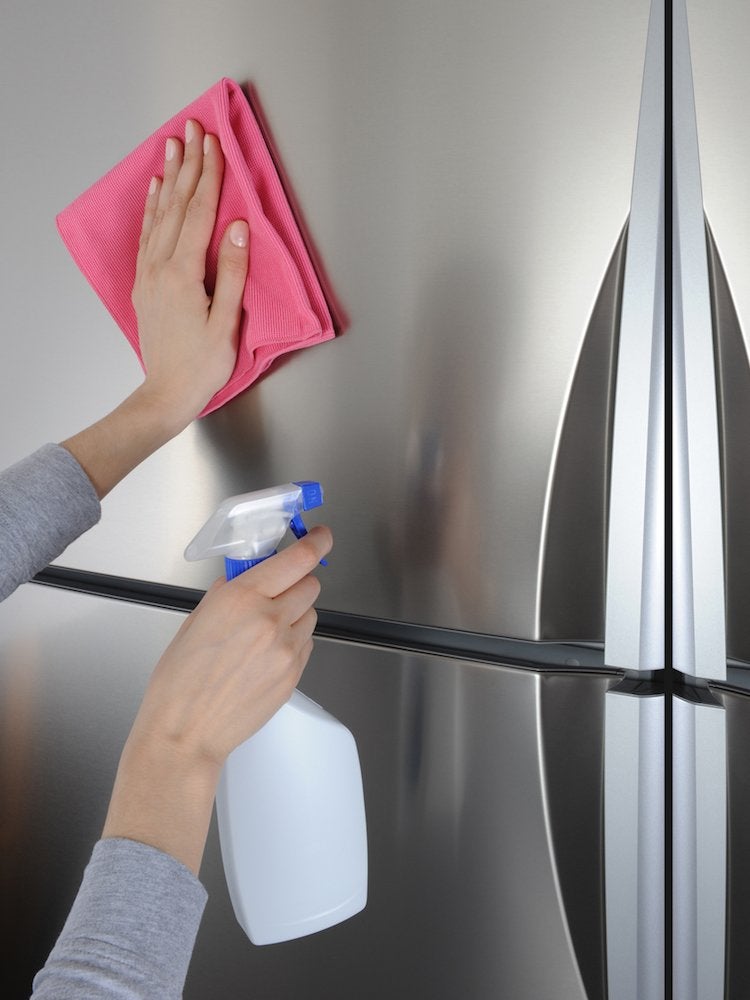
Sure, it’s called “stainless” steel, but we all know that scuffs or fingerprints can mar its surface. To clean stainless steel the right way, beware of bleach and abrasives. Wipe in the direction of the grain with a soft, soapy cloth. Remove stuck-on food with a nylon scrubber for a truly stainless look.
RELATED: 8 Mistakes That are Marring Your Stainless Steel Appliances
Install a Wall Sconce

A wall sconce adds instant style and can make a room look taller. To install one, cut squares into the drywall just large enough to fit an electrical box and light switch. Turn off your power before pulling cable from the panel box to the switch. Install the electrical box and wall sconce according to manufacturer’s instructions.
Hang Wallpaper

Wallpapering will go smoothly with these simple tricks. If you’re papering over a dark-colored wall, prime it so the old color doesn’t show through. Line up your wallpaper pieces so the pattern appears seamless, allowing two inches of overlap at the edges. Start papering in an inconspicuous spot in case you end up with a break in the pattern.
Replace Outlets
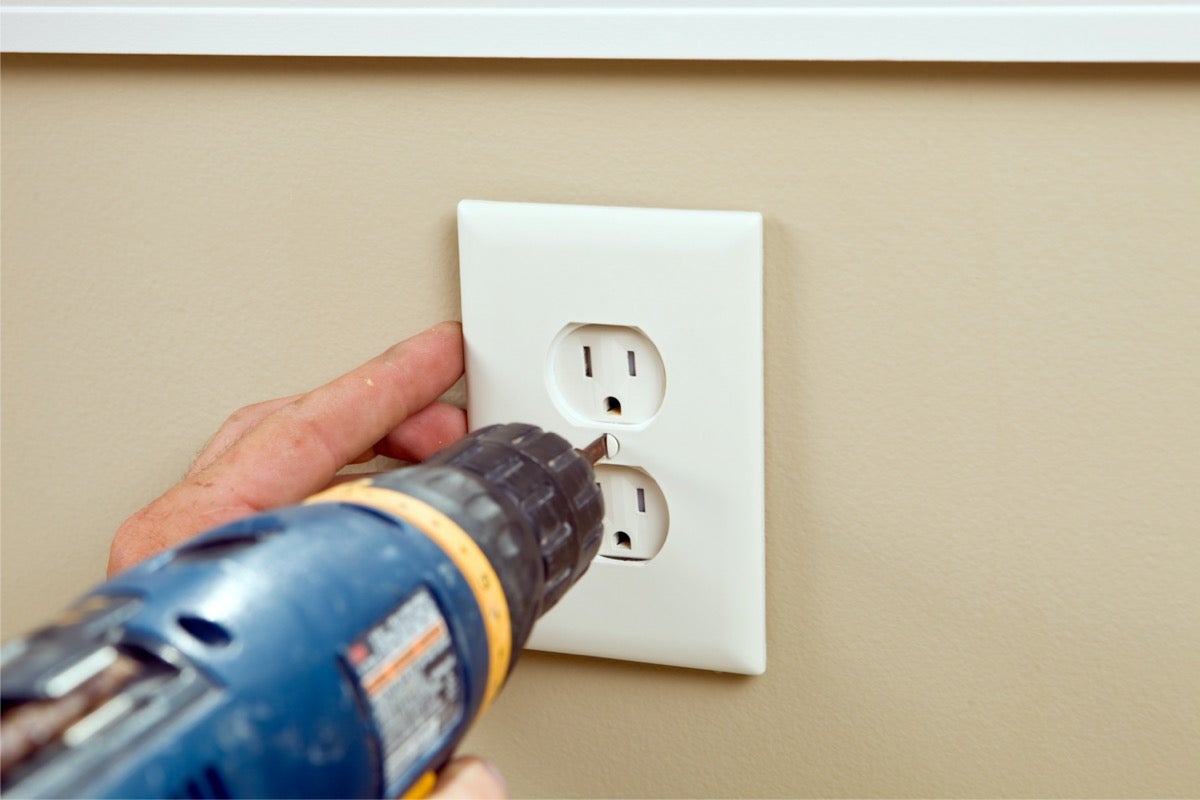
If your outlets need an update, cut the power and use a voltage tester to confirm that there’s no electricity running through them. Remove the faceplate, unscrew the outlet, and take note of which wires connected to which outlet. Hook up the new outlet, screw it into place, and turn the electricity back on to test your work.
RELATED: Electrical Outlet Not Working? 8 Common Reasons Why and How to Fix Them
Seal the Driveway
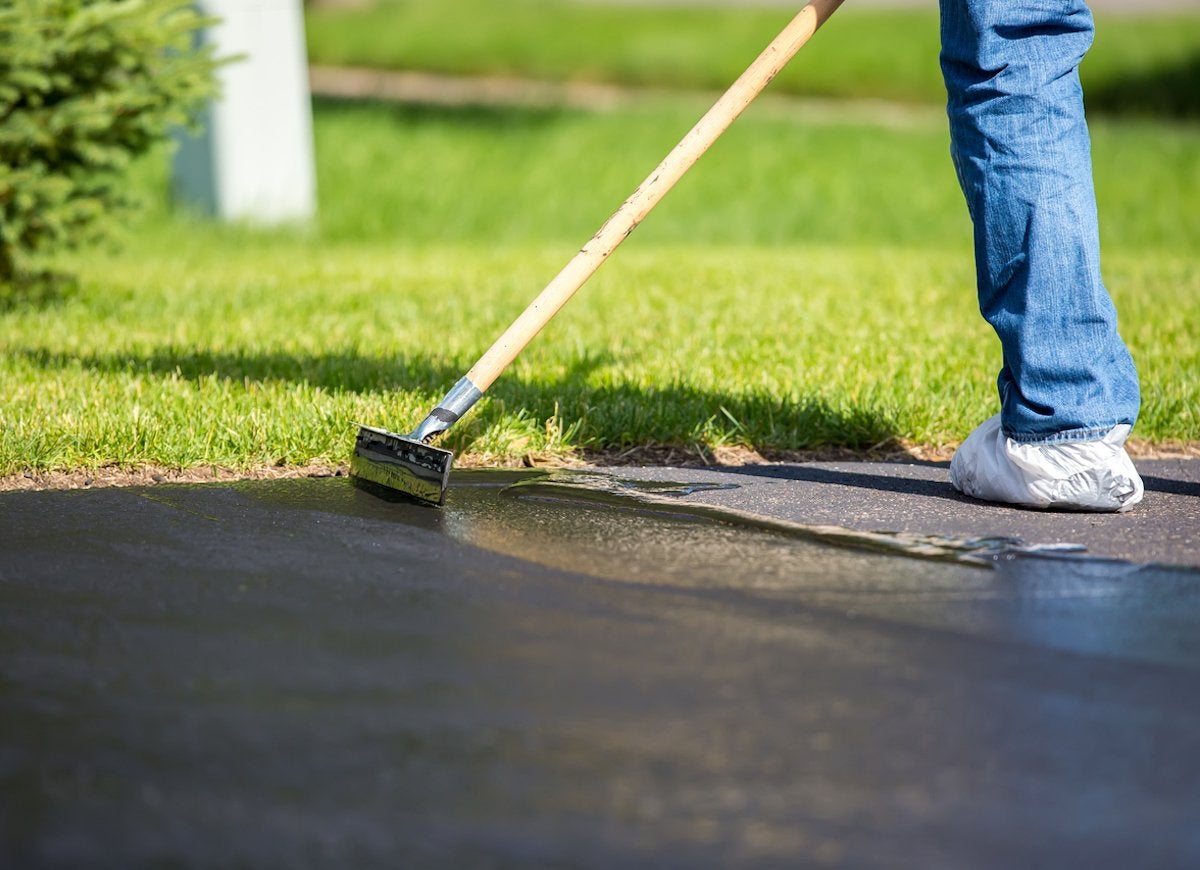
Sealing your driveway can extend its life and improve your home’s curb appeal. Make sure the weather forecast is dry, then start by repairing cracks and washing off the driveway, allowing it to dry overnight. Apply the driveway sealant in small patches. Keep off the driveway for 24 hours to let your work set.
RELATED: The Best Driveway Sealers for Asphalt and Concrete Surfaces
Put In a Ceiling Fan
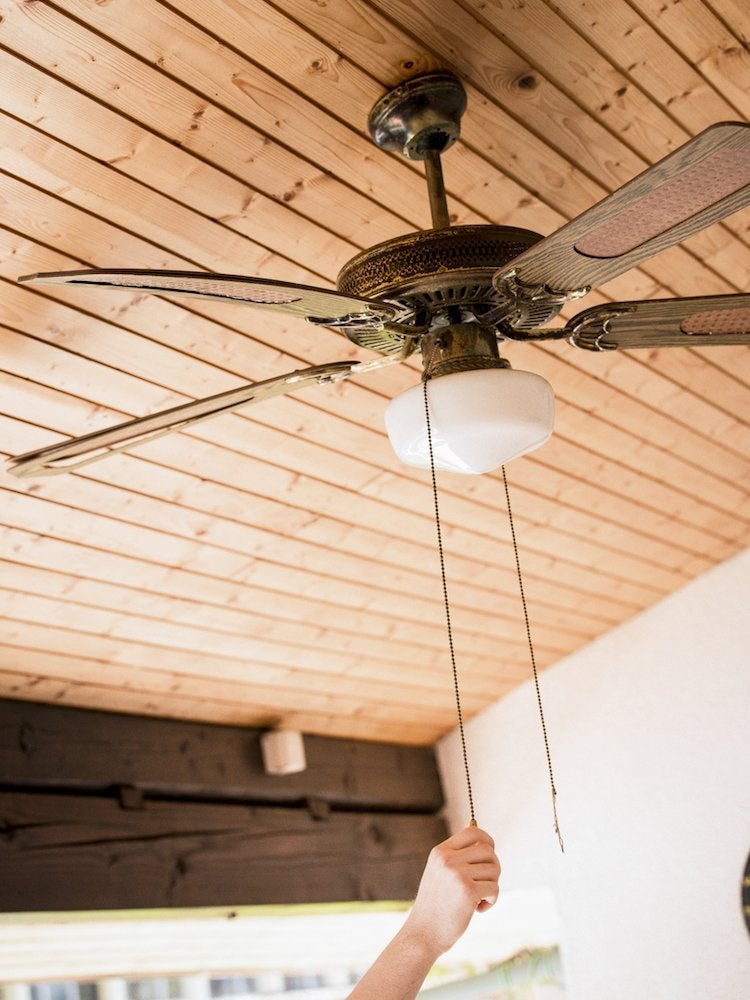
Ceiling fans need a different light box than other fixtures to support their extra weight. After removing the old fixture, install the new electric box and follow the manufacturer’s instructions to connect the wires and install the ceiling fan. Always remember to cut the power before performing electrical work.
RELATED: The Best Ceiling Fans to Keep Your Home Breezy Without Cranking the AC, Tested
Change Ceiling Fan Direction

Your ceiling fans can help your HVAC system run more efficiently if they are spinning in the right direction. In the winter, ceiling fans should run clockwise, to create an updraft pulling cold air up to the ceiling and allowing the warmer air to redistribute through the room. In summer, a counterclockwise rotation will send air down and out, cooling the overall room. Reversing a fan is a simple two-stop process: adjust the angle of the blades, and flip a switch.
Install a Dimmer Switch

Installing a dimmer switch is an easy home DIY that will help you control the lighting in your house. Similar to installing a new outlet, you need to turn the power off before starting, and make sure you have a switch that is compatible with your light bulbs (CFL bulbs require one of the newer varieties). Newer dimmer switches can even help you save on your electric bill.
RELATED: The Best LED Light Bulbs
Mulch Garden Beds
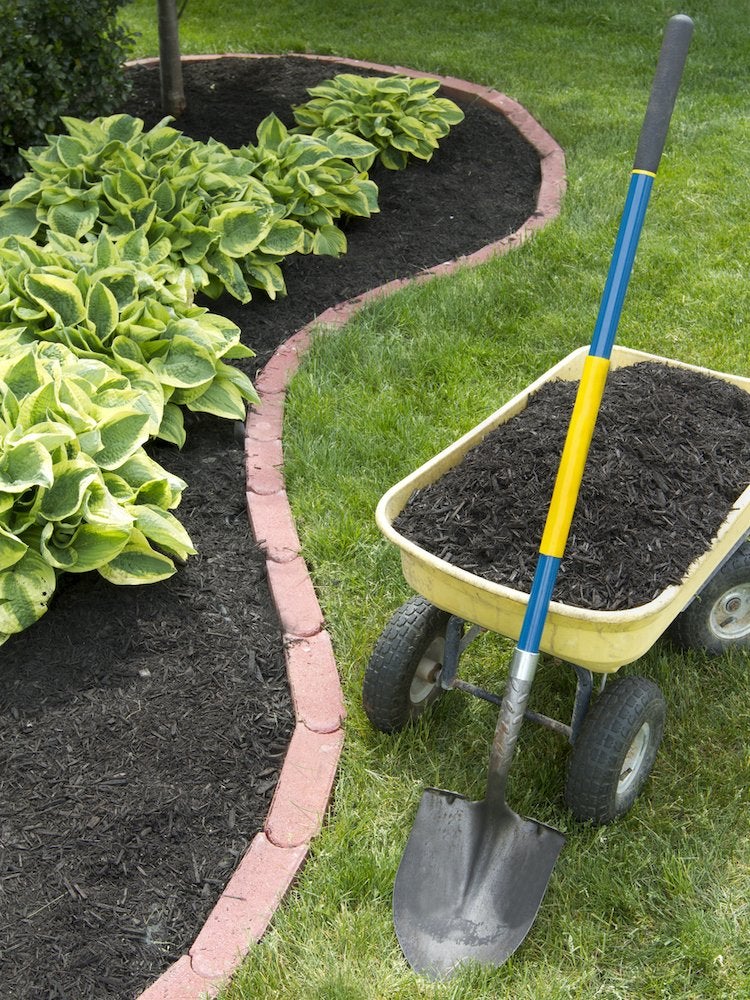
Nothing says spring has arrived like newly mulched landscaping beds. It’s expensive to hire this job out, and it’s something anyone with a strong back and time can accomplish. Spread the mulch evenly, 2 to 4 inches thick, and make sure to leave space around the base of trees and shrubs for good airflow.
Hang a Picture

Hanging a picture is something every homeowner should know how to do. All you need is a measuring tape, a pencil, and a small level. It doesn’t matter if you use nails, or fancy hanging strips, it really all comes down to math.
RELATED: Solved! How High to Hang Pictures
Service the Lawn Mower
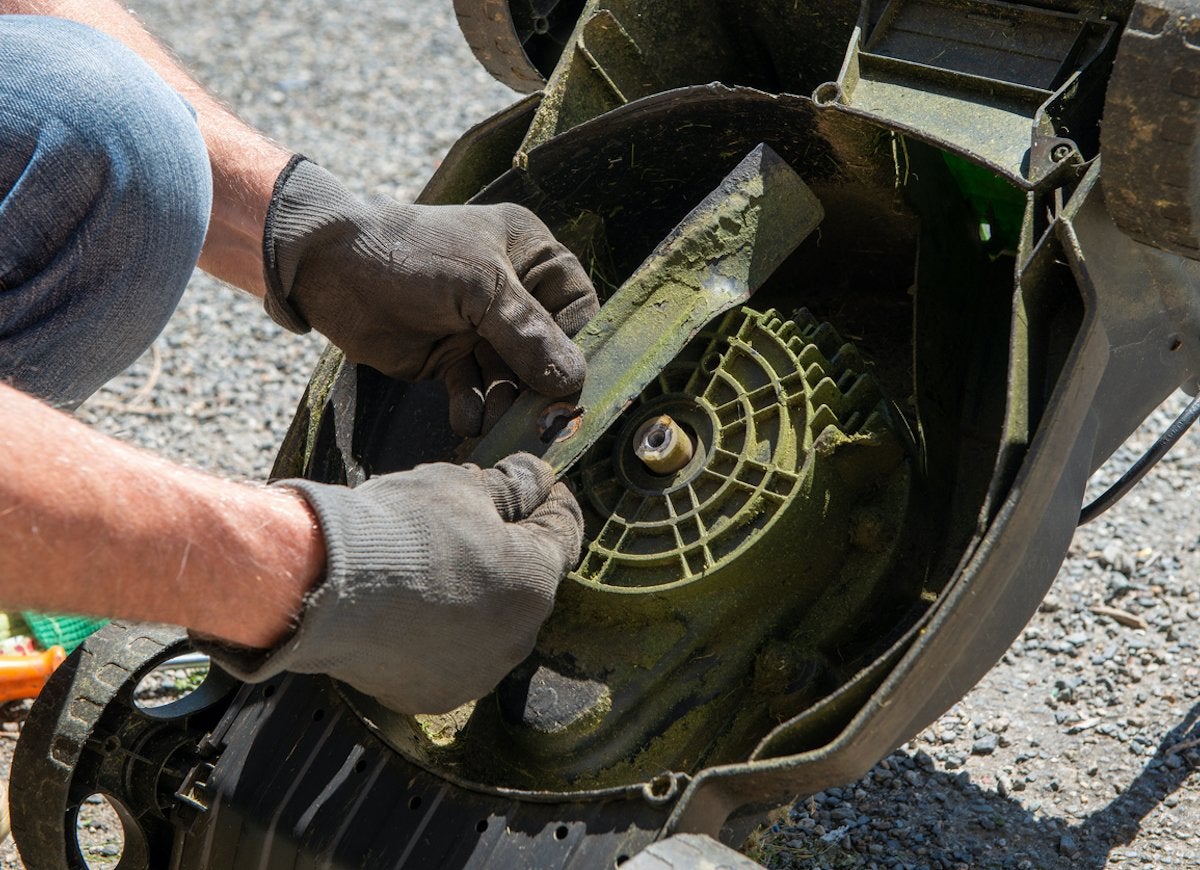
Your lawn mower should be serviced once a year, but it’s something any homeowner can learn to do themselves. To ensure your lawn mower stays in tip-top shape, check the blades and sharpen them if needed, clean the deck, add a fuel stabilizer, check the oil and spark plugs, and clean the filter.
RELATED: Lawn Mower Maintenance and Repair Tips: Our Best Advice
Prune Trees and Shrubs
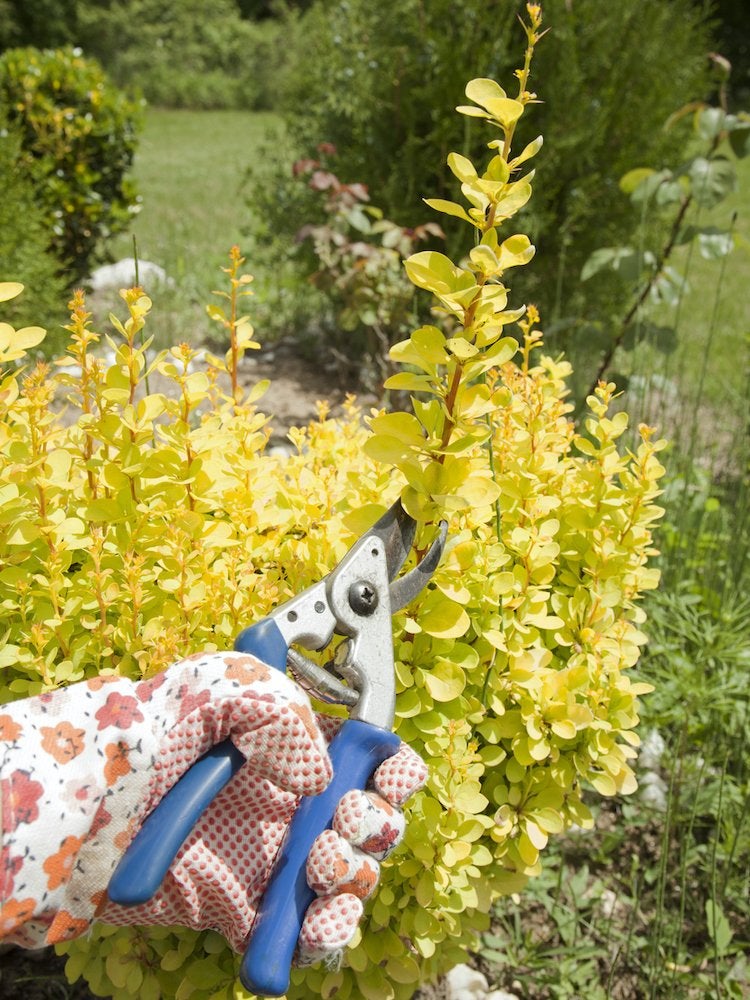
Maintaining trees and shrubs should be part of every homeowner’s regular landscaping chores. It’s not hard, and it requires only a few simple tools: hand pruners, loppers, and a pruning saw for larger branches. The first step in any pruning job is to remove any dead branches or wood. Then, you can move to shaping the tree or shrub for symmetry and size. These jobs are best taken care of in late fall or early spring, but for most varieties can be done as needed any time of year.
RELATED: The Dos and Don’ts of Pruning a Bush
Seal the Deck
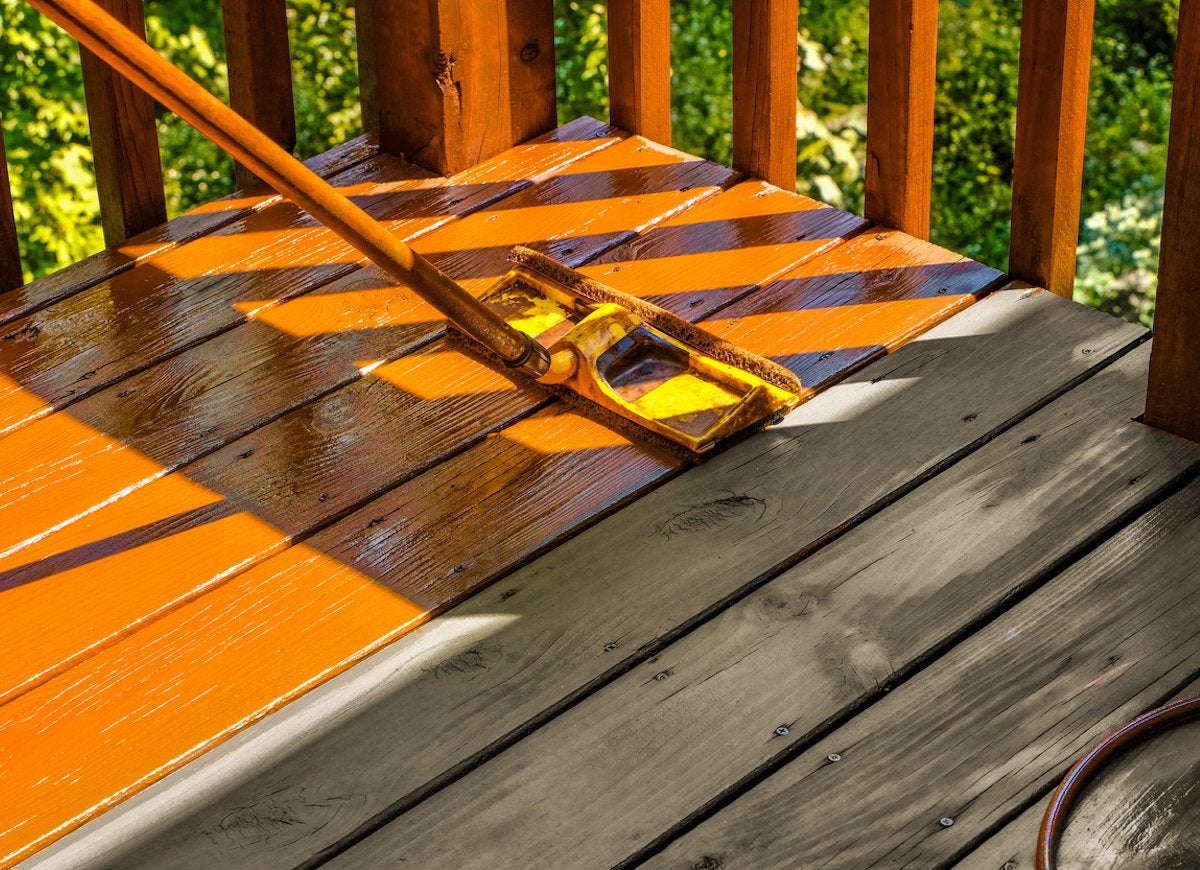
Regular deck maintenance will keep your outdoor spaces looking beautiful and serve you well for many seasons. In most cases, sealing the deck is not a job you can accomplish in one day, but it is well worth the effort. Before starting, attend to any structural issues, and thoroughly clean the deck. Then apply your preferred sealing or stain, and it will look nearly new again.
RELATED: Testing the Best Deck Cleaners
Inspect the Fireplace

Every homeowner should be able to inspect their fireplace and chimney prior to using it in winter, and identify problems that need a professional to manage. Make sure to clear away any remaining ash and clean the fire box. Then, check for cracks in the chimney both inside and out. Confirm the chimney cap is firmly attached and make sure the damper can open and close the way it should. With regular attention, your fireplace can keep you safely cozy for years to come.
RELATED: 11 Mistakes You Should Never Make With Your Fireplace
Mow the Lawn

Mowing the lawn is a life skill everyone should learn. Whether your yard is small or large, learning a few simple dos and don’ts will make the job faster and the results more successful. Be sure to edge and trim prior to mowing. Time your mowing later in the day after dew has evaporated, and don’t cut any more than 1/3 of the grass blade length at any one time. Switch up your mowing pattern to reduce turf wear and soil compaction. Mowing the lawn is a task that yields nearly instant gratification!
RELATED: 14 Lawn Mowing Mistakes Everyone Makes (and How to Fix Them)
Reset a Circuit Breaker
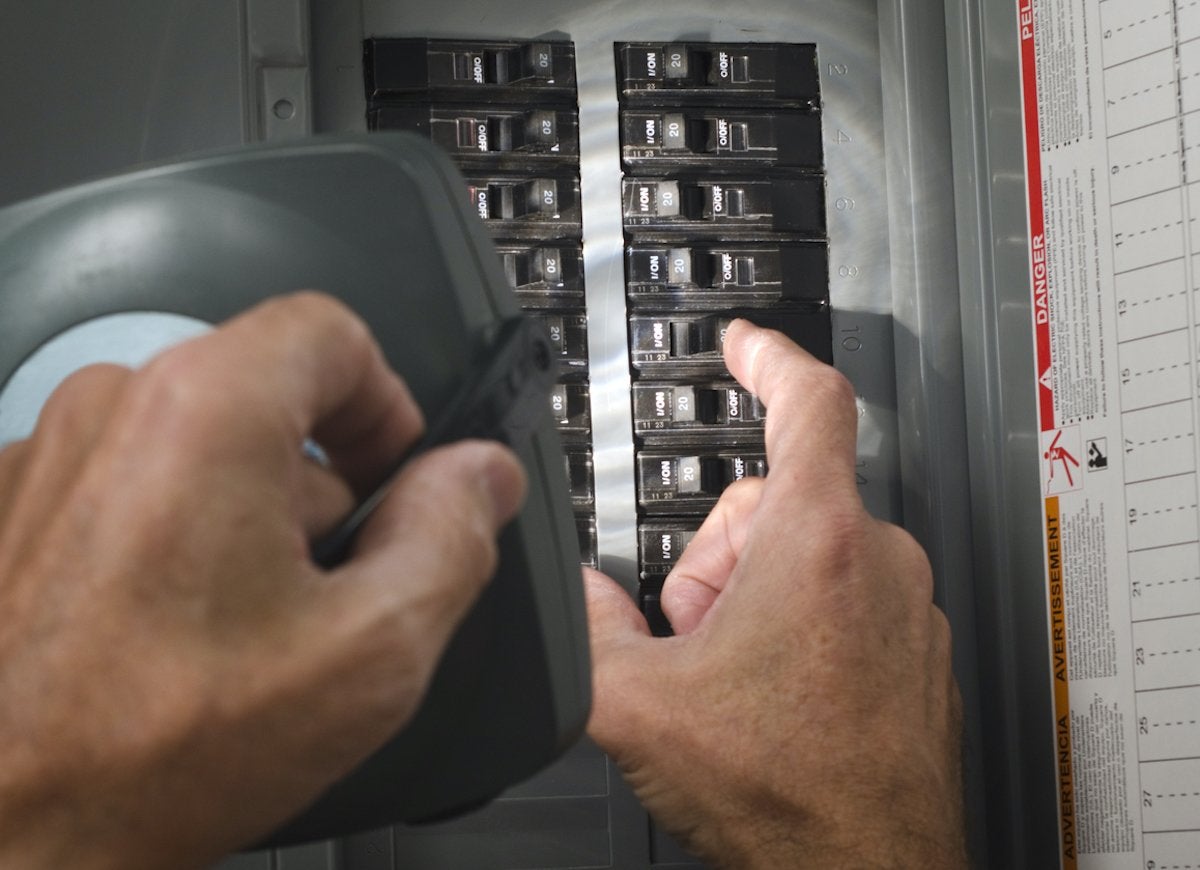
When a circuit breaker trips, you temporarily lose power to your home, or a part of it. Resetting it is most often an easy fix. Just open your breaker box and find the switch that doesn’t look like all the rest. It might be set in the opposite direction, or just lightly off alignment. Push it to the OFF position, and then push it back ON.
Paint the Front Door

Painting your front door can instantly boost your home’s curb appeal. This is an easy homeowner DIY that doesn’t take a lot of time, and only requires a few basic tools and supplies. Preparation is key, so be sure to remove any cracked or peeled paint and sand the door smooth before you begin. Thoroughly wipe the door down and let it dry. Remove all the hardware. Then, start painting with the outside edges and corners. You’ll reap great rewards each time you take on this task!
Clean the Grill
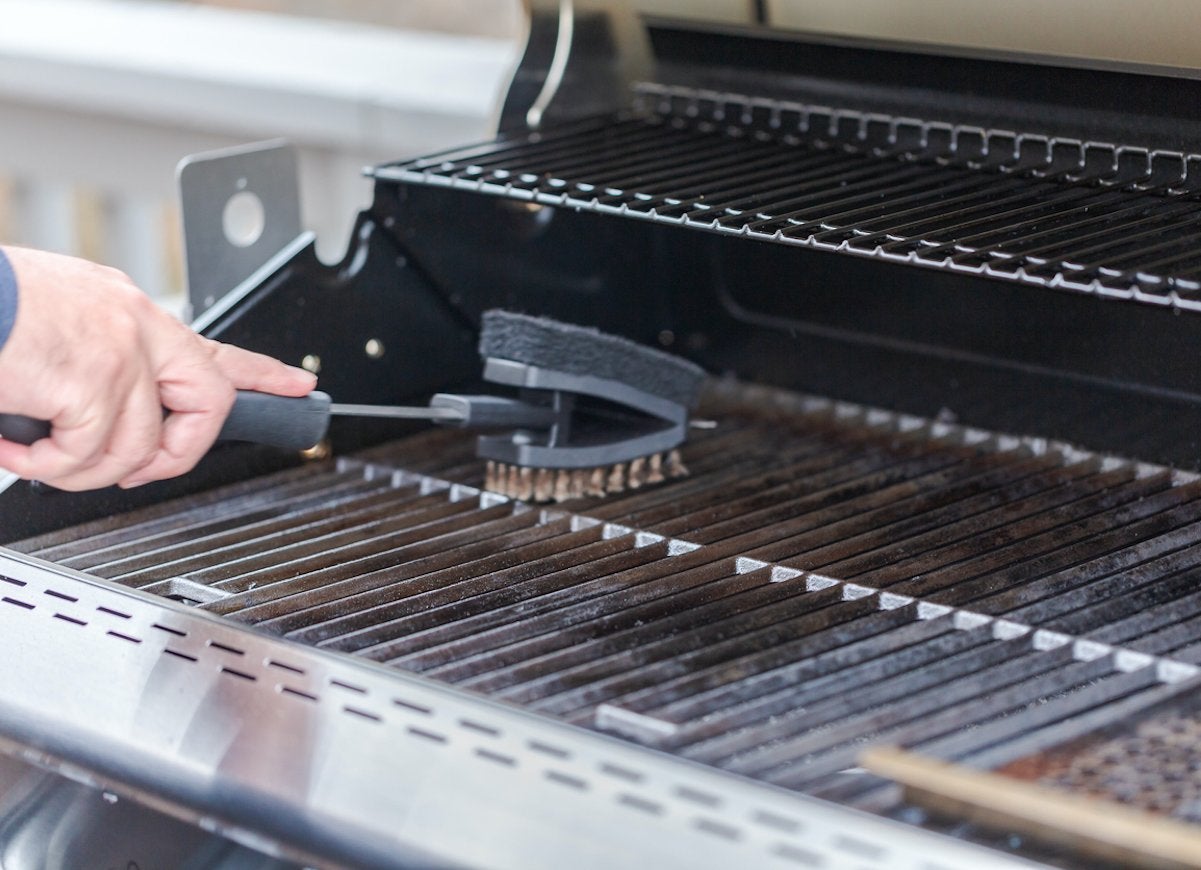
A grill is a big investment, and it will last longer and serve you better if you regularly clean it. First soak the cooking grates in warm, soapy water. Clear out the loose dust and ash with a rag, and follow up with a stiff wire-bristle brush. Get working on the grates with some elbow grease, and allow everything to dry thoroughly before putting it all back together. Then go marinate some meat. It’s time to cook dinner!
RELATED: 16 Reasons You Really Need to Do a Better Job Cleaning Your Grill
Wash the Windows

Washing windows is a task any homeowner can, and should, take on. Start by wiping the windows down, including the frames, with mild soapy water. Then spray them with your favorite window cleaning product, and use a clean, lint-free towel to dry the window in a Z-shaped motion. You can also use a squeegee to remove excess water prior to a wipe-down finish.
Turn Off the Water Main
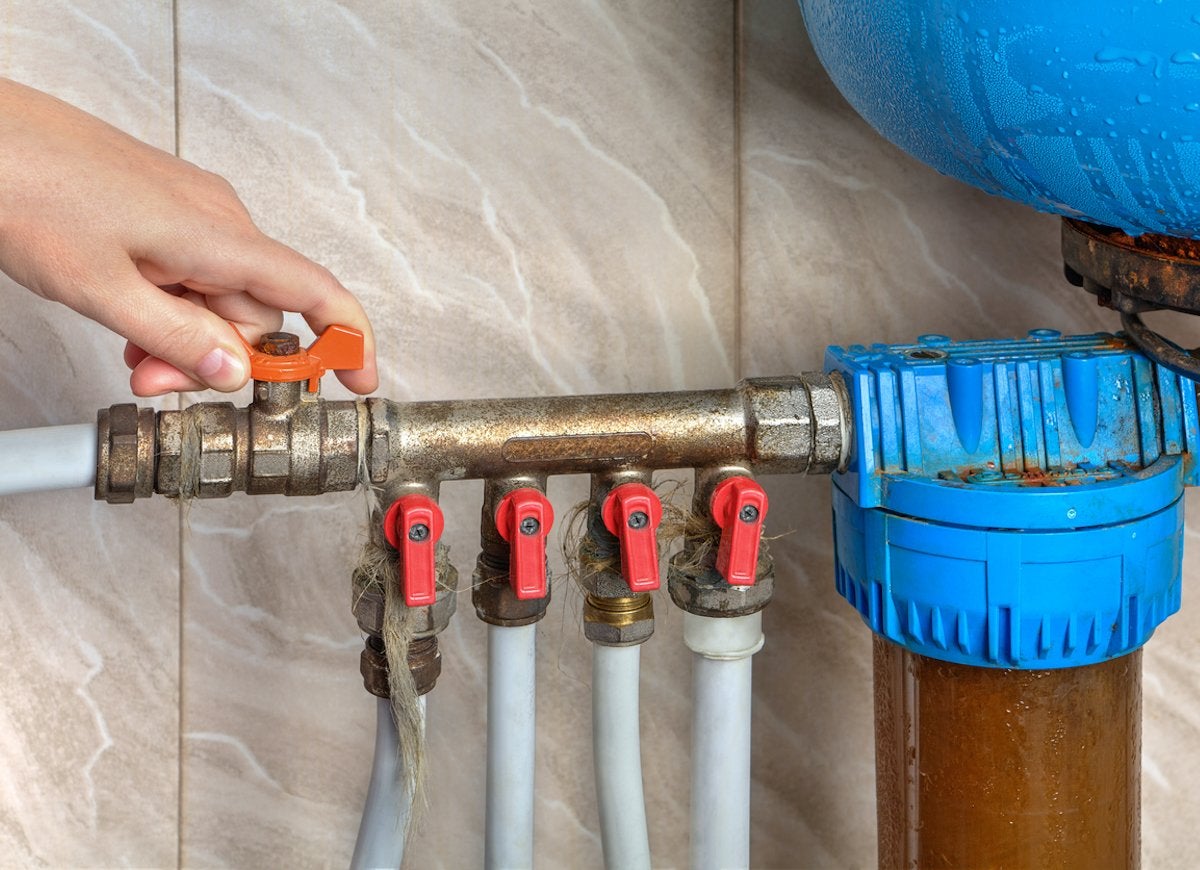
Every home has a main water shut off valve, and every homeowner should know where it is, and how to turn it off in case of a water emergency. A home’s water main valve is usually located close to where the water main enters the house from the street. Turn wheel handles clockwise to cut off the water supply. For levers, slowly turn the lever handle 1/4 turn. Once you’ve located your water main valve, clearly mark it with “On” and “Off” for future reference, or for anyone else who may need to use it.
RELATED: 26 Insanely Easy Home Improvements You Can Do in 1 Hour
Clean the Sump Pump
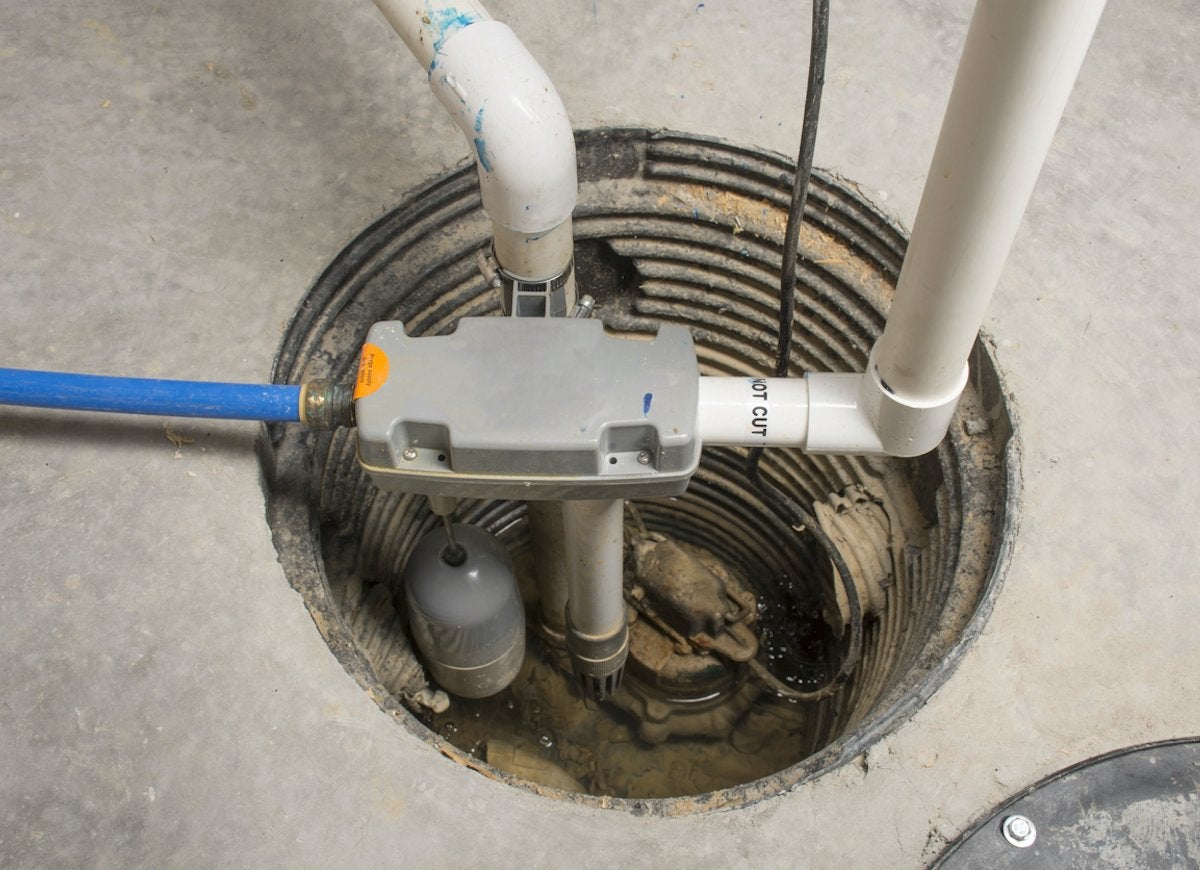
Most homeowners never even think about their sump pumps, but in order to stay in good working order, it should be cleaned once or twice a year. Turn off the power to it, or unplug it, first. Remove it from its pit, and take it outside. Rinse it off with a hose and remove any caked-on debris. Drain any water from the pit with a shop vac, and then return the pump after it has thoroughly dried.
RELATED: 20 Cheap Home Repairs That Could Save You Thousands
Deep Clean a Carpet
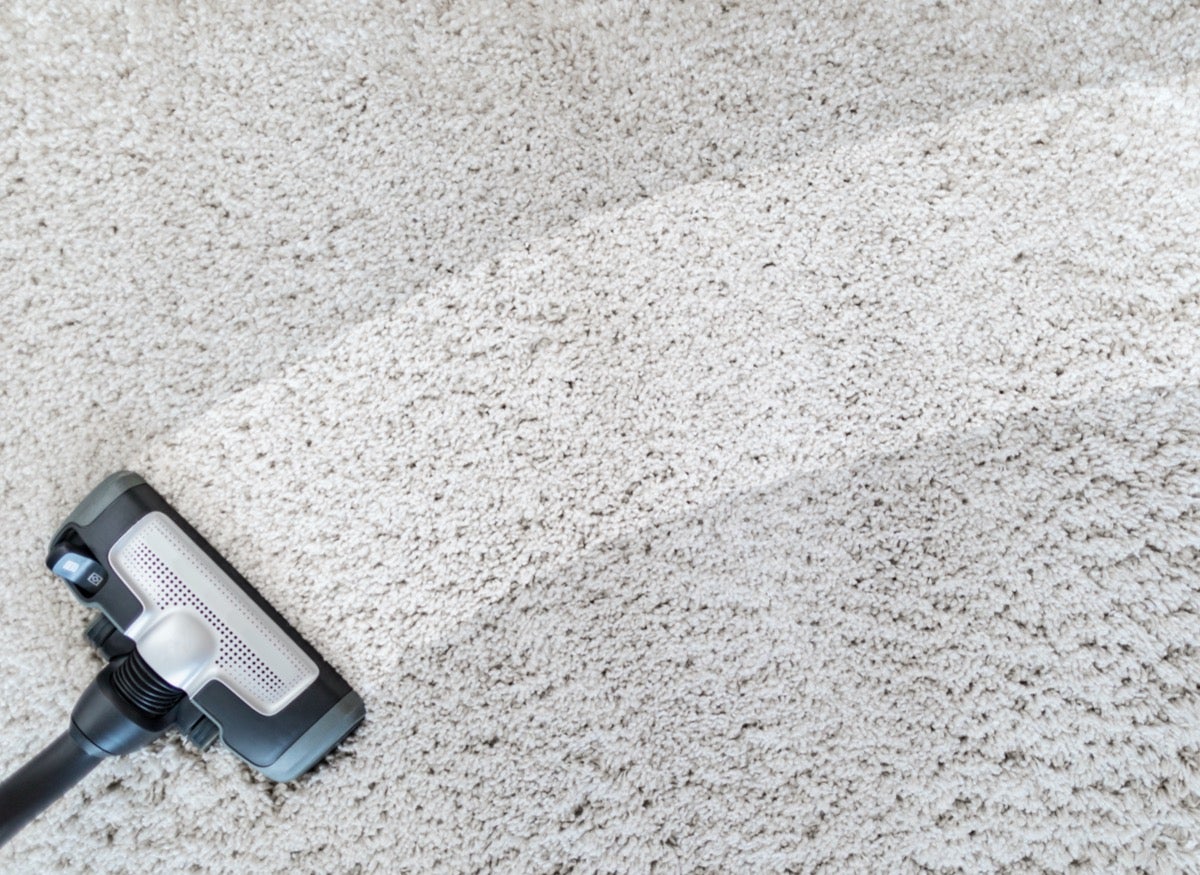
Vacuuming is a great way to freshen up your floors, but even a vacuum with ultra-strong suction has its limitations. Using a steam cleaner once or twice a year (or more, if required) breathes life back into your carpet, making it look fluffy and smell fresh.
A steam cleaner uses a cleaning solution and hot water that goes deep into the carpet fibers all the way down to the backing using high-powered nozzles. It loosens up any embedded soil or other deposits and the steam cleaner extracts them, along with the cleaning solution. Give your carpet time to dry before walking over it again.
RELATED: 3 of the Best Carpet Cleaner Rental Services in America, Vetted
Turn Off the Gas Main
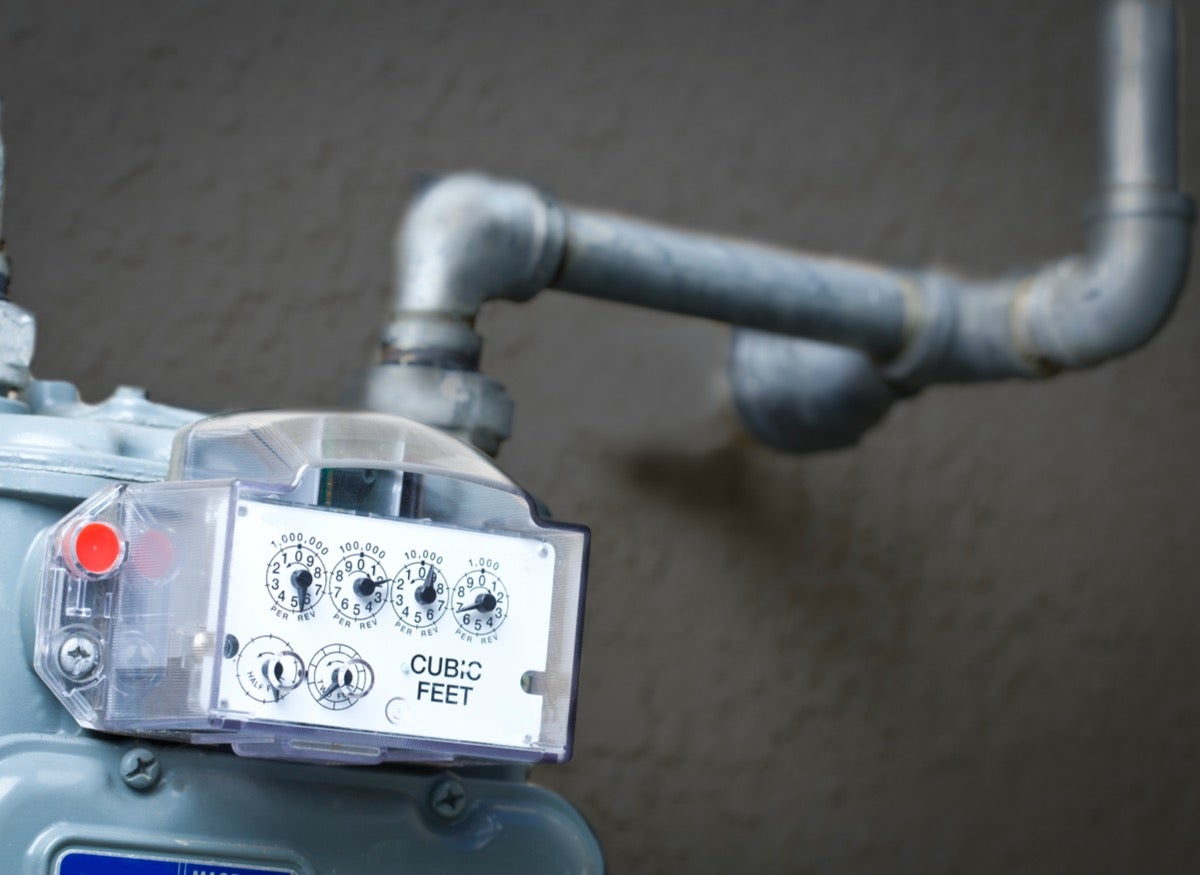
A break in the gas line, or a gas odor in the home are all examples of when you would need to turn off the gas main. Every natural gas appliance, like the furnace or stove, will have its own shut-off valve, but you must know where to turn off the supply for the house, just in case of an emergency.
Find an adjustable wrench and go to your gas meter. There will be a pipe running from the ground to the meter, with a shut-off valve approximately 6 to 8 inches off the ground. When the gas is on, the valve runs parallel with the pipe. Use the wrench to turn the valve 90 degrees in either direction. Do not turn the gas back on yourself; instead, call your gas company to ensure any appliances with pilot lights are safely re-lit.
RELATED: Should You Make the Switch From Propane to Natural Gas?
Propagate Plants

Houseplants help make a house feel more like a home—and help cleanse your indoor air, too. Instead of spending more money on new plants, consider growing more plants from your existing collection; it’s usually pretty easy.
A common propagation method is to put cuttings in an environment where they grow a new root system—either in water or soil. Use a clean and sterile pair of pruners or kitchen scissors to avoid spreading any pathogens to your cutting. Various plants propagate in different ways, so research to find out if your plant propagates best using leaf or stem cuttings.
RELATED: How To: Propagate Succulents
Start a Generator
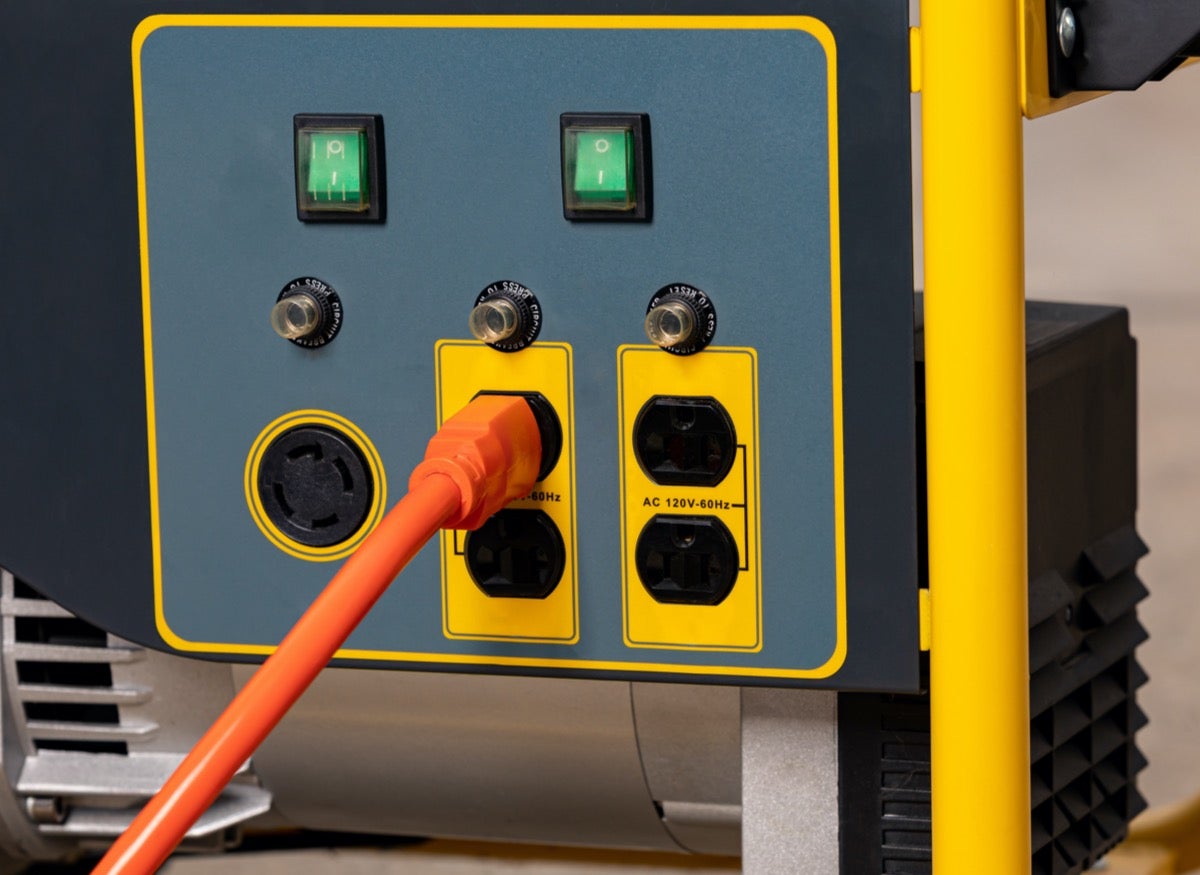
When the power goes out, a portable generator can help keep the lights and devices on until crews restore power. If you haven’t used your generator in a while, take it out and reacquaint yourself with how it works, so you can quickly get it up and running during the next blackout.
You always want to run your generator outside, at least 15 feet from your home. Fill the generator with fresh gasoline, and check the oil level to ensure it’s properly lubricated. In general, starting the generator requires a few steps: turn on the fuel valve, move the choke side-to-side, turn the ignition, pull the recoil cord, and then move the choke to the “run” position.
RELATED: What Size Generator Do I Need?
Grow Your Own Food
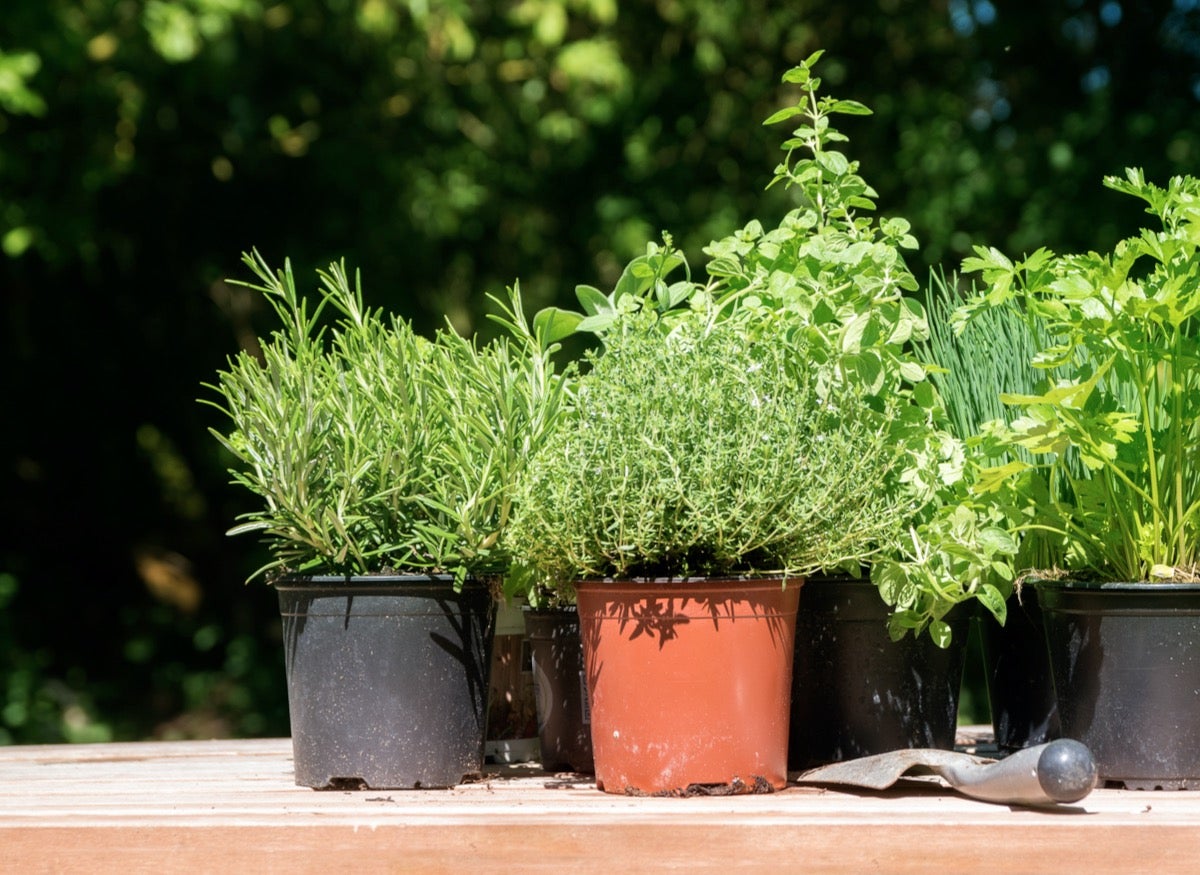
Inflation is causing the price of many things, including produce, to go up. If you have a patio, balcony, or yard, you have room for a garden. From small pots of herbs to overflowing garden beds, you are bound to be able to grow something edible at your home. Keep your expectations reasonable for your space, taking into account the available sunlight, soil quality, and maintenance requirements of the crops you plan to grow.
Research is a must! Planning for your garden and the needs of each plant will help you uncover which crops are best suited to you. In some climates, with proper planning, you can produce fresh food all year long.

A DIYer’s Guide to Replacing Flooring
Update the look and feel of any room by replacing old, worn-out flooring. These products and straightforward steps make it easy enough for any handy homeowner to do.
