

We may earn revenue from the products available on this page and participate in affiliate programs. Learn More ›
Home Advice You Can Trust
Tips, tricks & ideas for a better home and yard, delivered to your inbox daily.
Yes, you can DIY an outdoor kitchen with a professional finish!
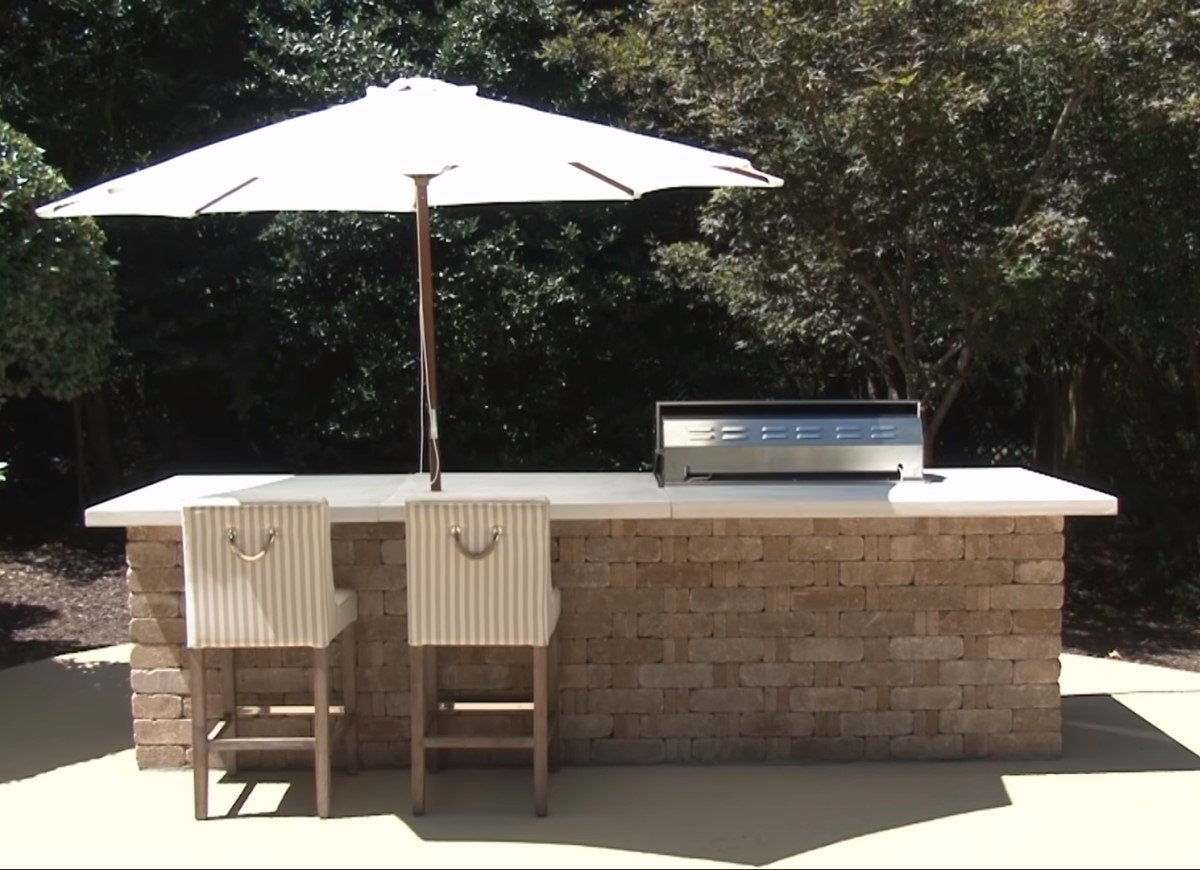
When balmy weather inspires you to entertain alfresco, food prep will be easier and dining possibilities far richer if you have a sturdy, well-designed outdoor kitchen—and for this, concrete is key. You may have thought an outdoor masonry kitchen was a job strictly for the pros, but you’ll be pleasantly surprised to learn that you can DIY your own custom kitchen in just a couple of weekends with Quikrete Countertop Mix, a RumbleStone set of varying size modular blocks from Pavestone, and your choice of outdoor appliances.
To get inspired and get started, watch this detailed Quikrete video on building an outdoor kitchen, and keep this set of pro tips handy.
Make it level from the get-go.
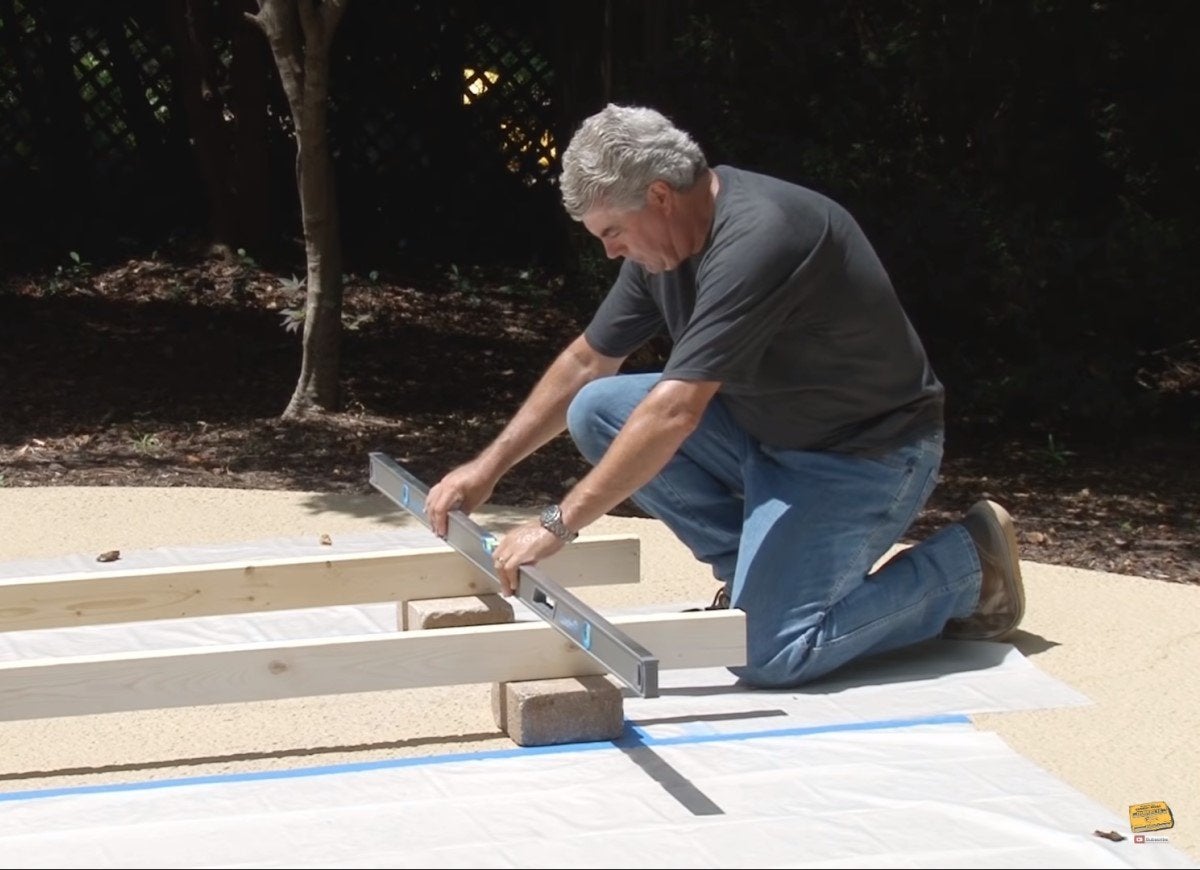
If the bottom course, or row, of stones is even a tiny bit out of level, the subsequent courses will also be off, and this will throw the entire structure out of kilter. Because most patios are sloped to allow rain to run off, you’ll need to level the bottom course by applying mortar, such as Quikrete Sand/Topping Mix, beneath the stones to make them level.
Pro tip: Set the corner stones in mortar first, using a 6- or 8-foot-long level to ensure that the tops of these stones are level. Then, when the mortar beneath the corner stones hardens, fill in the course with the rest of the stones, checking with the level as you go to ensure that each one is the right height.
Keep courses plumb.

While a long level will help you keep the first course of stones even, you’ll also need to keep the rows plumb (in other words, prevent them from bowing inward or outward). A simple way to do this is to run a string line from the outside of one corner stone to the outside of the corner stone at the end of its course. Then, each stone that you set in the course should just barely graze the string to ensure that your courses are even. When one course is complete, raise the string line to the next course.
Dry stack each course.
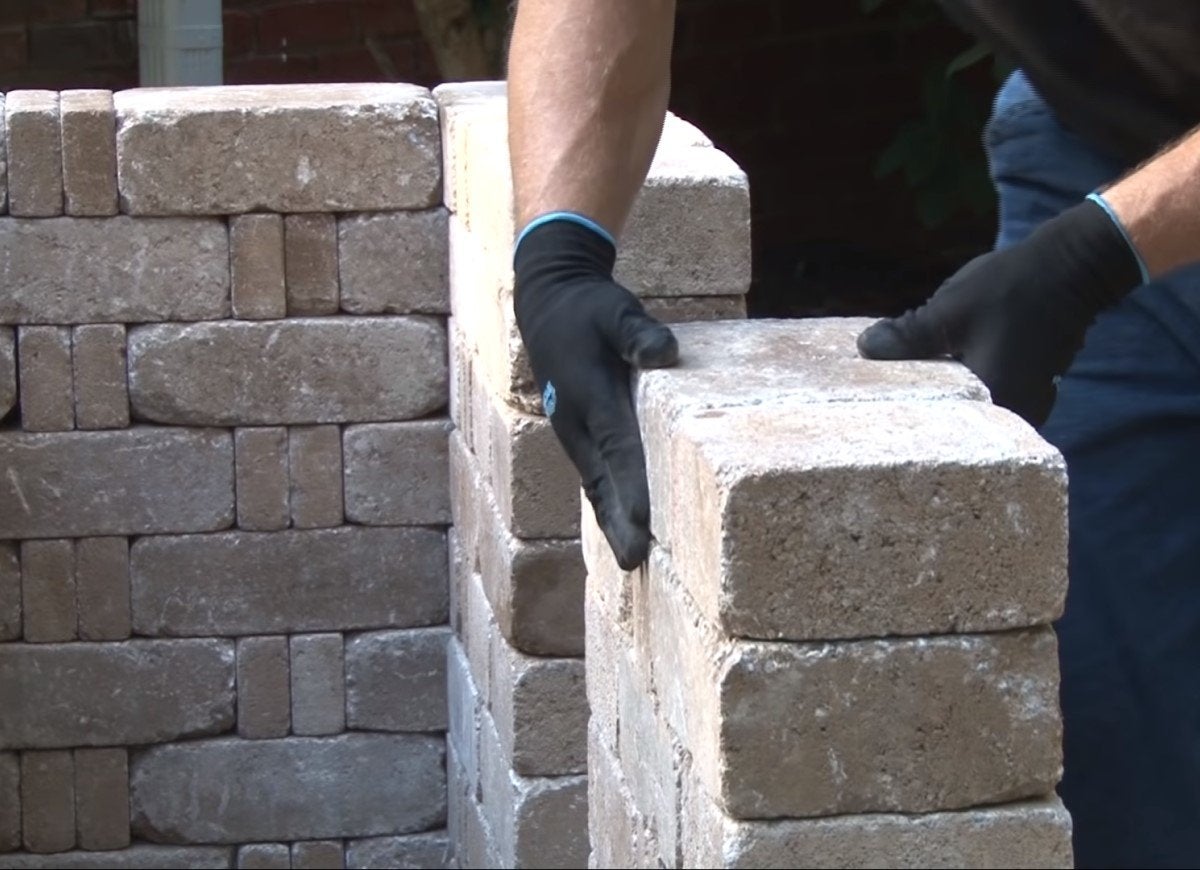
You’ll be working with Pavestones that are the same height and width, but three different lengths. By alternating long stones with medium and short stones, you can create a wall with an attractive visual texture. The trick to puzzle-piecing a pleasing pattern that fits perfectly at corners and appliance openings is to dry stack each course first to determine where each stone will go. Then, it’s just a matter of lifting the stones one by one, applying Quikrete Advanced Polymer Construction Adhesive to the stones below, and setting the stones back in place.
Don’t skimp on adhesive.
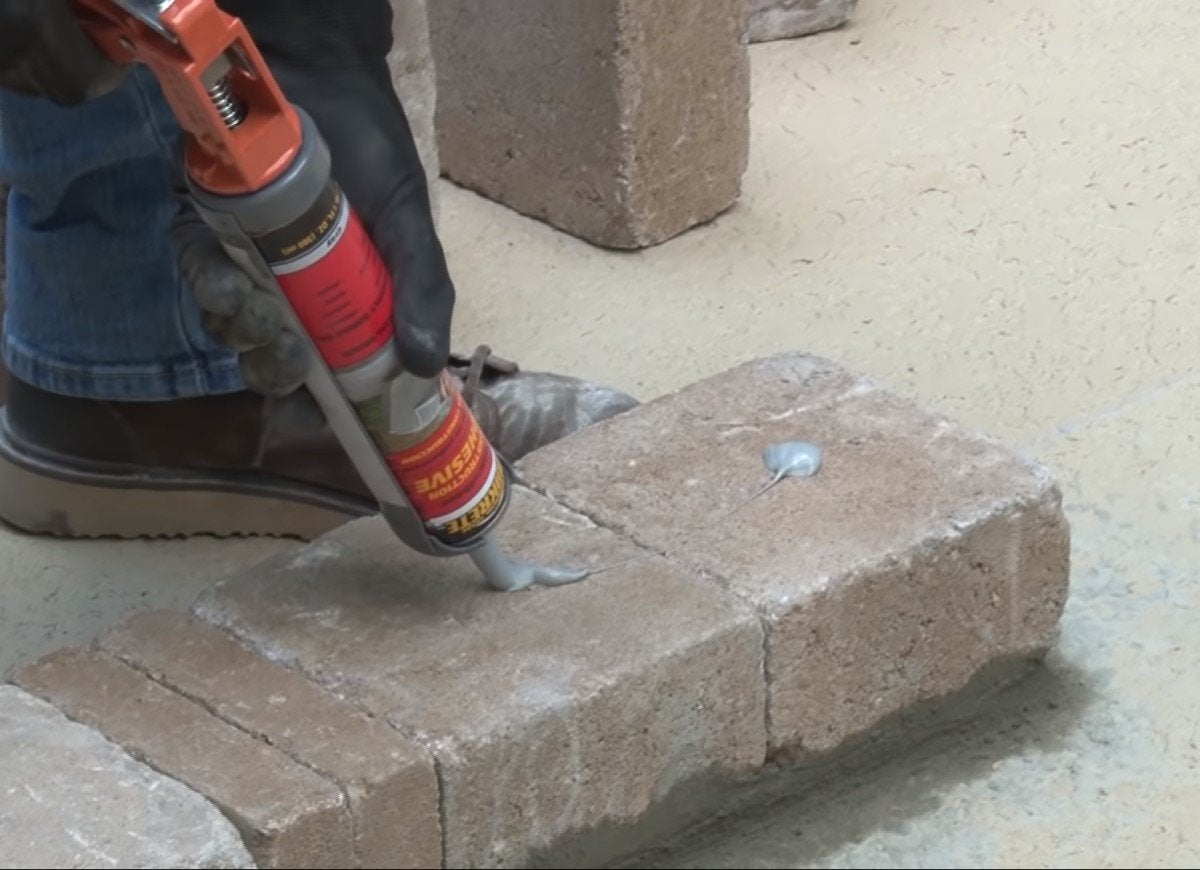
When you’re working with Pavestones, you don’t need to use mixed mortar anywhere other than beneath the first course for leveling purposes. You still need a way to lock the courses together tightly, though, because the stones could move or shift if bumped. The solution? Use a quality masonry adhesive, such as Advanced Polymer Construction Adhesive, that you can dispense with a caulking gun. Drop a dollop about the size of a half-dollar on top of each stone of the previous course to ensure that the stone you’re placing will be secure and the wall as a whole will be structurally sound.
Break your countertop design into bite-size pieces.
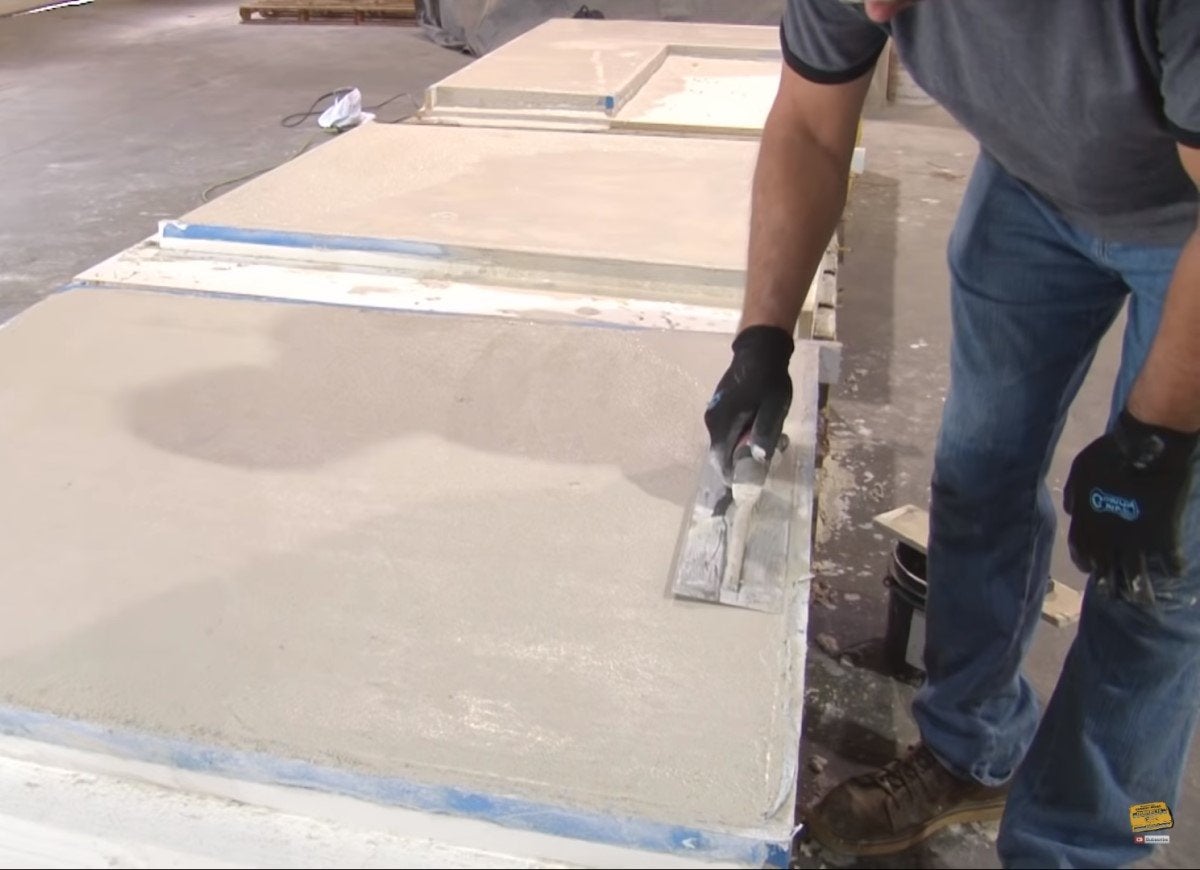
A sleek, durable concrete countertop is the hallmark of an outdoor kitchen, but creating one requires careful planning. Check out this concrete countertop video for full instructions. Just remember: Concrete is extremely heavy—a 2-inch-thick countertop that measures just 2 feet by 3 feet weighs about 145 pounds. Because of this considerable weight, it’s a good idea to pour your countertop in sections rather than one large slab.
Leave room for the sink, if needed.
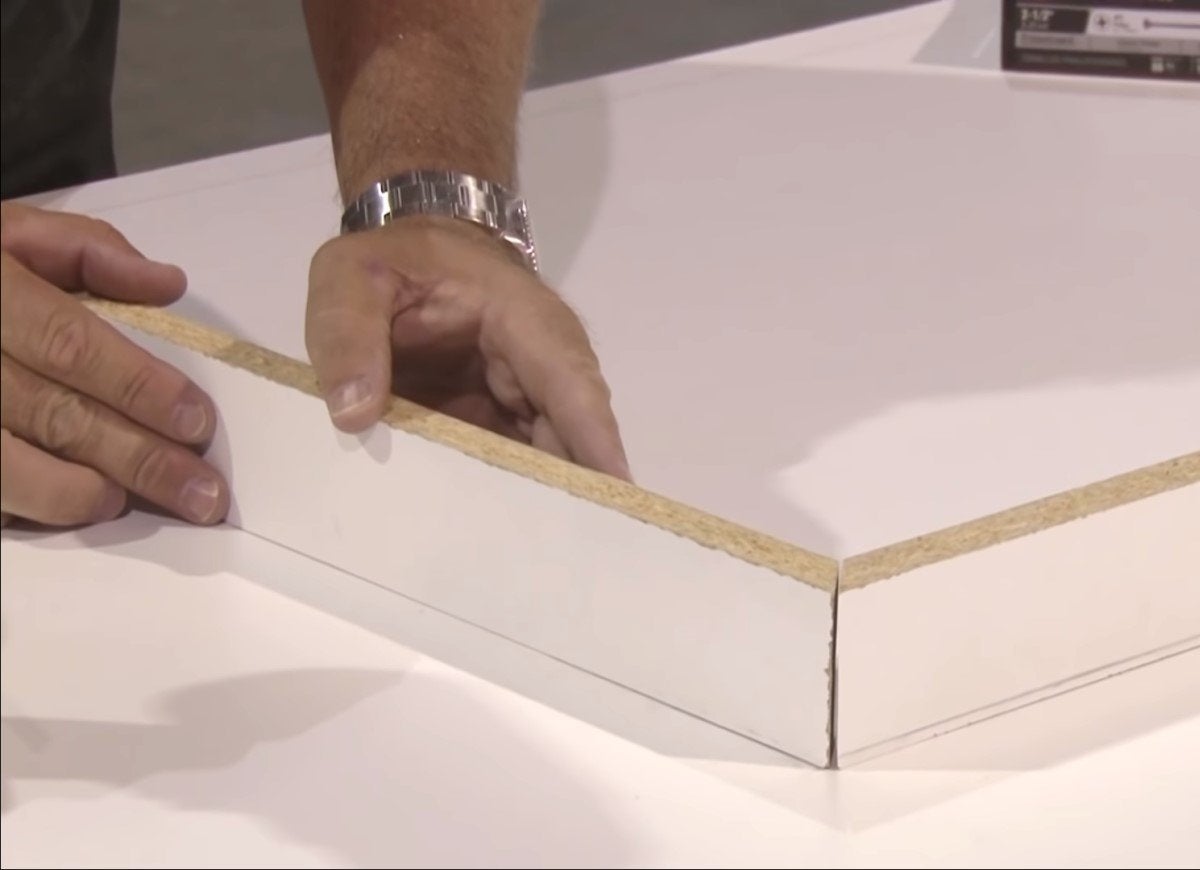
For best results, build your concrete countertop forms from melamine-coated plywood. Placing the laminated face on the inside of the forms gives the countertop a smooth finish. If you need to account for a sink, use the paper template that comes with the sink to measure and cut rigid foam insulation to size for an accurate void where the sink will go.
Proceed to mix and pour.
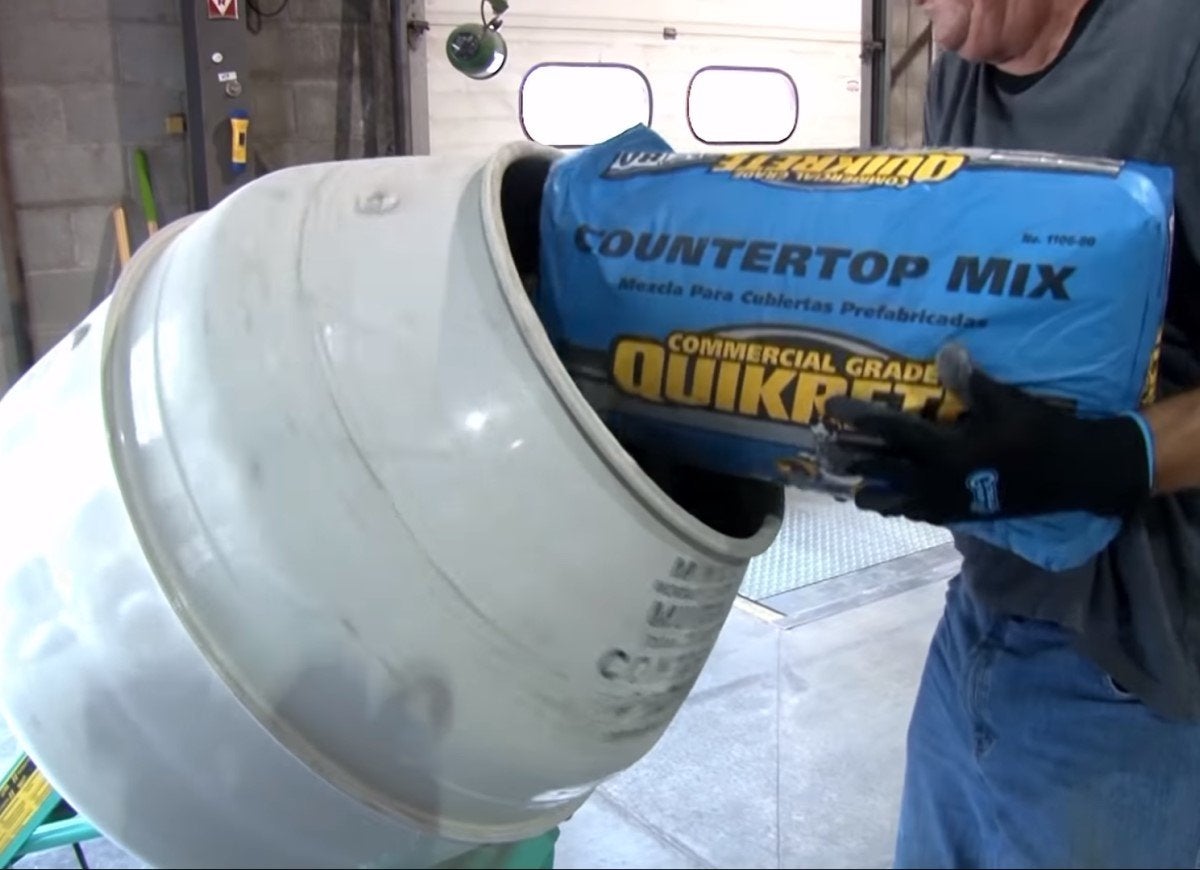
Not just any type of concrete will do for a showstopping countertop—you’ll need to use a mix specially formulated to resist cracking and create the smooth surface you desire, such as Quikrete Countertop Mix. Its super-plasticizer additives work to form a dense slab with a fine surface texture.
If added support is needed, place wire mesh or rebar into the countertop halfway through the pour and cover it with a second layer of concrete that overflows the form. Then, remove the excess concrete by running a 2 by 4 piece of wood over the form in a sawing motion, called screeding. No need to spend time or energy smoothing the concrete after screeding, as this will be the bottom of the concrete countertop.
Vibrate out all air bubbles.
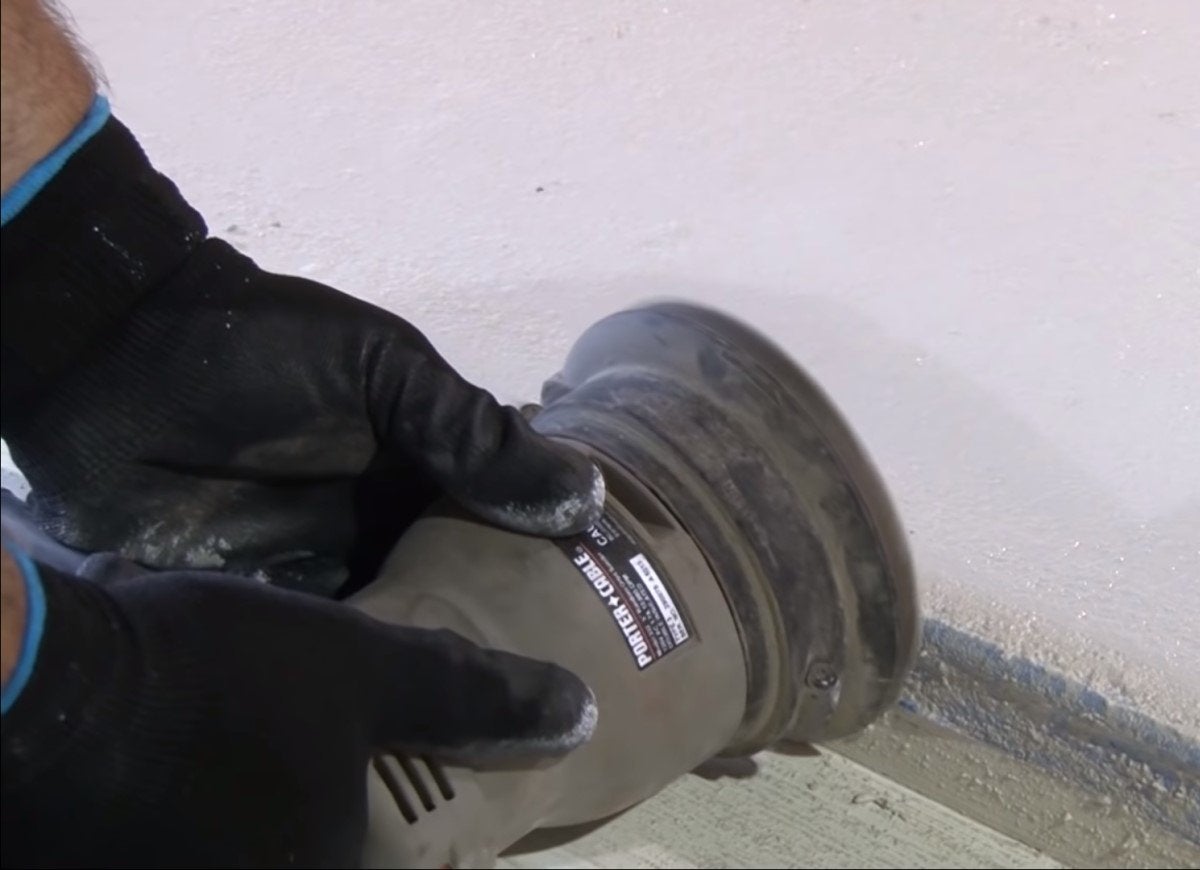
Immediately after the wet concrete is smoothed into the form, either tap the sides of the form lightly with a mallet or run an electric hand sander around the edges—if you wait until the concrete begins to thicken, it may be too late. The vibration encourages the wet concrete to settle into any remaining air bubbles or voids so you can create the smoothest surface possible. Then, leave the countertop sections undisturbed for 18 to 24 hours before stripping the forms.
Patience pays off.
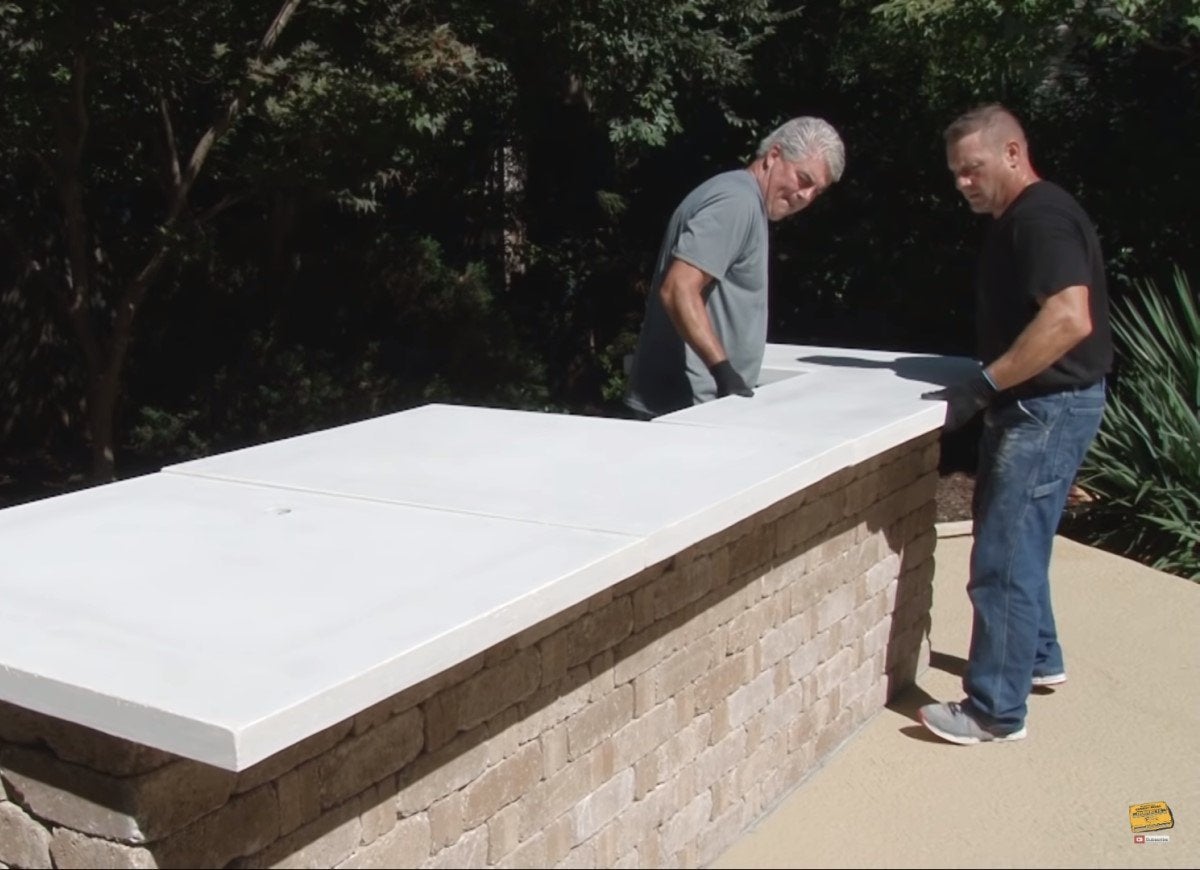
If absolutely necessary, you can set your new countertop on the Rumblestone base the day after you pour it, but it will be stronger and less likely to develop stress cracks if you wait a few more days before completing your outdoor kitchen. At 24 hours, the countertop will achieve pressure resistance equal to 2,000 pounds per square inch (psi); at seven days, it will reach 4,000 psi. If time permits, consider pouring the countertop one weekend and setting it on the base the next. The gains in strength will ensure you can enjoy your countertop for years to come.

Meet the 2025 Tools of the Year
After months of scouring the market and putting products through their paces, we’ve named the best of the best in new tools. There’s something for everyone, from veteran pros to average Joes.