We may earn revenue from the products available on this page and participate in affiliate programs. Learn More ›
As soon as December hits, I’m ready to break out the Christmas cheer. When it comes to decorating for the holiday, I’m a traditionalist. I like white lights and natural elements—especially fresh greenery.
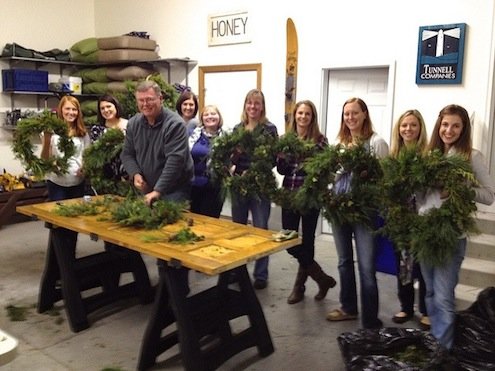
I had the pleasure this year of attending a wreath-making workshop with a gentleman in my town named Bill Landon. Bill’s family owned a farm here in Lewes, DE, for generations. As a young child, he helped the family make more than 500 wreaths every season that were put on trains and sent to cities like New York. He learned the art of wreath-making from his great-grandfather and was generous enough to share his talents with a group of us over spicy Christmas cocktails.

Bill is committed to using only natural elements. He creates hoops upon which to build his wreaths using switches harvested from local marshes. Creating a beautiful wreath was far easier than I imagined, and every bit as fun as I hoped. I left the workshop with my hands full of sap, my senses full of the scent of evergreen, and my heart full of holiday spirit. I am thrilled to have a natural wreath hanging on my door this year. And I feel sure I’ll never purchase one again.
What You’ll Need
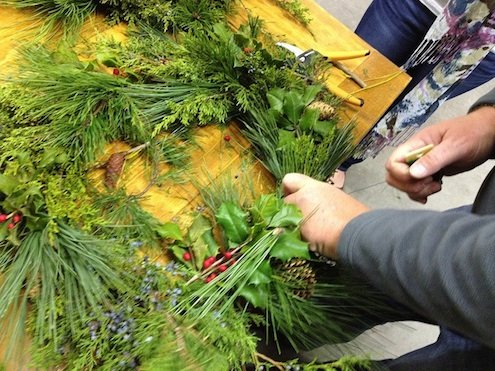
First and foremost, making a holiday wreath of this type requires fresh evergreen boughs. Pine, holly, cedar, bittersweet, turkey beard, juniper, boxwood and many others work wonderfully well. Be creative and use what you’ve got!
Also equip yourself with the following:
- Pruning shears
- Floral wire (on a roll)
- Heavier wire for a hanging loop (optional)
- Wreath form (You can either purchase one at a craft store or create one yourself with anything that will make a firm circular shape).
How to Make a Wreath in 3 Steps
STEP 1: Gather Your Greenery.
You can purchase your greenery or collect it from the yard. There are even many parks that will let you snip greenery, as they often need to prune back certain areas. Get pieces anywhere from 6″ to about 18″ in length. You can always trim later. Look to include interesting accents like berries and pine cones.
STEP 2: Add Greenery to Your Form.
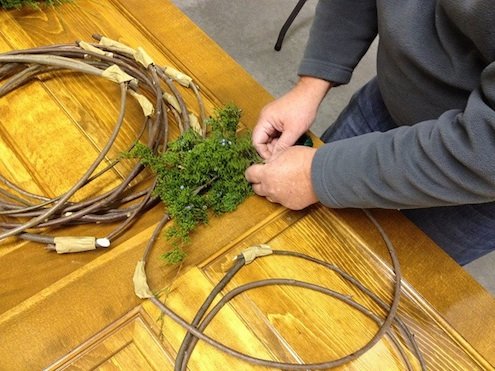
You’ve got to start somewhere, so just pick a piece of greenery (or a small bunch) and lay it on your form. Wrap floral wire around the lower part of the stem to secure it to the form. Wind the wire around three or four times and pull tight. Very tight. Lay another piece (or small bunch) of greenery over the first piece, with the stem 3″ to 4″ behind the first one, with the result that they overlap nicely. Wrap with wire, as you did the first stem. Continue to add greenery to work your way around the form.

STEP 3: Finish it Off.
Once you’ve reached the place where you started, lift up the first piece of greenery you attached and stick the stem of your last piece underneath. Shift things around until you get the look you desire. If you find a spot that looks a little bare, you can simply wire another piece of greenery onto the form. And if you want to add a hanger, wrap a loop of heavier wire around the wreath form at the top. Add a bow too, if you like, before hanging your wreath for display.
Though his daughter, Brittany, loves to hang the wreaths that he makes in her kitchen (so she can enjoy the smell), Bill advises that you hang your wreath outside, so it won’t dry out too quickly. Wherever you hang it, it will indeed smell wonderful. And everyone who sees it will be mightily impressed!
