We may earn revenue from the products available on this page and participate in affiliate programs. Learn More ›
First used in New York City mass transit tunnels in the early twentieth century, subway tile has evolved from its humble beginnings to become one of the most sought-after materials for backsplashes, showers, and other surfaces. Subway tile looks great and is durable enough to last a generation or more; it’s also fairly DIY-friendly to install!
RELATED: 16 New Reasons to Love Subway Tile
Though subway tiles traditionally have rectangular dimensions, there’s a host of sizes in ceramic, porcelain, and glass. So get clicking for a stimulating spectrum of motifs—some classic, others utterly unexpected. We’ve outlined 10 such subway tile patterns (as well as the tips you’ll need for successful installation).
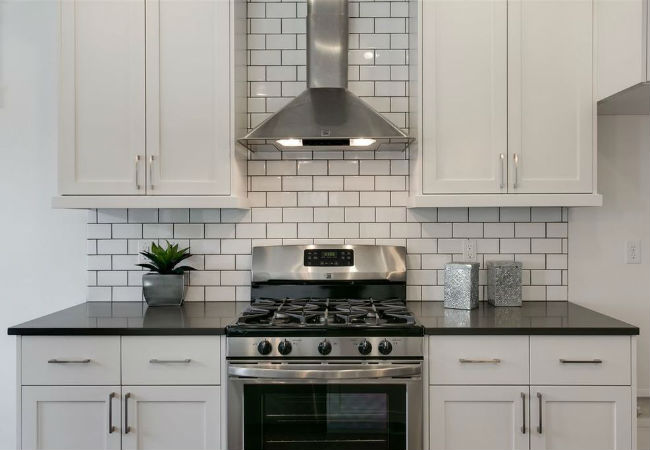
Offset, a.k.a. running bond
It’s no wonder why the running bond pattern is so popular for brick as well as tile. This enduring design is comprised of rows of tiles laid horizontally at a 50-percent offset, meaning that each tile joint aligns with the center of the tile above and below it. Because standard subway tiles are widely sold in 4” X 8”, 3” X 6”, and 2” X 4” variants, the short side of each tile can be used as a guide to measure and mark the halfway point of tiles as you lay them, so that each successive tile is perfectly positioned.
One-third offset
For a more visually varied look that resembles steep stair steps, opt for the one-third offset pattern. Here, each tile joint is offset by 33 percent of the length of the tile below to evoke the illusion of diagonal lines rather than the vertical lines that appear in 50-percent offset. This pattern is particularly suited to tiles 18 inches or longer, because it’s less susceptible to lippage—the unsightly difference in elevation between adjacent tiles that commonly occurs when large tiles with a slight curvature are laid at a 50 percent offset.
One-fourth offset
To avoid the diagonal lines in the one-third offset pattern and achieve an artfully irregular look, turn to this tile pattern with alternating offsets. In one row, tile joints are offset by 25 percent of the length of the tile below, and on the next row, the joints are offset by 50 percent of the length of the tile below, and so on throughout the installation. Because the partial tiles typically used to fill areas that don’t fit full tiles are the most fragile, use a wet saw (available for rental at home centers) to ensure clean, precise tile cuts and reduce the risk of breakage from a standard snap tile cutter.
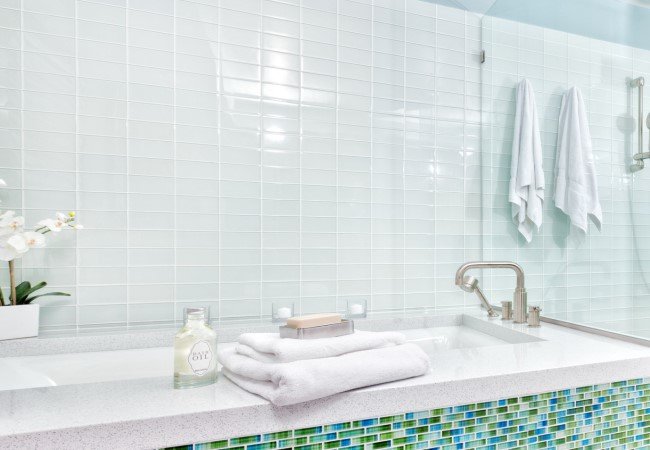
Straight set, a.k.a stack bond
Prefer to play it straight? Opt for the simplest of all tile patterns, consisting of horizontally oriented tiles stacked directly on top of each other so that the tile joints in one row perfectly align with the those in the row above and below. The lack of any offset in the tile placement makes this pleasing linear pattern a cinch to install with minimal measuring and often without the need for tile cutting. Consider using tile in a bold shade with a contrasting grout color to add oomph to the minimalist motif.
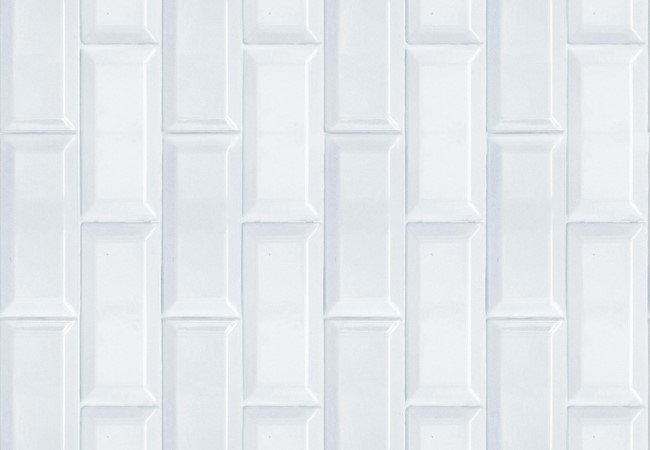
Vertical offset
To create the illusion of added height, flip the horizontal orientation of the traditional running bond, one-third offset, or one-quarter offset patterns. The resulting motif lends a long, lean look ideal for small enclosures such as backsplashes. Enhance the drama of this contemporary linear motif by pairing milk-white subway tile with slate or ebony grout; the eye will instantly be drawn to the dark vertical lines created by the grout, making the room and ceilings appear even taller.
Vertical stack bond
If elegant simplicity is your goal, install subway tiles in a vertically oriented stack bond pattern. It’s a look similar to vertical stripes—which any fashion expert will tell you adds the illusion of height and slenderness—so it’s well suited for low-ceilinged or enclosed areas.
Herringbone
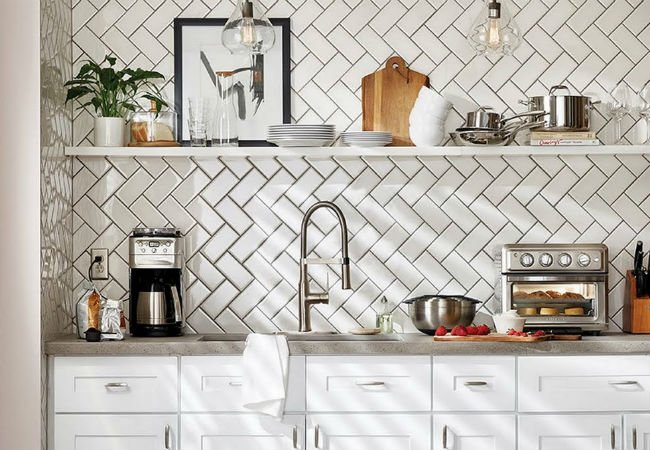
Named for its resemblance to the skeleton of a fish, this millennia-old motif is popular in fabric as well as tile. The arrangement of rectangles (or parallelograms) in an L-shaped pattern evokes a sense of movement and adds great interest to an otherwise simple room. It’s created by arranging tiles so that the end of one vertical tile meets the side of a horizontal tile at a 90-degree angle. You can also experiment with the ratio of tile length to width to vary the pattern intensity; the 2:1 ratio used in the traditional 90-degree herringbone pattern results in a more subdued, wave-like aesthetic, while a 4:1 ratio produces a more offbeat motif with pronounced zigzag lines.
Diagonal herringbone
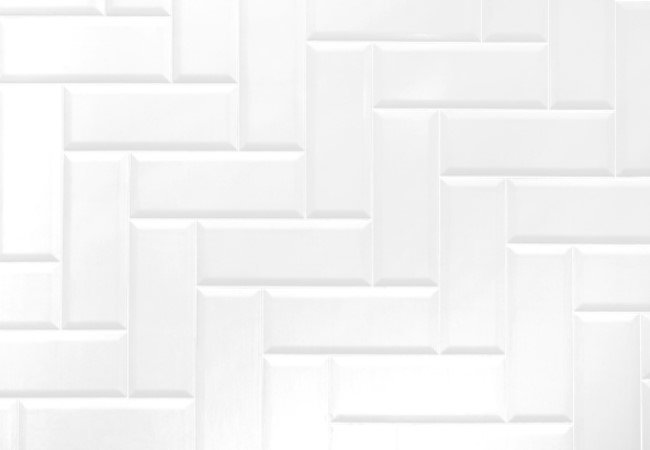
Rotate the traditional herringbone pattern by 45 degrees to achieve the diagonal herringbone, a V-shaped pattern of interlocking rectangular subway tiles with more intensity than the 90-degree variant. When the V-shaped peaks created by the tile joints lie horizontally (facing left or right), the space looks wider and larger; positioning the tiles so that the peaks lie vertically (facing up) gives the room an instant height boost. As the need to set the tiles in both an interlocking and angled arrangement makes the diagonal herringbone pattern one of the most painstaking patterns to install, save it for small surface areas that demand a high-impact look.
Diagonal offset
Mounting tiles in a running bond pattern but at a 45-degree angle evokes a strong diagonal silhouette. This adds a playful edge to a room—consider it for a modern kitchen or bath. Combine black subway tile with white grout to amp this maverick motif.
Crosshatch a.k.a. basket weave
Alternating pairs of horizontally and vertically laid tiles make this grid-like pattern resemble a woven basket. The starker the color contrast between the tile and the grout, the more distinct the weaving effect. While the classic crosshatch pattern creates squares with two tiles each, you can achieve a more intricate, energetic effect with three horizontal tiles adjacent to three vertical ones.
