
We may earn revenue from the products available on this page and participate in affiliate programs. Learn More ›
iPad Stand
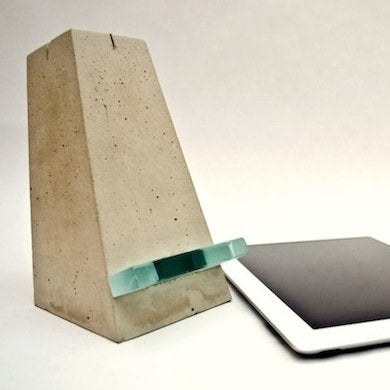
Instead of buying an iPad stand, try your hand at creating one for a fraction of the cost. The example shown here was made using a movie theater popcorn box as the mold and a glass tile for the ledge, but you could make a one-of-a-kind stand using any appropriately shaped container and a wood, tile, or metal ledge.
Quikrete Walkway
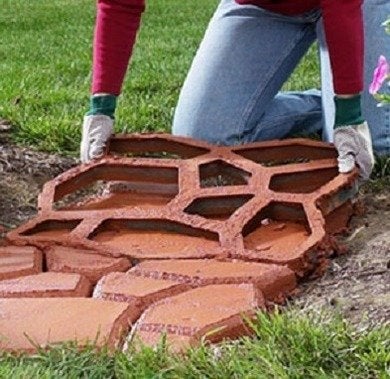
For an easy and inexpensive alternative to traditional brick or stone walkways, you can build a durable concrete path using a WalkMaker form and some Quikrete. You’ll find a step-by-step here, as well as special techniques for making curves, adding a custom finish, or coloring the concrete to suit your design.
Bowls
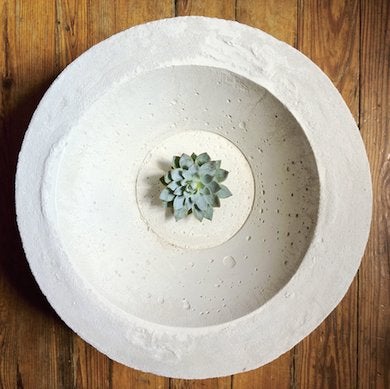
Pour yourself an endless supply of bowls—in any size you can shape—by following the instructions provided on A Daily Something. Keep it smooth for an industrial, polished look, or imprint your container with a doily to give it a little subtle softness.
Pendant Lamps
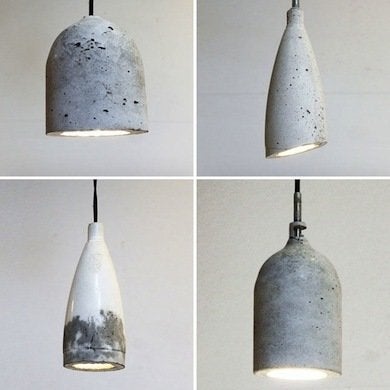
Are you having trouble finding the perfect light fixture for your kitchen or bedroom? It’s time to make your own! The four pendant lamps shown here were each made using two different-sized plastic bottles for molds. Get creative choosing containers for an assortment of lamp styles.
Bucket Stool
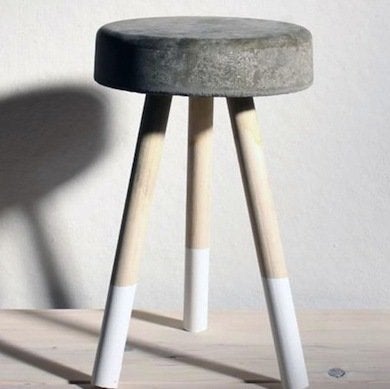
homemade-modern.com
Ben Uyeda at HomeMade Modern created simple and attractive stools using just wooden dowels, concrete, and a bucket that also served as a form for the seat. The concrete takes 20 hours to dry, but the $5 price tag on this DIY seating makes it well worth the wait! Uyeda revisited the project using other molds and legs; check out the results for more ideas.
Votive Holders
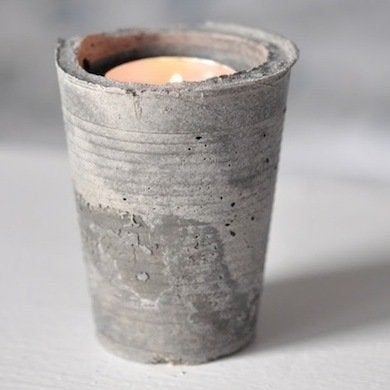
mrs-hardy.com
Mrs. Hardy, of Norwegian blog fame, came up with the clever idea of making votive holders from plastic cups. Although the edges and indents of the cups give detail to the holders, we’re guessing that other small containers could achieve a similar effect.
Trough-Style Planter
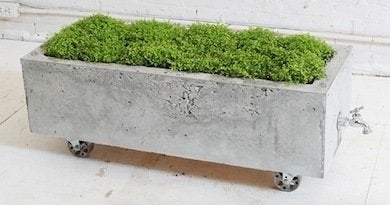
homemade-modern.com
Ben Uyeda salvaged a kitchen cabinet to serve as the mold for this planter. Although the project requires a little heavy lifting, the payoff is its low cost and versatility—with casters and a spigot, the planter could also be used as an industrial-style drinks cooler.
Landscape Edging/Garden Borders
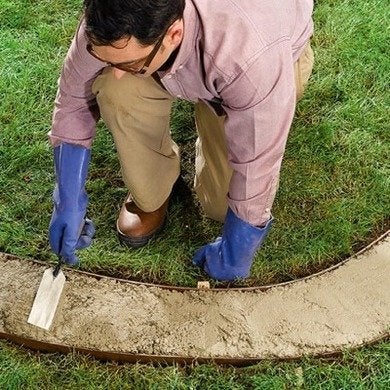
Poured-in-place concrete borders are perfect for lawn and garden edging, tree surrounds, and driveway curbs. They can be designed to match any landscape contour—and they will last for years! This project shows you all the basic steps for using Quikrete concrete to make a landscape border of any length.
Coffee Table
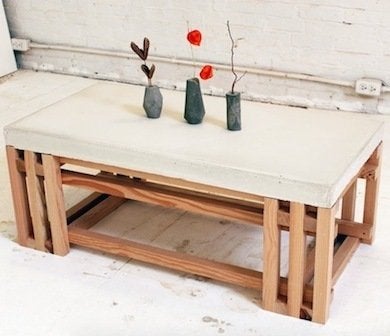
homemade-modern.com
For a mere $50 and a Saturday’s worth of work, you can have this modern coffee table. Although the wood base looks intricate, it requires just a few cross cuts with a circular saw. At 100 pounds, this table is no featherweight, so line up a few helping hands when it’s time to place your masterpiece in the center of the room.
For More…

If you are interested in more DIY projects, consider:
10 DIY Lawn Games to Bring the Amusement Park Home
9 Lampshades You Can Make Before Lights Out
Keep Your Cool with 10 DIY Ice Chests
